
Archinstall is the guided installer included with the official Arch Linux ISO, giving you a menu-driven route through disk setup, users, a desktop profile, and boot configuration while leaving the destructive disk decision in your hands.
What you need before starting
Download the current ISO from the official Arch Linux download page. The download page listed release 2026.08.01 when I refreshed these steps, and it also publishes checksums and signature information for verifying the image.
- A backup of every file on the drive you plan to use.
- A USB drive for the Arch ISO and a machine that can boot from it.
- An internet connection in the live environment.
- Enough unallocated space if you are keeping another operating system.
If you are unsure which disk holds your existing system, review Linux disk partitioning before opening the installer because selecting a whole disk permits it to erase that disk.
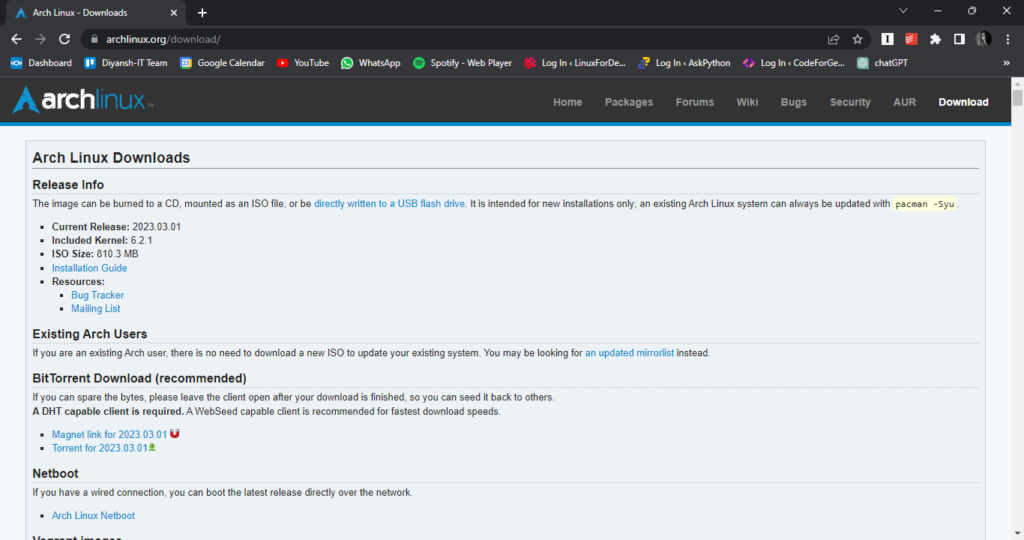
The download page is where you choose the ISO, not where you configure the installed system. Write the verified image to USB with an imaging tool, boot that USB, and select the live environment from your firmware boot menu.
Boot the ISO and check the live environment
After the live shell opens, confirm that you booted in the mode you intend to use and that networking works. The Arch installation guide covers keyboard layout, network access, clock synchronization, and firmware checks that apply before any installer path.
ping -c 3 archlinux.org
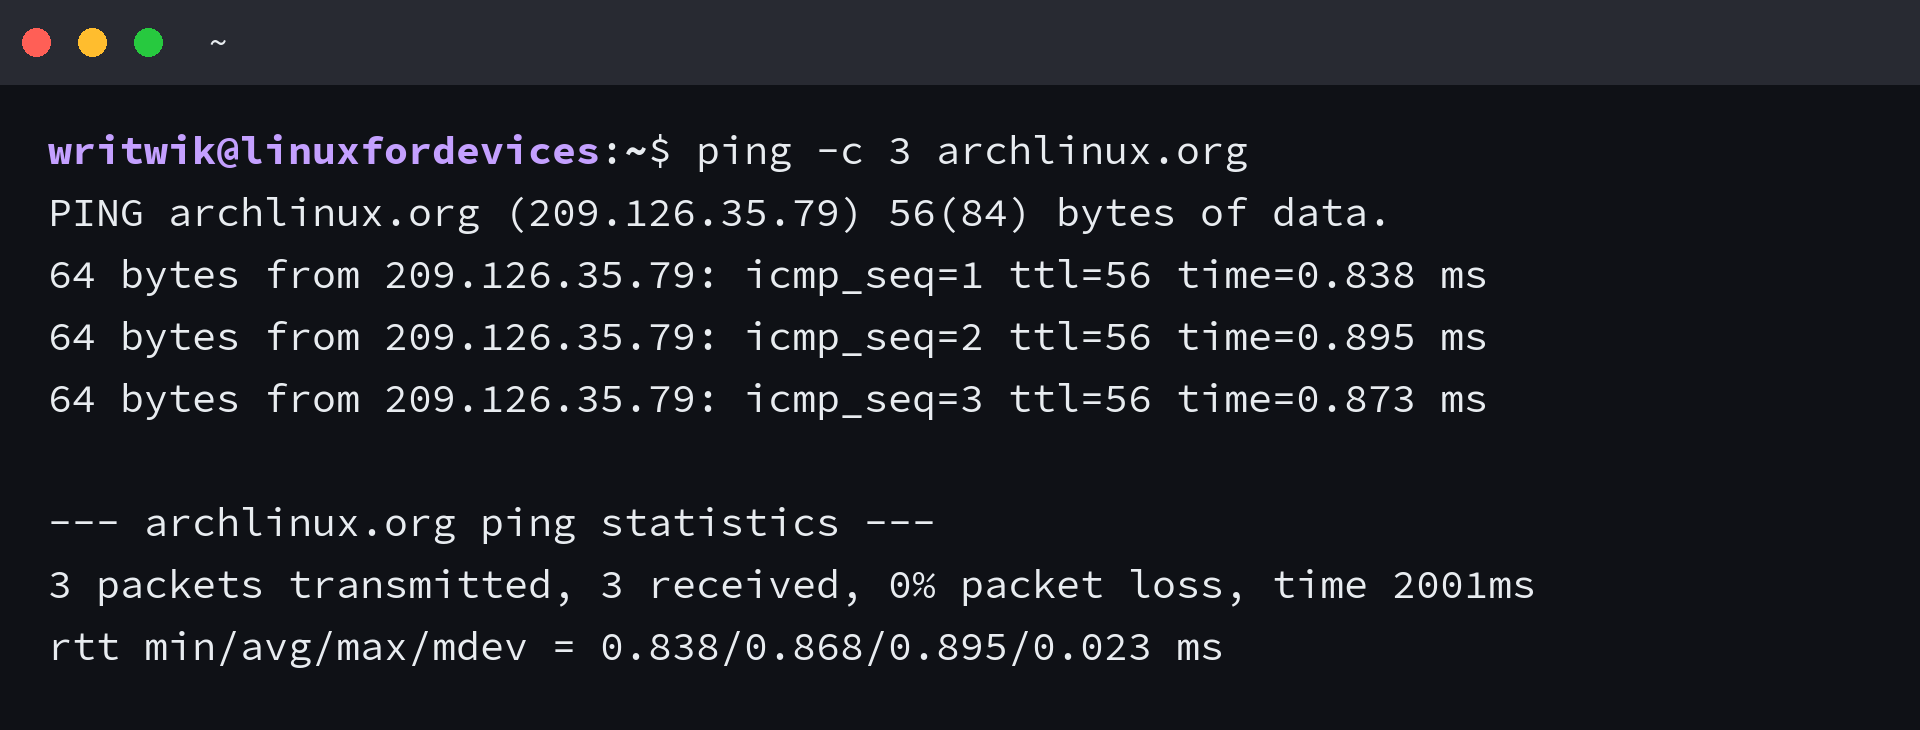
A reply confirms that the live environment can reach Arch infrastructure, while a failed request means you should connect through the network menu or review Linux networking and DNS basics before continuing.
Start the guided installer
Run archinstall from the official ISO. The upstream project documents that this command starts the guided installer by default, so you do not need the older pacman commands that install a separate copy first.
archinstall
The menu records your choices and then shows a summary before installation begins, where the selected disk, partition layout, filesystem, encryption option, bootloader, and user account deserve a slow review.
Choose the installation settings
Archinstall changes the order of the work, not the consequences of each choice. Use the default guided path for a first installation, then choose settings that match the machine and the way you plan to use it.
| Installer choice | What to decide | Useful next read |
|---|---|---|
| Disk configuration | Whether the target drive can be erased or needs manual partitioning. | Partition a Linux disk |
| Filesystem | Whether you want the conventional ext4 setup or Btrfs features such as snapshots. | Compare ext4 and Btrfs |
| User account | The regular login you will use after setup, plus sudo access when needed. | Linux users, groups, and permissions |
| Profile and graphics | A desktop environment and graphics driver that fit your hardware. | Keep the selection minimal if you want to learn the base system first. |
| Additional packages | Only the tools you need on day one. | Linux package management |
Disk encryption has a cost at every boot because you need to unlock the drive before the installed system starts. If you enable it, save the passphrase somewhere secure and test a restart before treating the machine as ready.
Review the summary before installing
Do not approve the summary until the target disk, timezone, user, and boot settings are correct. The ArchWiki warns that manual partitioning does not prevent overlapping or misaligned partitions, which is a strong reason to use the guided layout unless you understand the layout you are entering.
- Confirm the selected disk is the disk you intend to erase.
- Confirm whether the installer will replace the disk or use existing free space.
- Confirm the bootloader and firmware mode match the machine.
- Confirm your username and password before the installer writes changes.
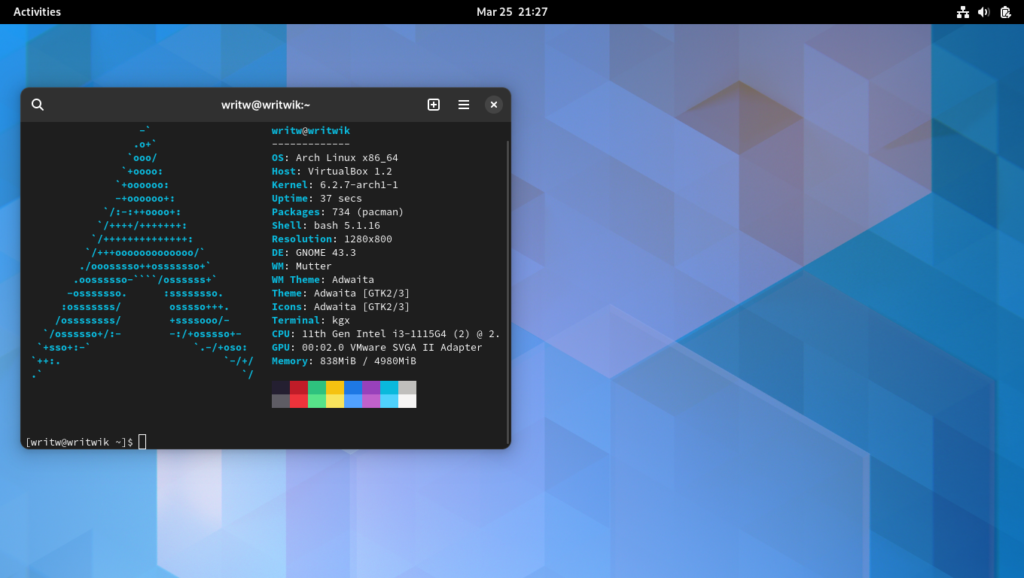
The screen is a decision point rather than a progress indicator, so go back if the target drive or installation profile is wrong.
Reboot and verify the installed system
When Archinstall finishes, remove the USB drive and boot into the installed system. Log in with the account you created, verify that the network works, and run a full update before adding more software.
sudo pacman -Syu
The package manager refreshes repository metadata and updates installed packages as one transaction, while a machine that will not boot calls for a firmware check and Secure Boot compatibility review before boot entries are changed.
Where to go after Archinstall
Archinstall gets a bootable system onto the disk, but you still own its maintenance. Start with the ArchWiki Archinstall page if you need support, and include the installer log at /var/log/archinstall/install.log when a support request asks for it.
Set up the tools you need and keep updates routine after you understand how packages are managed on Linux and the choices you made for storage, users, and boot.
Is Archinstall included in the Arch Linux ISO?
Yes. The official Archinstall project documents that running archinstall from an Arch Linux live ISO starts the guided installer by default.
Does Archinstall erase a disk?
It can. A guided whole-disk layout can erase the selected drive, so back up data and check the disk selection before approving the installation summary.
What should I do after Archinstall finishes?
Remove the installation USB, boot the installed system, verify networking, and update packages with sudo pacman -Syu before adding more software.