
If you are a digital note-taker like me chances are you probably have heard of apps like Notion, Evernote, Dropbox, and Joplin.
But have you heard of Obsidian?
If you have not let me tell you Obsidian is one of the best apps for your university life. From note-taking to embedding videos to your notes, to the unique philosophy of graph mode, everything about this app is special. In today’s article let’s take a tour of Obsidian. We’ll cover the basics as well as the several community-built add-ons you can install on your machine.
I’ll also share my own favorite add-ons, so keep reading till the last!
How to Install Obsidian on Your Linux Machine
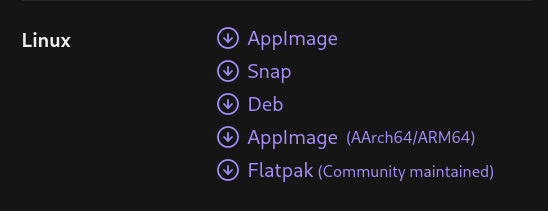
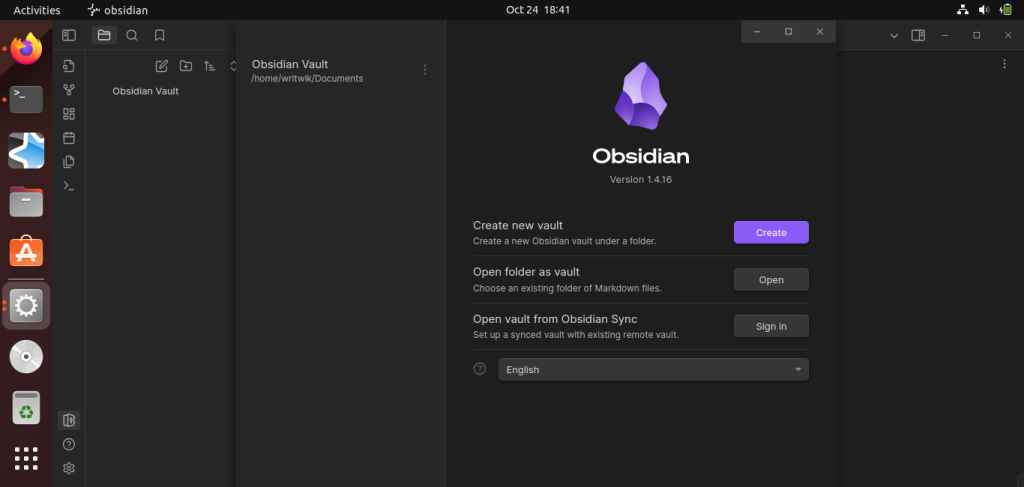
First let’s take a look into the installation of Obsidian into your machine. First, go over to this website. You will see a download link, click on that and you’ll be good to go. The default is an AppImage, however, if you want another package, you can visit this link and download whichever one you prefer.
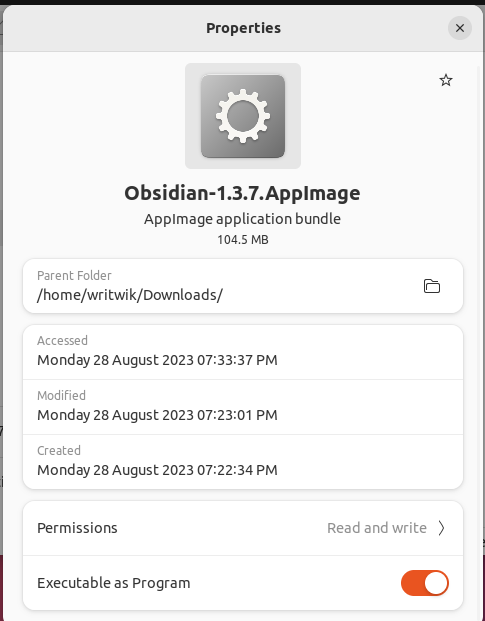
We have gone for the AppImage version. Once downloaded we can right click on the file and enable it to be run as executable.
However if you are on Ubuntu 23.04 you may face the following problem:
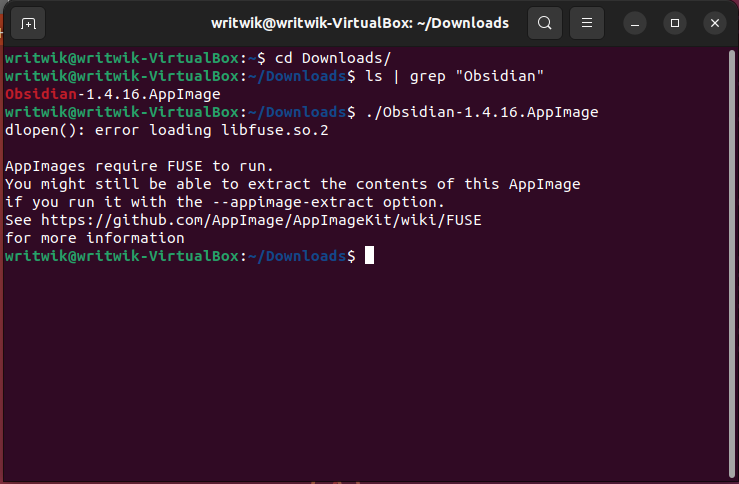
There is a simple fix: you just need to install the relevant FUSE, run the following command:
sudo apt install libfuse2
Once installed you can try and run the appimage file:
./Obsidian-x.xx.x
You can check out this article if you’re unsure how to easily integrate appimages like the obsidian file into your Linux desktop!
Understanding the Obsidian Vault System
Now that we have gone through the installation let’s talk about how to effectively use the app. In Obsidian we have something called “Vaults”. Every vault is the root folder for all your notes. We can have multiple vaults, but it’s difficult to navigate from one vault to the other. We can of course have our own folder structure inside the vaults as well. But navigating folders is far easier. This allows users to have separate vaults and further segregation inside each of their vaults.
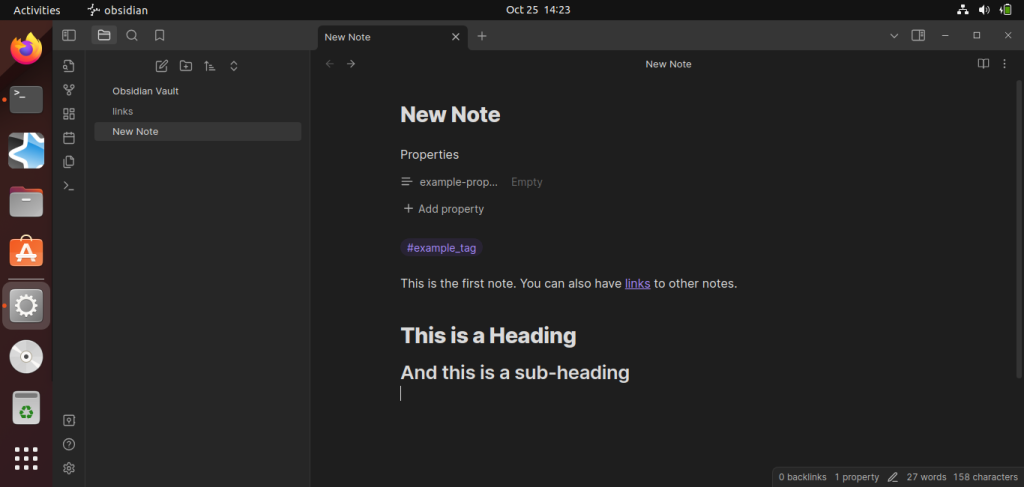
Typically one user would use multiple vaults very rarely. Suppose you have all your notes from your university in one vault and another dedicated vault for keeping all your internship-related notes and folders. However, all of your University class notes, lectures, and PDFs will be staying in separate folders inside the University vault. This way you can have separate folders inside one single vault and keep things organized. However, there exists also the very famous “Zettlekasten” method, where there are no (or very few) sub-folders inside the vault. Instead, it uses tags and filters for organizing files. First, you may take a look at some of the in-built features of obsidian here.
How to Install Third-Party Plugins in Obsidian
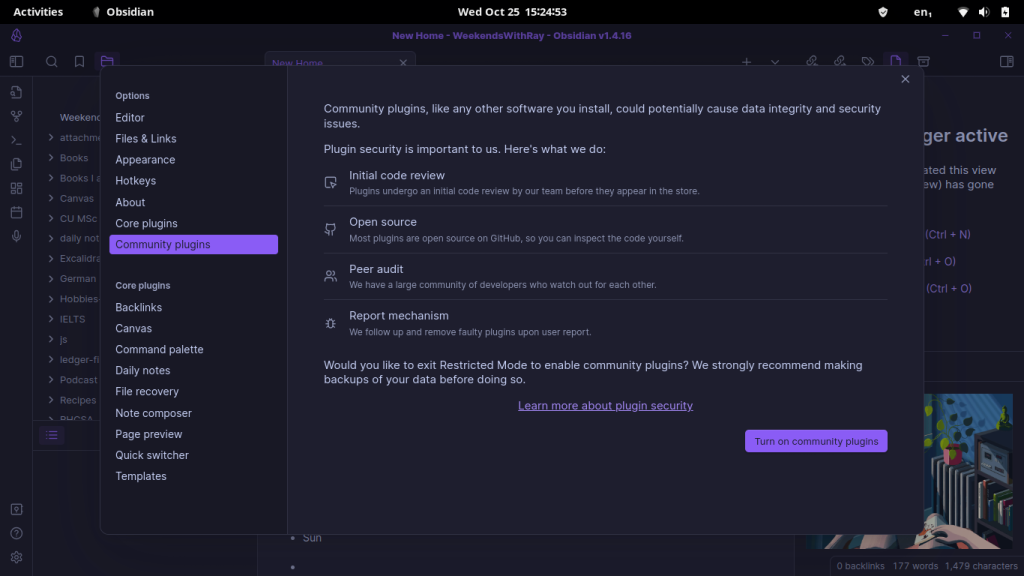
Once you have covered the basics, you can install additional third-party plugins in Obsidian too! Every addon has a GitHub page you can look into for the installation procedure, but there’s a standard procedure to it nonetheless. Let’s see what it is.
To install third-party plugins first you’ll need to enable them in the settings menu. To do that, open up Settings (click on the gear icon near the down-left corner) open up Community Plugins, and finally click on Enable Community Plugins.
Once enabled, you can now browse them and pick and choose any one you like.
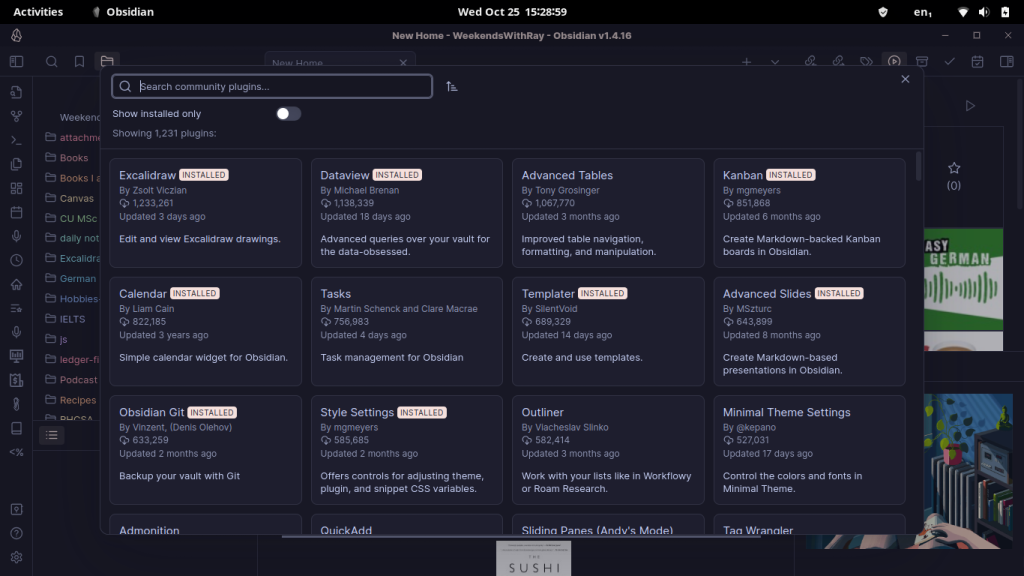
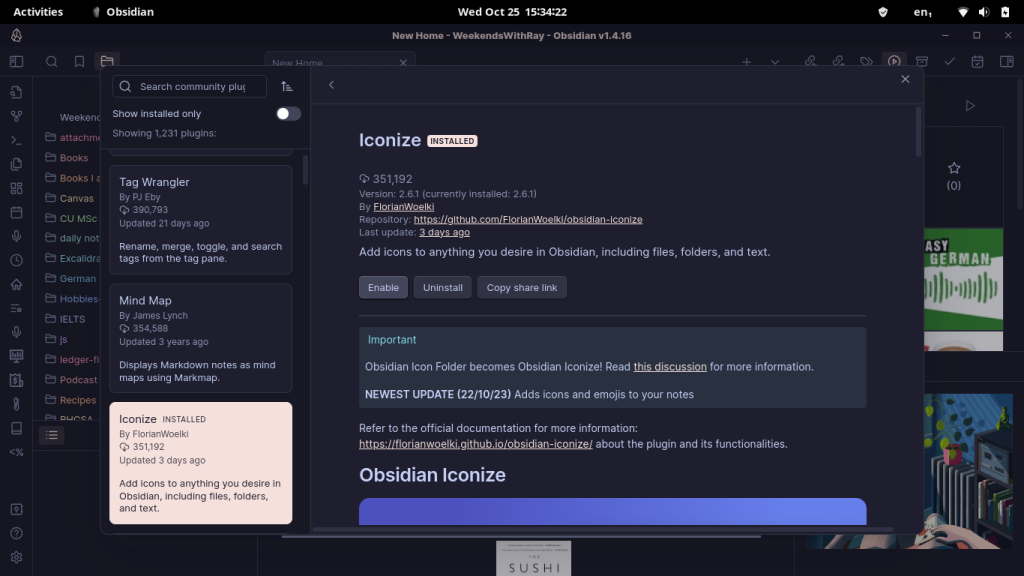
For example, say I want to install the Iconize plugin. To do that, I’d navigate to the Iconize plugin from the Browse page, then click on Install.
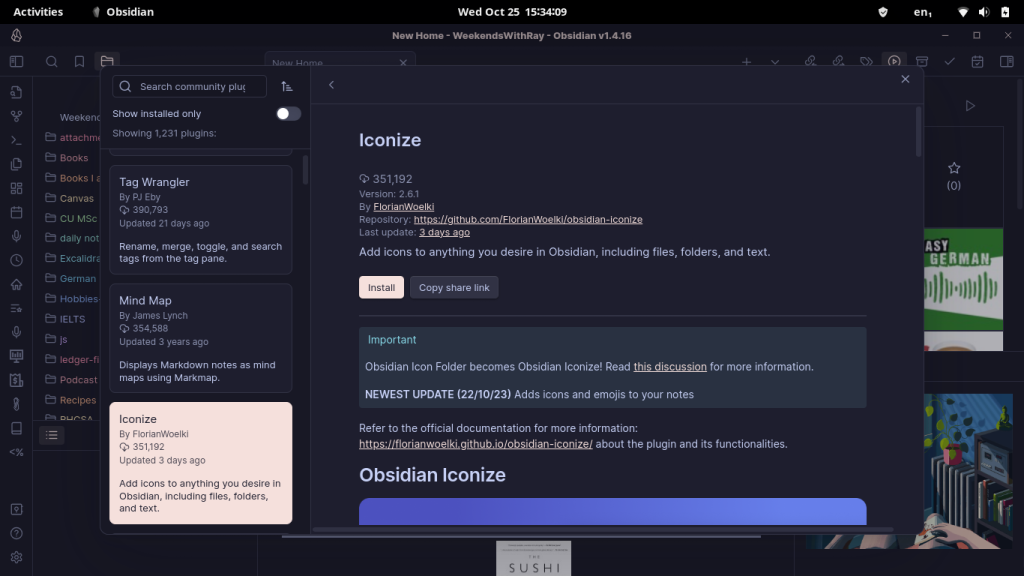
After the necessary files are downloaded, we’d need to enable the plugin by clicking on the enable button. Finally, the installation is complete and we can further tweak the settings of the plugin if need be.
Wrapping Up: Unlock the Power of Obsidian
In this article, we have taken a look into Obsidian one of the best notetaking applications out there. You can further research the various PKM systems you can use in Obsidian in order to organize and easily create new notes in this forum. For more such awesome articles keep in touch with LinuxForDevcies.