Ubuntu, one of the most popular Linux distributions, is known for its ease of use and strong community support. However, like any operating system, it can sometimes experience issues that necessitate resetting its default settings.
This article will discuss resetting any Ubuntu or Debian-based distribution to its default factory settings without reinstalling Ubuntu using a GUI-based open-source tool called Resetter and a terminal command called dconf.
Why Reset Ubuntu to Default Factory Settings?
Reasons to Reset Ubuntu
There are several reasons why you might want to factory reset your Ubuntu installation:
- System errors or crashes due to software conflicts or configuration issues
- Malware or virus infections that are difficult to remove
- Unwanted software or configurations that clutter your system
Benefits of Resetting Ubuntu
Resetting your Ubuntu system can provide the following benefits:
- Restoring system stability and performance
- Removing unwanted software and settings
- Starting fresh with a clean slate makes it easier to troubleshoot issues
Creating a Backup of Your Data
Before proceeding with the reset, creating a backup of your important data is crucial. This can be done using various backup tools like Deja Dup, Timeshift, or manual file copying.
Here are the steps to follow to Install Resetter to reset Ubuntu
Requirements for Resetter
Before you proceed with the installation, make sure your system meets the following requirements:
- Supported Ubuntu versions: Ubuntu 18.04 LTS or later
- System requirements: At least 2 GB of RAM and 10 GB of free disk space
Installing Resetter via Terminal
To install Resetter through the Terminal, follow these steps:
1. Add the Resetter repository to your system:
sudo add-apt-repository ppa:resetter/ppa
2. Update your package list:
sudo apt update
3. Install the Resetter package:
sudo apt install resetter
Alternative Installation Methods to install resetter
If you prefer not to use the Terminal, you can also install Resetter using these alternative methods:
- Download the Resetter .deb package from the official GitHub page: https://github.com/gaining/Resetter/releases
- Install the package using a package manager like GDebi or Software Center.
Using Resetter to Reset Ubuntu to Default Settings
Launching Resetter
After installing Resetter, you can launch it in one of two ways:
- Run Resetter from the Terminal by typing:
sudo resetter - Access Resetter through the applications menu by searching for “Resetter” and clicking the icon.
Reset Options in Resetter
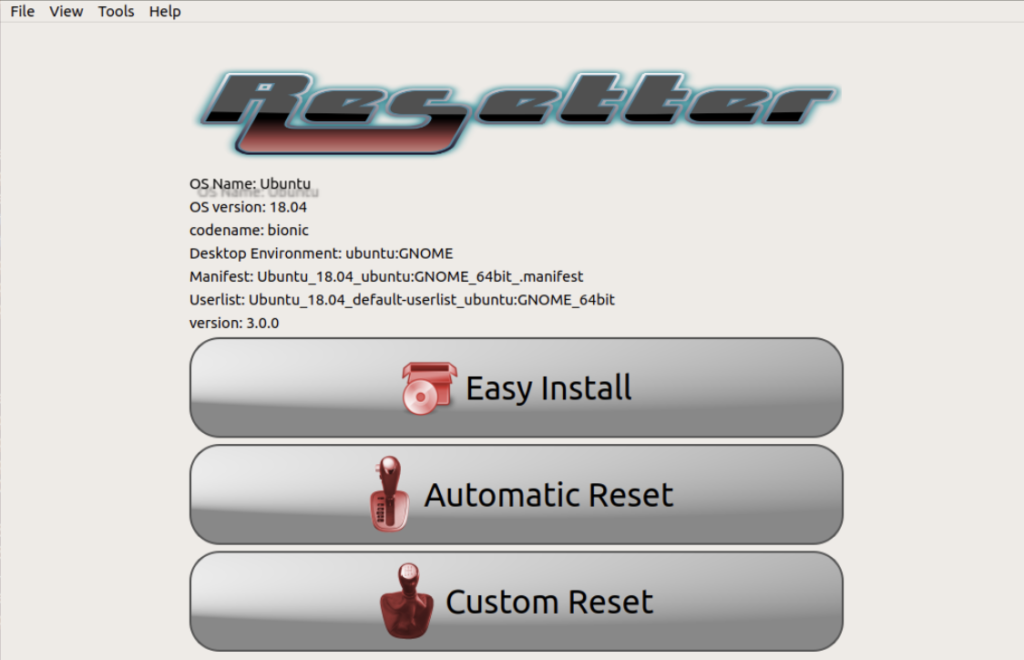
Resetter offers two reset options:
- Automatic reset: Resets your system to factory defaults by removing all installed packages and settings except those in the official Ubuntu repositories.
- Custom reset: This lets you choose which packages and settings to reset.
Performing an Automatic Reset
To perform an automatic reset:
- Select the “Automatic Reset” option in the Resetter main window.
- Confirm your decision by clicking “Yes” in the confirmation dialog.
- Wait for the reset process, and reboot your system when prompted.
Performing a Custom Reset
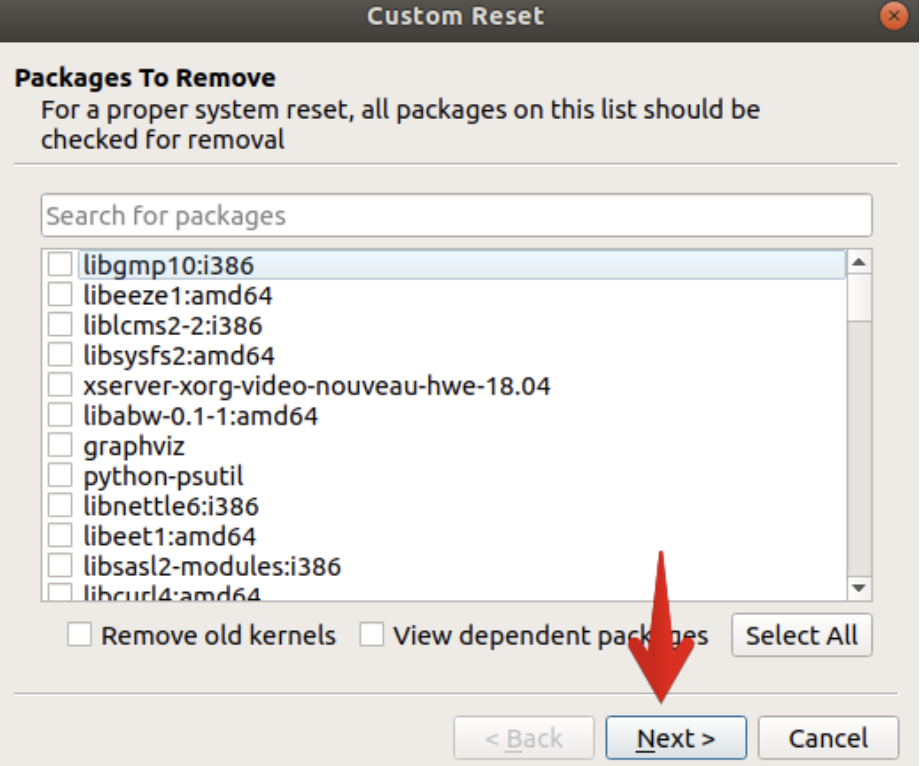
To perform a custom reset:
- Select the “Custom Reset” option in the Resetter main window.
- Choose the packages and settings you wish to reset by checking the corresponding boxes.
- Confirm your decision by clicking “Yes” in the confirmation dialog.
- Wait for the reset process, and reboot your system when prompted.
Steps to Reset Ubuntu to Default Settings Using the dconf Command
We can easily reset our Ubuntu to default settings using the dconf command. You can check out its man-pages by running the following command in the terminal:
man dconf
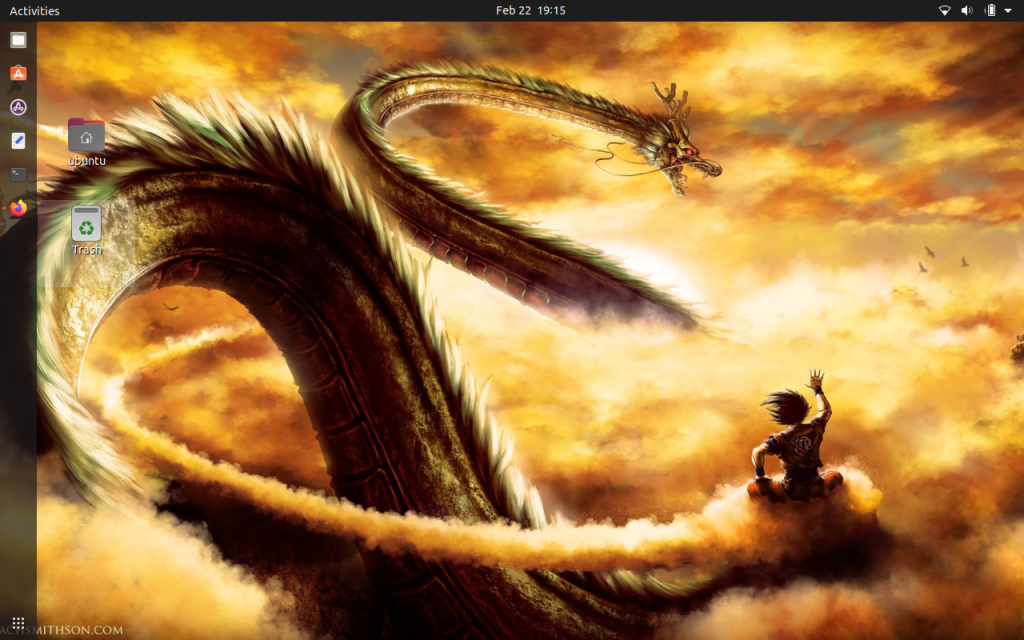
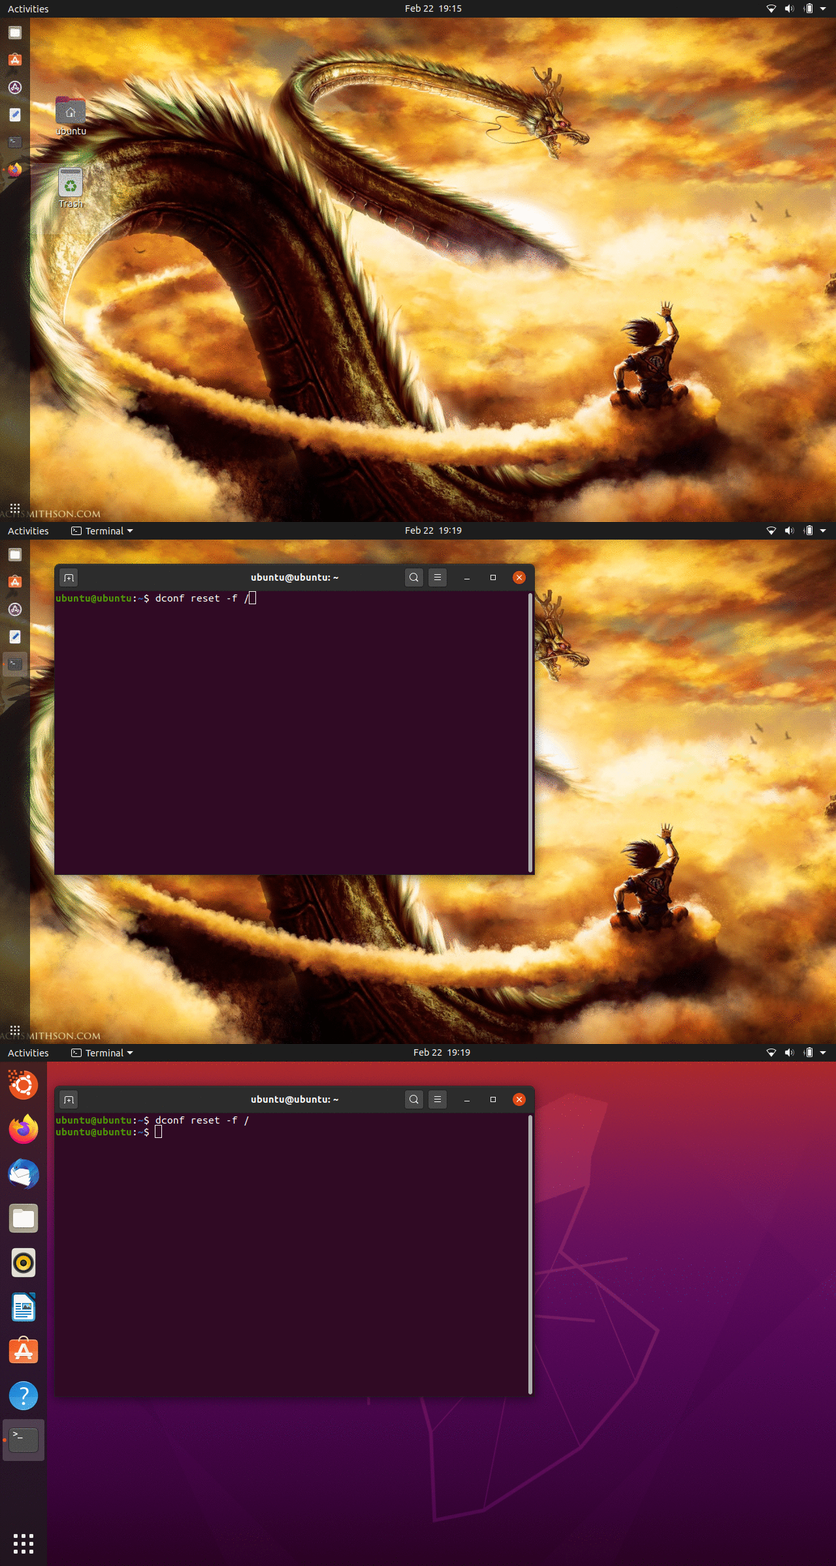
Here is how my customized and tweaked Ubuntu desktop looked before resetting to default settings.
To reset Ubuntu to default settings, open your terminal from the menu or use the keyboard shortcut CtrL+Alt+T, and run the following command –
dconf reset -f /
This command will reset your system settings and desktop to factory settings. After running the command, your Ubuntu will revert to default factory settings in a blink of an eye.
Your Ubuntu will look as good as new as mine does. Everything from system settings, wallpaper, dock size, and pinned icons was reverted to factory settings.
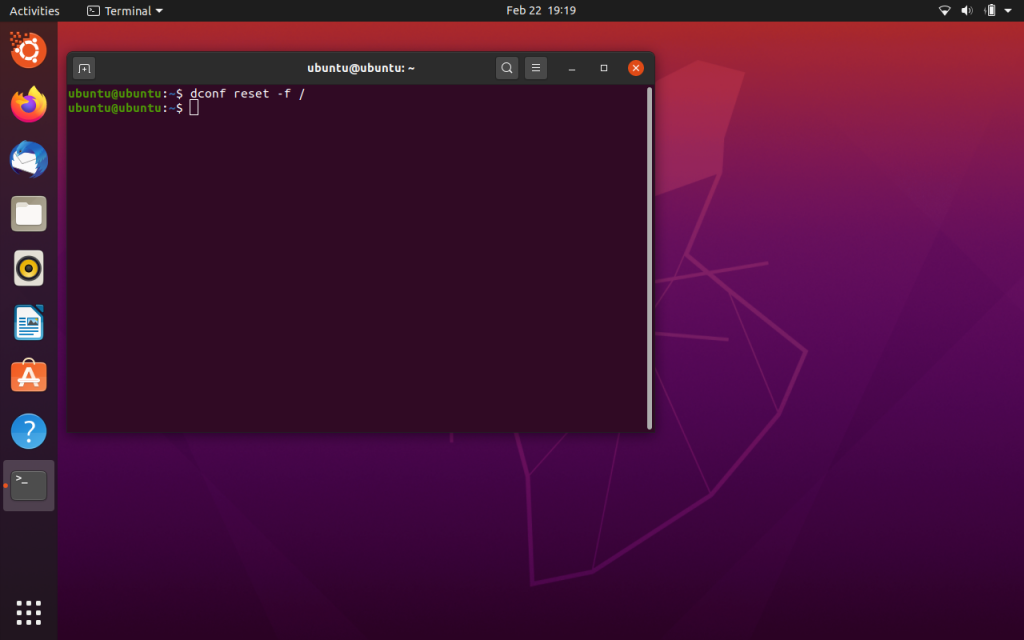
This command resets all the changes you made to the system UI, like wallpaper, pinned applications, icon themes, screen resolution, fonts, dock, panel applets, system settings, keyboard shortcuts, menu behavior, etc., to default factory settings.
It will not affect any application that you have installed. It won’t affect or delete your downloaded applications or data either. It will only affect only those applications that use dconf like the system settings.
For ease, we have added a GIF below, especially for you. It will help you to understand the entire process pretty easily.
Bonus
- You can also use
dconfto backup and restore your system settings
Verifying the Reset
Checking the System Settings
After the reset is complete, you can verify that your system has been restored to its default settings by:
- Checking the default configurations in the System Settings application.
- Ensuring that unwanted software has been removed from the applications menu.
Testing System Stability and Performance
To further confirm that the reset was successful, you can:
- Run system diagnostics using built-in tools like System Monitor and Disk Usage Analyzer.
- Compare the system’s performance before and after the reset by monitoring resource usage and responsiveness.
Conclusion
In conclusion, this article offers a comprehensive guide on resetting Ubuntu to default settings using Resetter and the dconf command. Remember to backup crucial data before proceeding. Resetting Ubuntu can restore stability, remove unwanted software, and provide a fresh start for troubleshooting. Follow the steps provided to easily reset your system and verify its success.
