

In this tutorial we’ll learn how to install OpenVPN server on Ubuntu/Debian. So let’s get started!
What is OpenVPN?
OpenVPN is an industry-level, fully-featured SSL/TLS VPN which implements OSI layer 2 or 3 secure networks. It supports various authentication methods like username and password, through certificates, smartcards, etc.
Installing and Configuring OpenVPN Server on Ubuntu
To install OpenVPN server on Ubuntu, follow as we do,
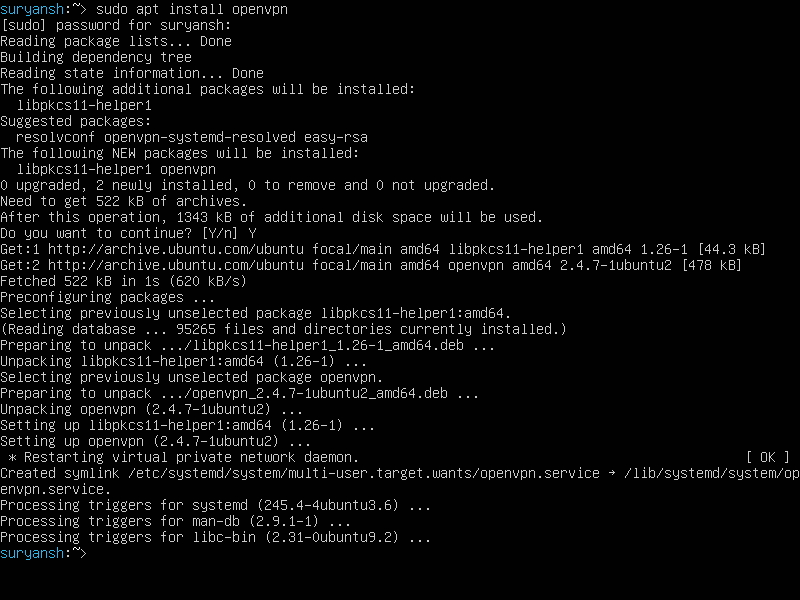
Both Debian and Ubuntu have OpenVPN in their official repositories, so you can easily run the apt command with the sudo command to install OpenVPN:
sudo apt install openvpn
Once we have successfully installed OpenVPN server, we can move further.
Now we have to configure the OpenVPN server we have just installed.
1. Generating CA Certificate using easy-rsa
Before we start with the editing of the OpenVPN server’s configuration, we need to generate a CA certificate and, we’ll generate the certificate and keys in the /usr/share/easy-rsa location using easy-rsa so first we’ll have to install easy-rsa, to install it just execute the following command:
sudo apt install easy-rsa
After the installation has successfully completed, go to /usr/share/easy-rsa and run the following command before we can use easy-rsa to generate a CA certificate:
sudo ./easyrsa init-pki
After we have successfully run the above command, now execute the following command to generate a CA certificate:
sudo ./easyrsa build-ca
Your newly generate CA certificate will be stored in /usr/share/easy-rsa/pki as ca.crt but we need ca.crt in the same directory as the configuration file. So copy the ca.crt file to the /etc/openvpn/server with the help of cp command (You might need to elevate your level to root level by sudo su to access that directory):
sudo cp /usr/share/easy-rsa/pki/ca.crt /etc/openvpn/server
Once we have successfully generated the CA certificate and copied it to the mentioned location. Now we can move to generate certificates and keys for the server.
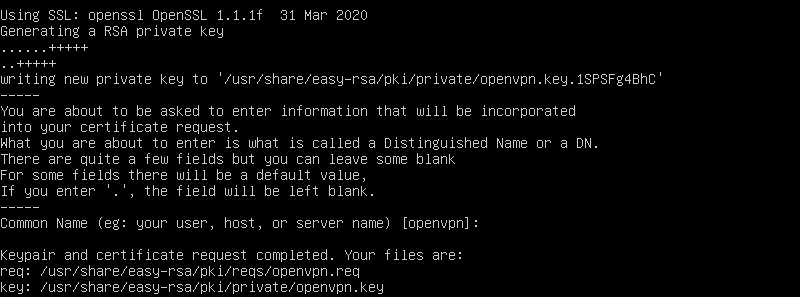
2. Generating certificate and keypair for the server
Now to generate the certificate and key pair for the server, go to /usr/share/easy-rsa and run:
sudo ./easyrsa build-server-full servername
Now copy the certificate and the key to /etc/openvpn/server by:
#To copy certificate
sudo cp /usr/share/easy-rsa/pki/issued/servername.crt /etc/openvpn/server

#To copy key
sudo cp /usr/share/easy-rsa/pki/private/servername.key /etc/openvpn/server
3. Generating DH (Diffie-Hellman) file
For generating DH file, we’ll use easy-rsa located at /usr/share/easy-rsa
Go to /usr/share/easy-rsa and execute following command to generate DH file:
sudo ./easyrsa gen-dh
Once completed, your dh.pem file will be stored in /usr/share/easy-rsa/pki now copy it to the /etc/openvpn/server by using the cp command:
sudo cp /usr/share/easy-rsa/pki/dh.pem /etc/openvpn/server
Now we can further proceed.
4. Generating HMAC key for the OpenVPN server on Ubuntu
To generate HMAC key, execute:
sudo openvpn --genkey --secret /etc/openvpn/server/ta.key
Now we have required files to configure OpenVPN server.

We can now start editing the OpenVPN’s configuration file!
5. Editing server.conf
Sample configuration files can be found at /usr/share/doc/openvpn/examples/sample-config-files named as server.conf and client.conf

Extract server.conf file from server.conf.gz by executing gunzip command with sudo command:
sudo gunzip -k server.conf.gz
Once we have extracted the server configuration file, we can now move it to /etc/openvpn/server.

To move the server.conf to /etc/openvpn/server execute:
sudo cp server.conf /etc/openvpn/server
Now edit server.conf at /etc/openvpn and mention the correct filename of the files we generated in previous steps.
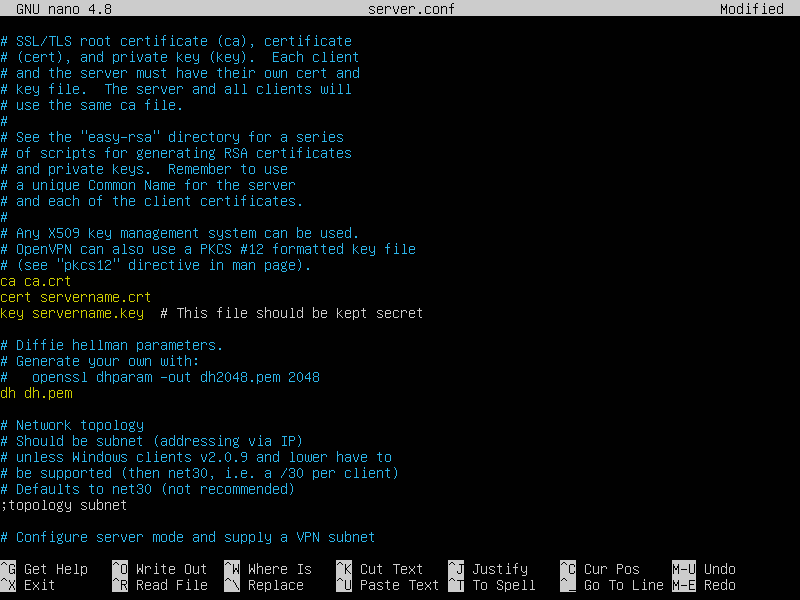
We are not changing the rest of the configuration as in our case nothing else needs to be changed other than mentioning the correct file names required for the server, but you can change them as per your requirements.
6. Launching OpenVPN server
Make sure the port specified in server.conf is available for OpenVPN to use, by default 1194 is OpenVPN’s official port. Also, add rules to the firewall for UDP for the same by executing the ufw command:
sudo ufw allow 1994/udp
We are done with generating and configuring files, now go to /etc/openvpn/server and launch the OpenVPN server by executing the following command:
sudo openvpn server.conf

When you launch the OpenVPN server with the above command, it will prompt you to enter a Private Key Password enter the same password you entered while generating the private key in the above steps, to proceed further and launch the OpenVPN server.
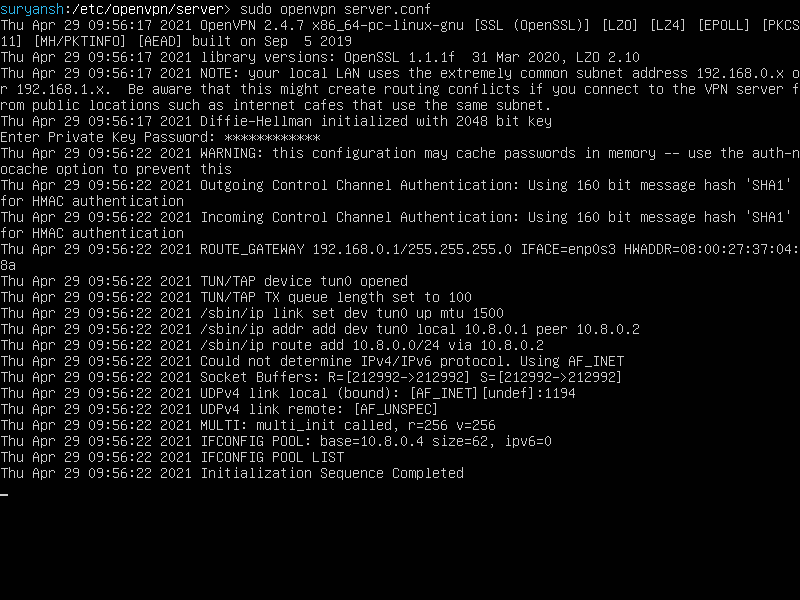
Now the OpenVPN server is running successfully! We have successfully installed and configured OpenVPN server!
Conclusion
Installing an OpenVPN server takes a little too many commands to be executed, but if you follow the steps in the order as they are written above, you might not encounter any errors.
Happy Learning!