
In this tutorial, we will learn how to install VMware Workstation on Ubuntu or any other Linux Distributions.
What is VMware Workstation?
VMware workstation lets you run virtual machines with multiple operating systems on the same server. For Windows and Linux, there are two editions of VMware workstation:
- VMware Workstation Player
- Vmware Workstation Pro
Basically, both share the same hypervisor technology but have different interfaces.
VMware workstation player is for a single operation which is great for personal use.
VMware Workstation Pro is designed for developers and professionals with an advanced interface that can run multiple Virtual Machines at the same time.
Pro comes with a 30-day free trial whereas Player is completely free.
To run Virtual Machine on Mac devices, You can download VMware Fusion or Fusion Pro.
System Requirements:
- 2GB RAM minimum/ 4GB RAM or more.
- 1.3GHz or faster core speed
- A compatible 64-bit x86/AMD64 CPU
Installing VMware Workstation Player on Ubuntu
Let’s get started with working on the installation of VMware
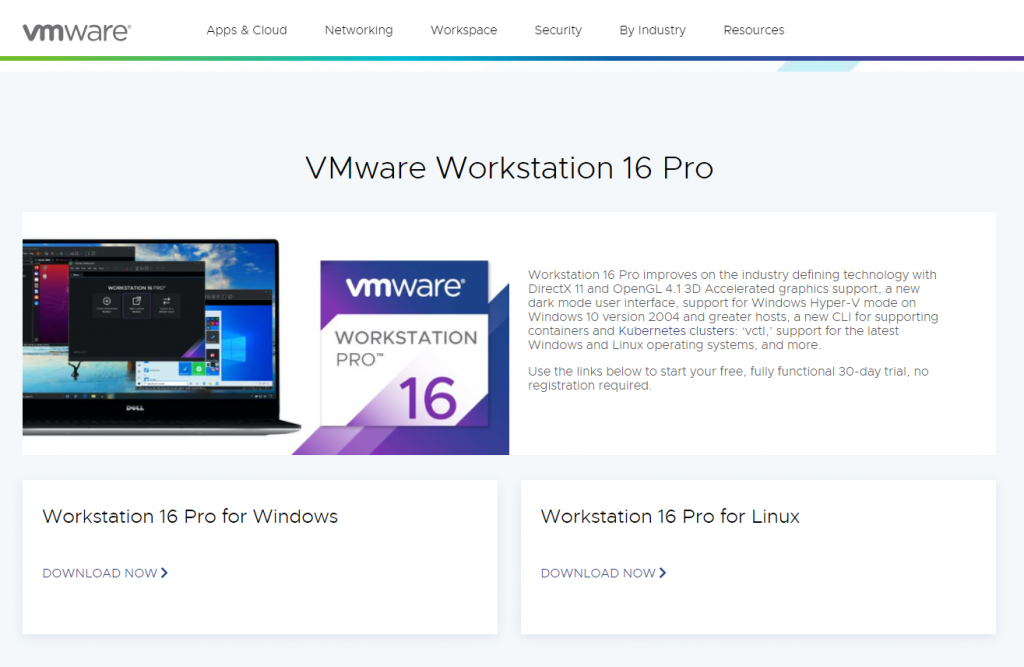
Step 1: Download VMware Workstation Pro
To install VMware Workstation Pro on Ubuntu, Download the VMware Workstation Pro bundle for linux on the official website, or follow this link.
To download VMware Workstation Player for linux, follow this link.
Step 2: Install pre-requisites
To install VMware Workstation Pro, We need to install build packages by following these steps:
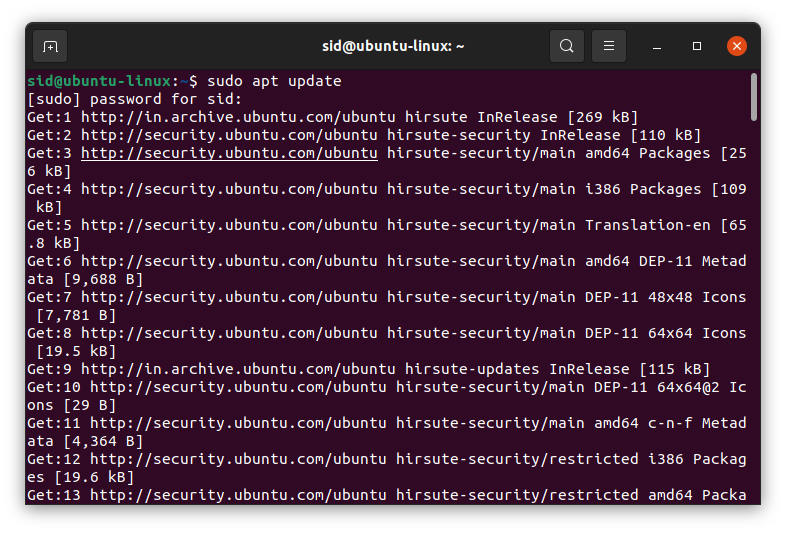
In the terminal, first, update the package repository using the following apt command:
sudo apt update
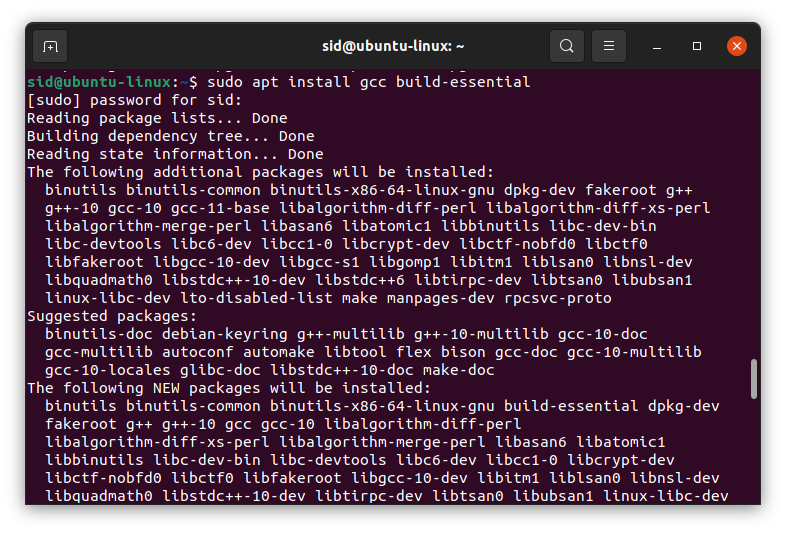
Now, run the following command to install the pre-requisites:
sudo apt install gcc build-essential
Press Y to confirm and press <enter>.
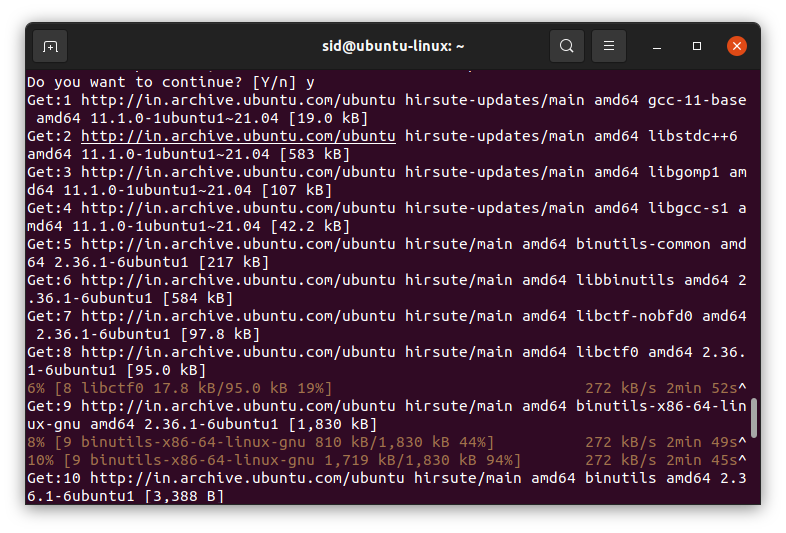
The pre-requisites will be installed.
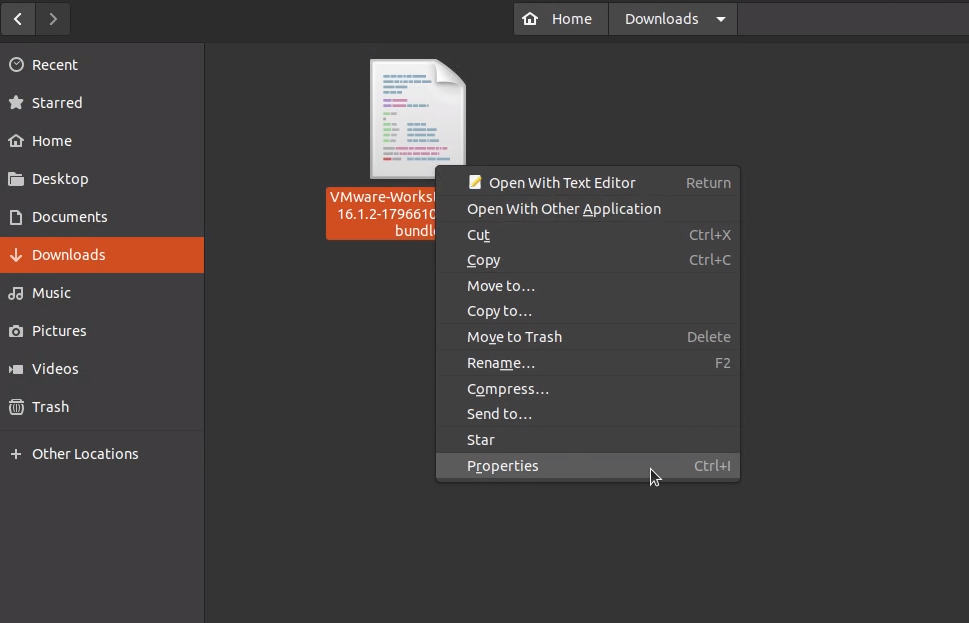
Now, Go to the Downloads folder (where the file is installed). Right click on the VMware Workstation Pro bundle. Select Properties.
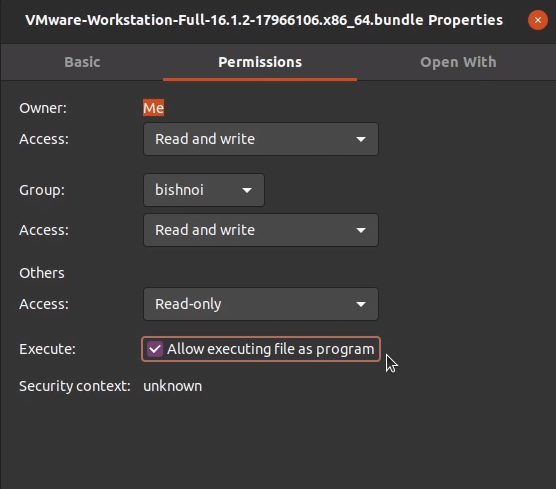
In the permission tab, check the option Allow executing file as program. Now, Close the Properties window.
Step 3: Extract Vmware Workstation Pro
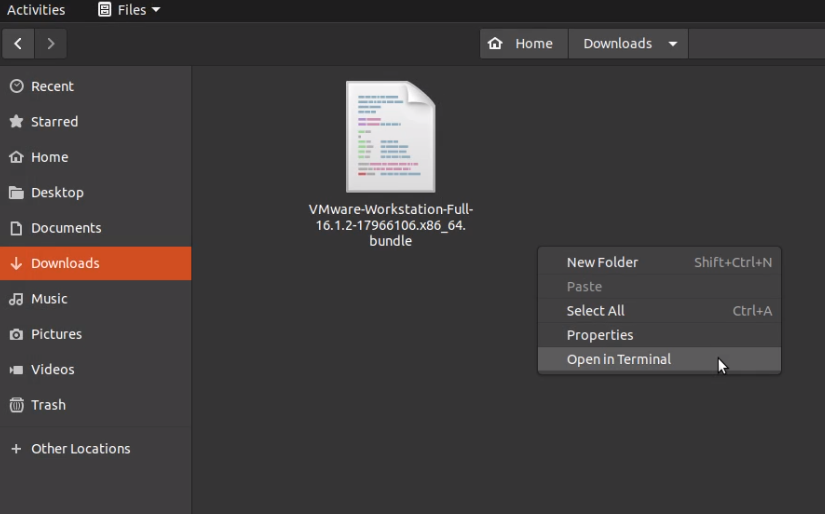
First, Right click in the Downloads folder and select Open in terminal.
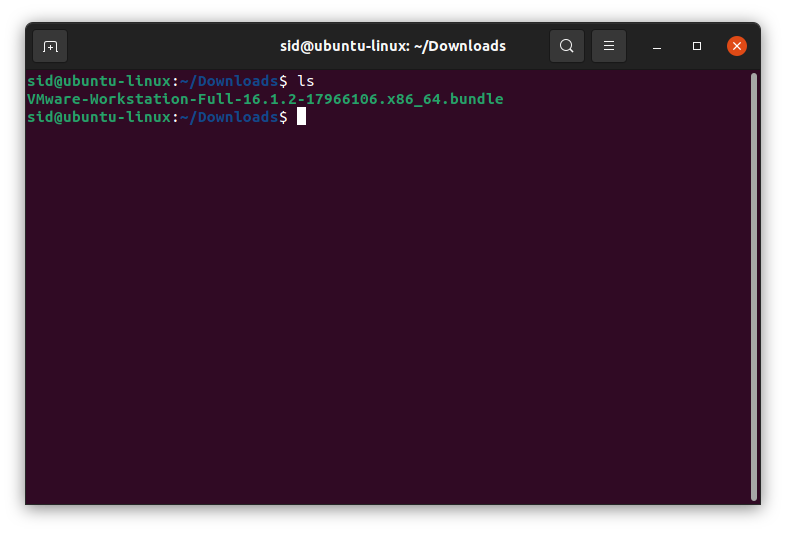
Run the following command to list the files in the Downloads directory and copy the file name.
ls
Now, extract the bundle by executing the following code (replace the file name with the downloaded file) :
sudo ./VMware-Wrkstation-Full-16.1.2-17966106.x86_64.bundle
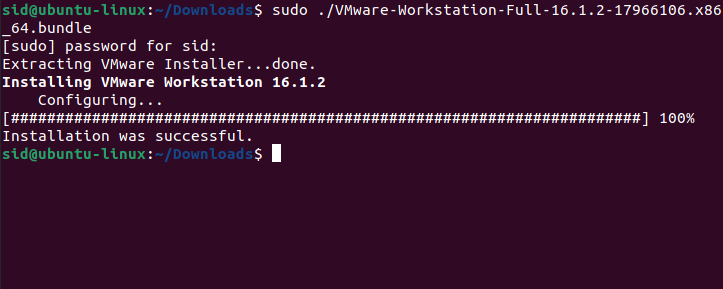
Vmware Workstation Pro will be extracted.
Step 4: Install VMware Workstation Pro
Search for VMware Workstation Pro in the activities search bar and open the VMware Workstation Pro.

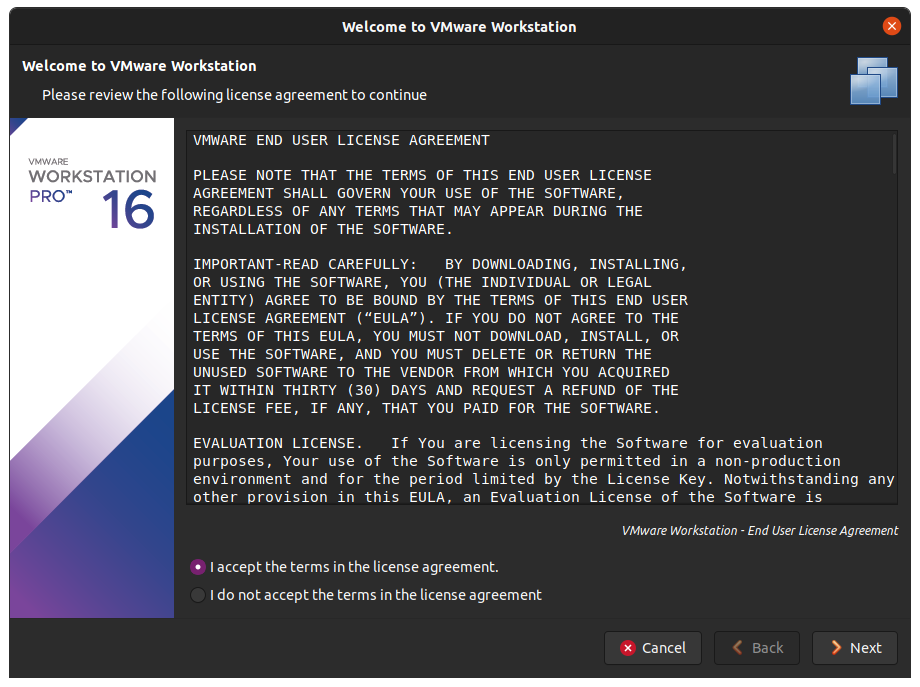
You will see the License Agreement window and check the option I accept the terms in license agreement. Then, click Next to continue.
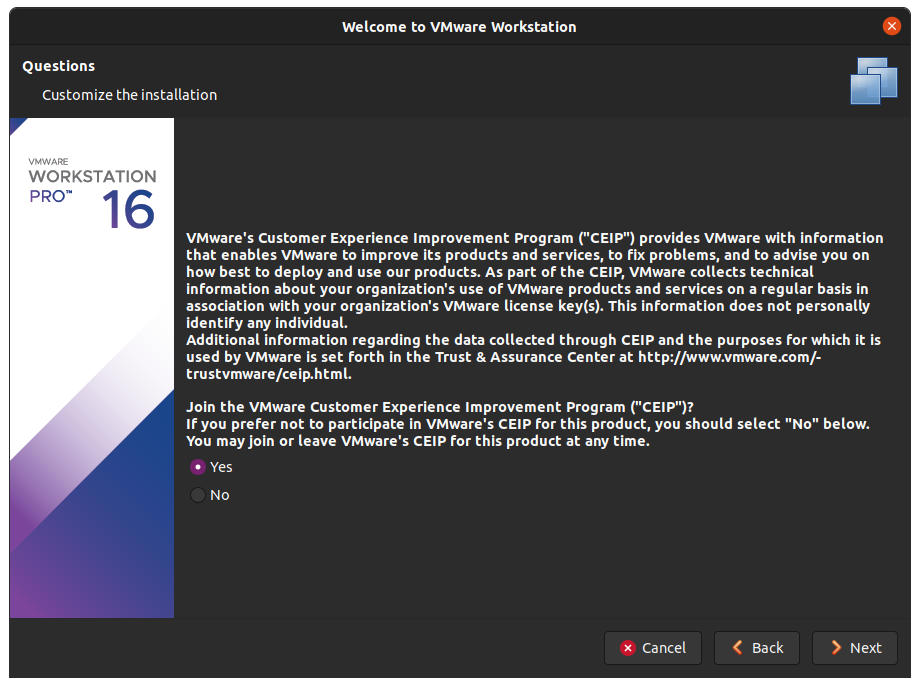
Now, you will be asked to check the product updates and to join the VMware’s customer experience program. Choose the options as desired.
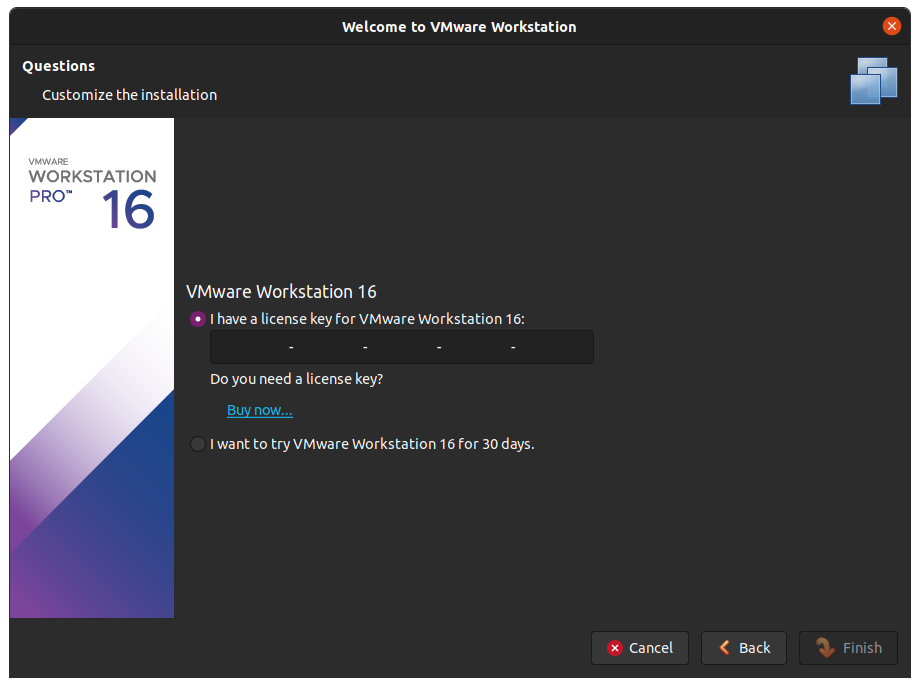
It will ask for the license key, If you have a license key, enter it or you can choose a 30 day free trial. Click on Finish.
VMware Workstation Pro is installed successfully. Now you can run a virtual machine or can even connect to a remote server.

Conclusion
That’s all! We learnt how to install VMware workstation Pro in Ubuntu. For VMware Workstation Player, you can follow the same steps. To enhance the functionality, performance and stability, You can install VMware Tools through this tutorial: How to install VMware Tools on Ubuntu?