
Welcome to another tutorial article from LinuxForDevices! Today we will learn how to install Oracle Java on Ubuntu 20.04. Java is a high-level programming language which is mainly used for object-oriented programming. You may need to install Java in order to play the famous game Minecraft. Java is also great for creating web apps, software development tools and various other things.
Also read: How to install Java on Debian?
Checking Whether the System Has Java Installed
First and foremost we need to check whether the system already has Java or not. To do this in Ubuntu, open up the terminal and then run the following command:
java --version
The output will tell you the version of Java that is installed on the system if it exists, if not, then it’ll tell you ‘java not found’.
Download OpenJDK Java or Oracle Java
If you want to install the OpenJDK version of Java then go ahead with the following commands and you’ll be done:
sudo apt install openjdk-8-jdk #for version 8
OR
sudo apt install openjdk-11-jdk #for version 11
OR
sudo apt install openjdk-13-jdk #for version 13
OR
sudo apt install openjdk-14-jdk #for version 14
If however, you want to install the Oracle Java version the steps will be different. For this, first, open up any browser and search for “download oracle jdk”. You will find the following page: link. Visit this site and select the Linux File that is running on your machine (we will go with the x64 debian package). Download and save the file. At the time of writing this article, the latest version available is version 18.
Now open up the terminal and then cd into the folder the downloaded file resides (for us it is the Downloads folder):
cd Downloads/

sudo dpkg -i filename.deb
Here filename.deb is the name of the file that you have just downloaded. If prompted give your the user password and press enter to resume the installation.
Also read: Sudo nopasswd: How to run commands as root without a password?
Once the installation has been completed we need to run another two sets of commands and then we’ll be done.
sudo update-alternatives --install /usr/bin/java java /usr/lib/jvm/jdk-18/bin/java 1
If you end up with an error retype the command replacing the exact version of Java you have installed onto your system (Ex- you may have installed java version 18.0.1 then you need to enter jdk-18.0.1 in the above command).
Now run the following command for javac:
sudo update-alternatives --install /usr/bin/javac javac /usr/lib/jvm/jdk-18/bin/javac 1
If there is an error the solution is similar to the previous command’s solution.
Now go ahead and clear the terminal and type the following command to check the java version on your system:
java --version
You can also check the javac version in a very similar fashion:
javac --version
Switching Between Java Versions
To locate your java installation folder give the following command:
sudo update-alternatives --config java
This will output the installation folder of Java on your system and you can use that path to change between multiple versions of Java if you so desire.
Writing a Hello World Program in Java
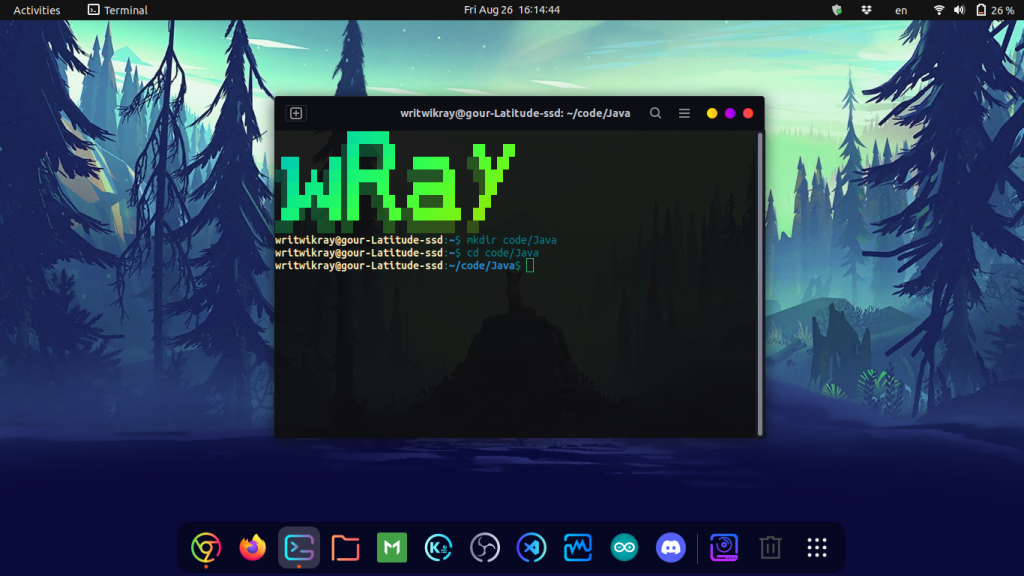
Let’s first create a Java folder using the mkdir command and cd into it.
mkdir code/Java && cd code/Java/
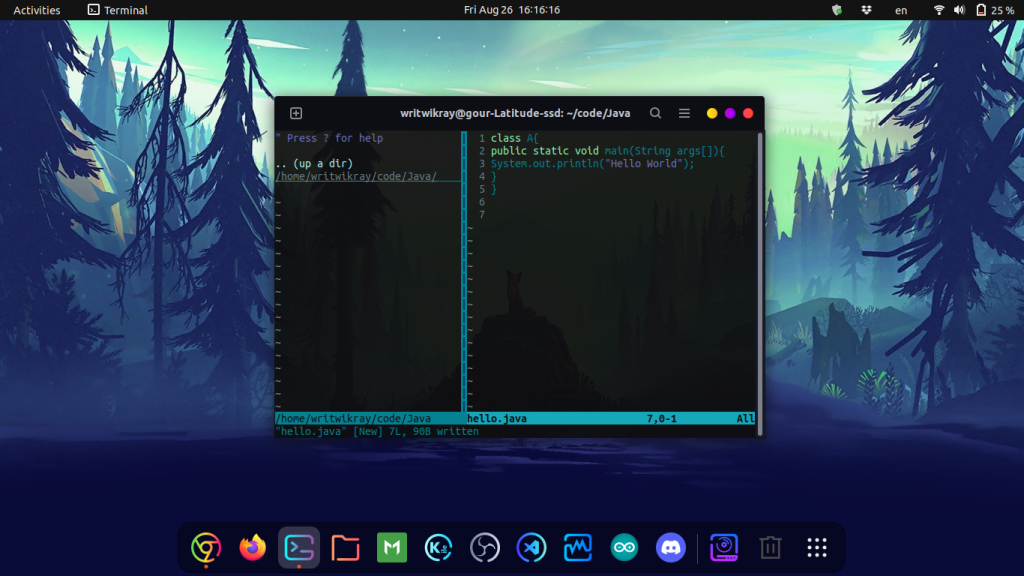
Now let’s create a java file and jump into it. You can use your preferred code editor, in this article we will be using vim.
vim hello.java
Now we will write a hello world program in Java. First, we declare a class with the name A and inside that class, we will declare the main method public static main void main(String args[]){}. Now we will give the print statement. Once finished your code should look like the following block:
class A{
public static void main(String args[]){
System.out.println("Hello World");
}
}
Now save the file. Now open up the terminal and locate the folder containing the java file and run the following command with the correct file name:
javac hello.java
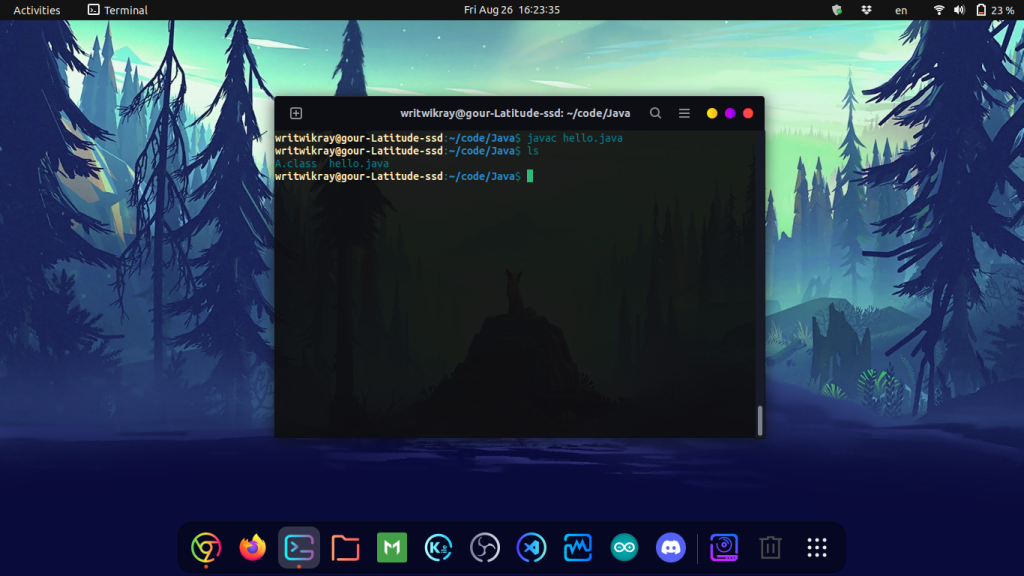
If you ls in the directory you will see that a new A.class file will be created. Now run the following command to run the file:
java A
Now the terminal window will give you the output “Hello World”.

Summary
Congratulations on downloading, installing and running your first Java File! We hope this article has been resourceful and fun for you readers out there. For more such articles keep tuned in to LinuxForDevices and as always, thanks for reading!