

In this article, we’ll learn how to install Gnome on Ubuntu. Gnome comes pre-installed while installing Ubuntu. It is the default desktop environment for Ubuntu. If you have installed a different desktop environment and want to install GNOME on Ubuntu, we will be discussing it in this article.
What is GNOME?
GNOME is a desktop system that provides a Graphical User Interface (GUI) loaded with a desktop application for Linux operating systems. For non-programmers who use Linux, GNOME makes the operating system user-friendly by providing a GUI. It provides a lot of customization and gives a good look and feel to the operating system. It is free and open-source and can be installed easily on any Linux distribution.
Installing Full GNOME Desktop on Ubuntu 20.04 LTS
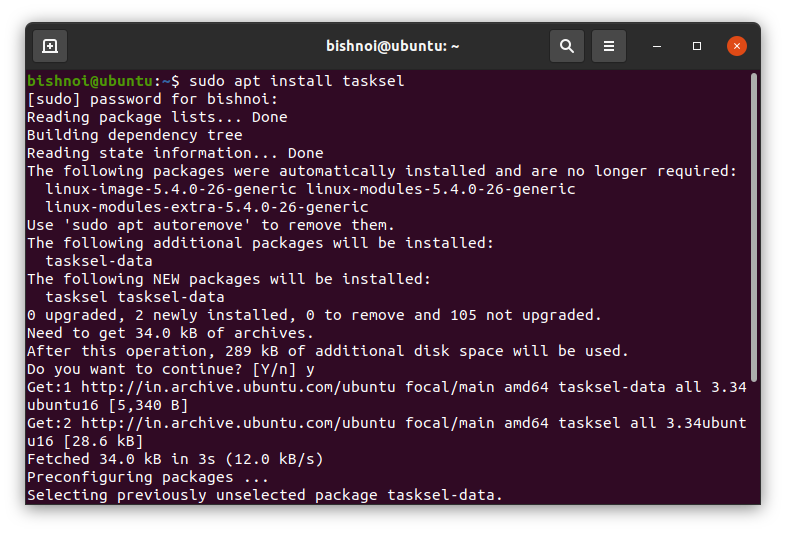
Open the Terminal by pressing Ctrl+T. First, install the tasksel command:
sudo apt install tasksel
Now, run the following command to install GNOME Desktop using the Tasksel command:
sudo tasksel install ubuntu-desktop

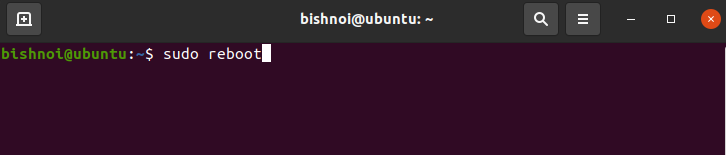
The GNOME Desktop is successfully installed. Now, reboot your system for changes to take effect.
sudo reboot
Install GNOME Vanilla on Ubuntu 20.04 LTS
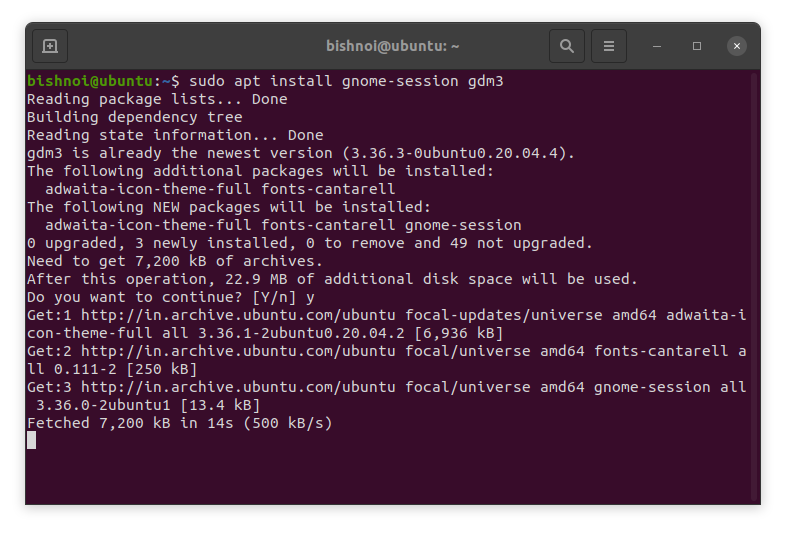
GNOME also comes with a ‘Vanilla’ version which requires minimal system requirements. It comes with many fewer software packages installed, so, it is a good option for users with low hardware requirements.
1. Run the following command to install GNOME Vanilla on your system:
sudo apt install gnome-session gdm3
2. Reboot your system after the installation is complete:
sudo reboot

Uninstall GNOME on Ubuntu 20.04 LTS
If you want to uninstall GNOME on Ubuntu, run the following command:
sudo apt-get remove ubuntu-gnome-desktop

Conclusion
so, we have discussed how to install GNOME on Ubuntu. There are other desktop environments like Cinnamon, Mate, KDE, Xfce, etc. Almost all the Linux distros support these desktop environments.