
As a programmer, you’ll need to make use of the git for your code versioning needs very often. And if you’re writing code in a collaborative environment, Git will take care of a majority of the work in code collaboration. Its focus is on helping code version control in a distributed setting, track changes made to the code, and be fast. This setup is an example of a DVCS (Distributed Version Control System). In this tutorial, we will learn how to install Git on Ubuntu 18.04 LTS, configure it and initialize your first git project.
Installing Git on Ubuntu
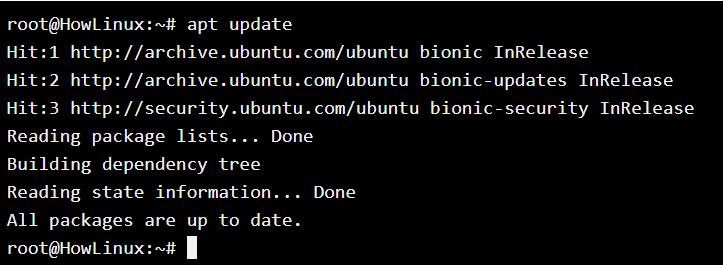
1. Updating apt sources
Since the Debian repository already has packages built-in for git, let’s start by installing that on our systems. We’ll start by updating our apt sources on Debian first.
root@HowLinux:~# apt update
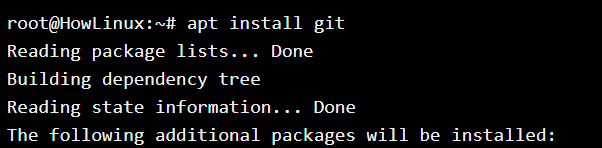
2. Installing the git package
Once the sources are updated, let’s install the git package. The apt package manager automatically adds all the required dependencies and adds them to the installation list without the user having to enter the details individually.
root@HowLinux:~# apt install git
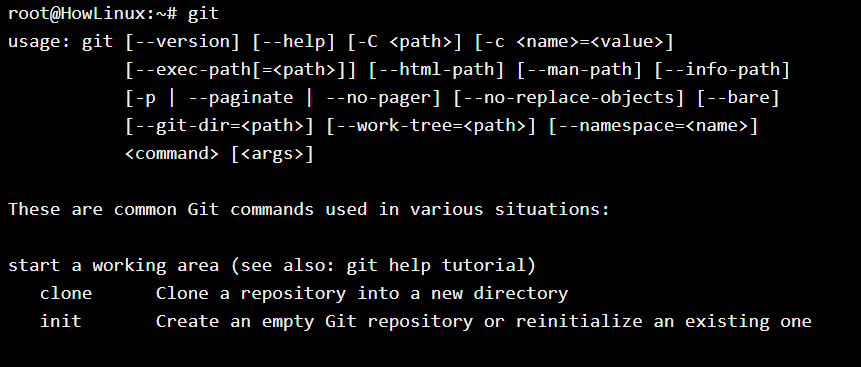
3. Verifying git install
We’ll not run the git command by itself to see if we’ve it all installed correctly. When you run it by itself without any options, you’ll receive the entire –help message giving you the details of all the options available for the command.
root@HowLinux:~# git
4. Configuring the ~/.gitconfig file using the git config command
Now that we have the git command installed, our next step is to set up the username and the email with which we’ll be committing changes to our code. We do that with the use of the git config command.
root@HowLinux:~# git config --global user.email [email protected]
root@HowLinux:~# git config --global user.name HowLinux

root@HowLinux:~# git config --global -l
[email protected]
user.name=HowLinux
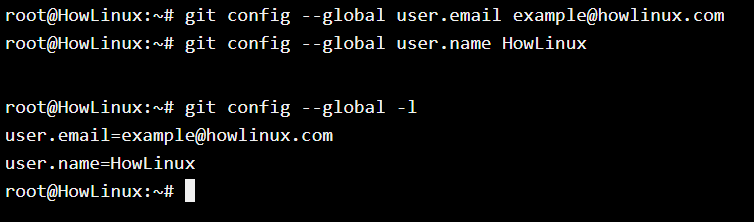
The –global command will make the settings global and automatically create a new file by the name .gitconfig in your home folder. If you do not add the –global option, the configuration is set up to be local instead of being applicable to any folder.
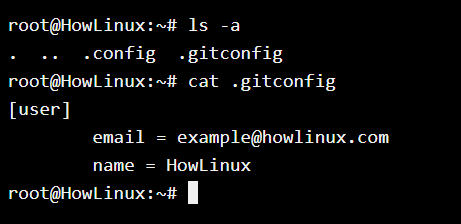
With the use of the cat command, I’ve quickly printed out the content of the .gitconfig file to the terminal output. As you can see, the username and email are listed there. In case you want to change this information in the future, you can simply change it from the file, or by using the git config command.
Initializing your first git directory
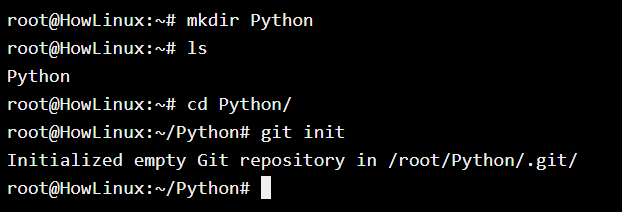
Okay now that you’ve configured git, it’s time to initialize a directory. For that, let’s create a directory using the mkdir command where we’ll be adding our code. I’ll call this directory Python and place it in my home folder. To initialize git in the directory, we’ll use the git init command.
root@HowLinux:~/Python# git init
Initialized empty Git repository in /root/Python/.git/
Some common git command options
Once you’ve initialized the directory as a git repository, you can make use of the different options for the git command. Some frequently used ones will be:
- git status
- git add <file names>
- git commit
- git pull
- git push
- git log
Conclusion
You should now be all set up with a functional git repository to start your coding projects. You can also connect your local git repository with GitHub and push all changes directly to the GitHub servers using the git remote add functionality. The powerful code versioning functionalities that are available for the git command are out of scope for this tutorial but feel free to make use of the man command to learn more about the usage of git in Ubuntu. We hope this tutorial has been helpful to you!