
In this tutorial, we will be learning how to install Etcher on Ubuntu. Etcher is a strong OS image burner tool for Windows, Mac, and Linux. It is simple to use the tool and one of the few GUI image burning tool that is available for windows. There are two ways you can install Etcher: Command-Line Installation and GUI installation.
Install Etcher on Ubuntu Using The Command-Line
As most of you using Linux enjoy the command line more than GUI, let’s go over the steps to install etcher on Ubuntu Linux using the command line first. We’ll then move to install the same using the GUI install method.
1. Updating and Upgrading existing Repositories
To update and upgrade existing repositories run the apt command:
sudo apt update
sudo apt upgrade
2. Add Etcher Debian/Ubuntu Repository
To add the Etcher Repository simply run the following command:
echo "deb https://deb.etcher.io stable etcher" | sudo tee /etc/apt/sources.list.d/balena-etcher.list
After this we also have to add and verify GPG key. To add a trust the repository key just run the following command:
sudo apt-key adv --keyserver hkps://keyserver.ubuntu.com:443 --recv-keys 379CE192D401AB61
3. Installing and Running Etcher on Ubuntu
To install Etcher run the following command:
sudo apt update && sudo apt install balena-etcher-electron
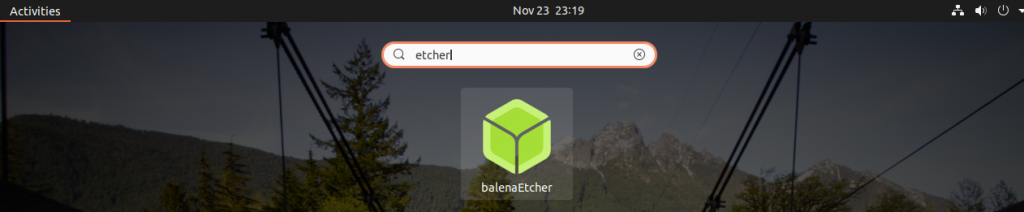
This will install Etcher on Ubuntu and you can search for the application by pressing the windows (super) key and typing Etcher.
GUI Installation for Etcher on Ubuntu
Now let’s move to installing Etcher using the GUI. If you’re a beginner and do not want to go through the command line steps mentioned above, this method can be very helpful and easy to work with.
1. Downloading the Installation File
Visit the official Etcher Download page and download the installation file for Linux.
Your download should begin in no time after you click on the download link.
2. Extracting the zip file
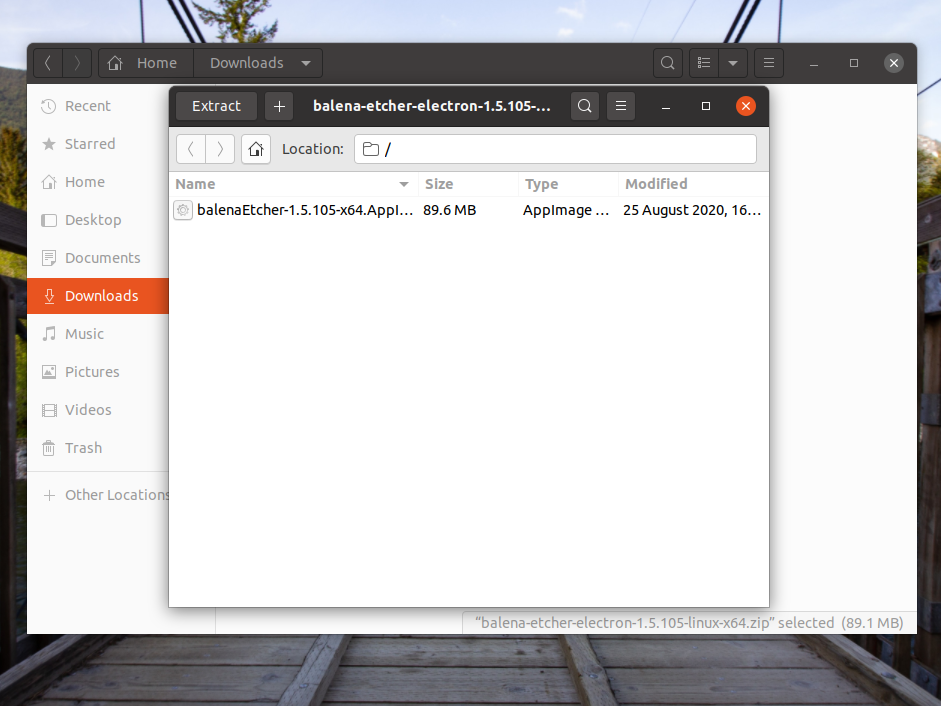
The downloaded file would be a zip file and should be placed in your download folder. Navigate to the downloads folder and double click on the downloaded file and you should see an Extract option on the top left.
Select the extract option and extract the .appimage file to desired location.
3. Running Etcher
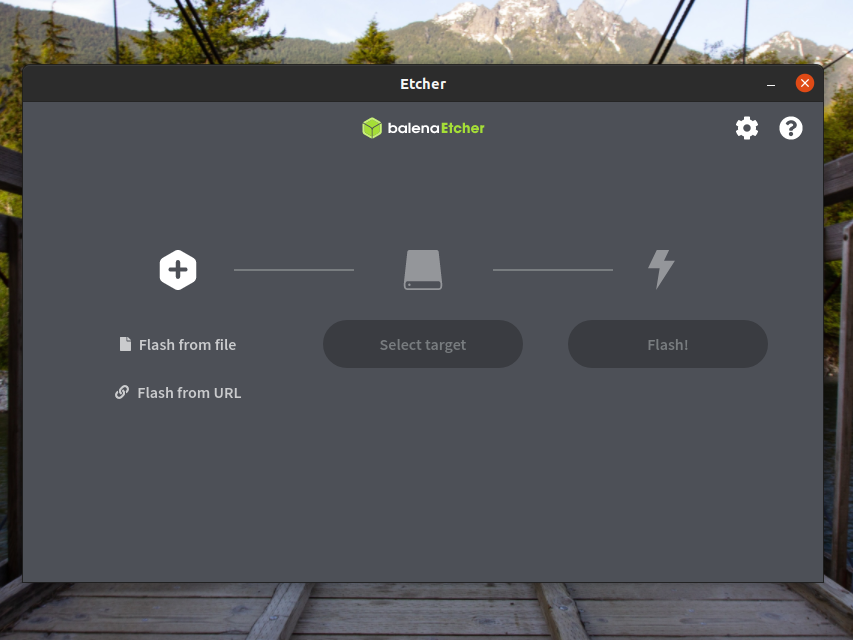
The AppImage file is a portable app that has all the necessary files in it and we don’t have to separately install the application. So, to run the app simply double click on the .appimage file and Etcher utility would start in no time.
Conclusion
In this tutorial, we learned how to install Etcher on Ubuntu. Etcher is a very simple easy-to-use tool and using it would not be any trouble at all. Just select the file to flash and the drive to flash and you should be good to go. Thank you for reading this article. I hope you have a great day ahead! Cheers!