

In this article, We will learn how to disable IPv6 on Ubuntu 20.04LTS.
What is IPv6?
IPv6 or Internet Protocol version 6 is a communication protocol that provides an identification and location system for computers connected to the internet. It was designed by Internet Engineering Task Force (IETF) in 1998 to provide unique IP addresses as the original IP address scheme i.e. IPv4 is running out of addresses due to the increasing number of internet users. So, let’s see how to disable IPv6.
Method 1: Disabling IPv6 using Sysctl (Temporary)
To temporarily disable IPv6, follow these steps:
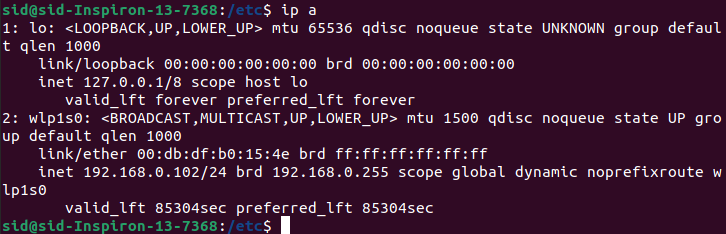
First of all, check whether Ipv6 is enabled or not by executing the following command:
ip a
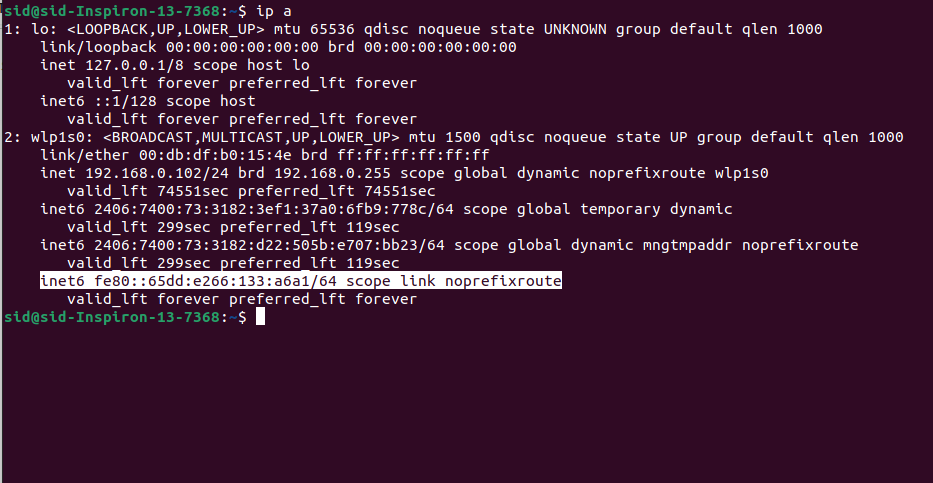
You will see an IPv6 address if it’s enabled, as shown above.
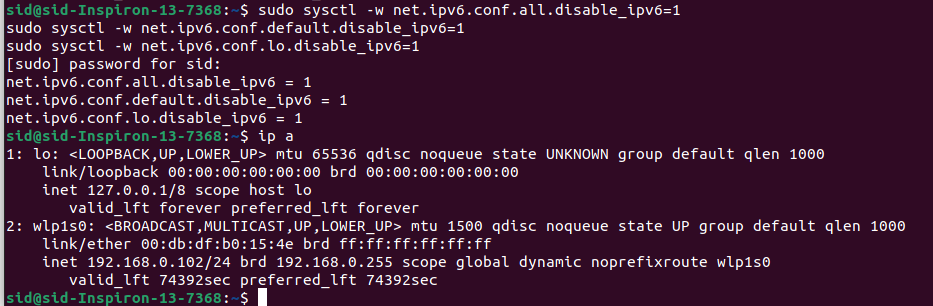
Now, to disable IPv6, run the following commands and check whether IPv6 is disabled or not by using the ip a command.
sudo sysctl -w net.ipv6.conf.all.disable_ipv6=1
sudo sysctl -w net.ipv6.conf.default.disable_ipv6=1
sudo sysctl -w net.ipv6.conf.lo.disable_ipv6=1
This method disables Ipv6 only until you reboot your system. Whenever you boot your system again, IPv6 will be enabled again.
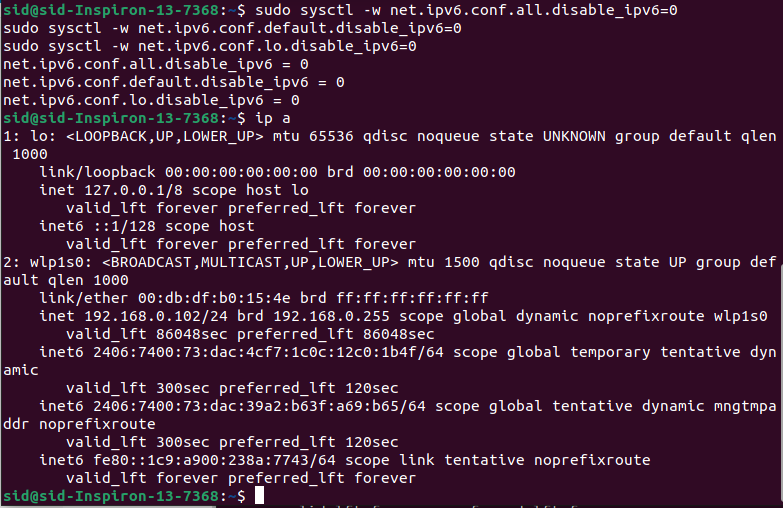
To re-enable it, Run the following commands:
sudo sysctl -w net.ipv6.conf.all.disable_ipv6=0
sudo sysctl -w net.ipv6.conf.default.disable_ipv6=0
sudo sysctl -w net.ipv6.conf.lo.disable_ipv6=0
Method 2: Disabling IPv6 using sysctl (Permanently)
Open the sysctl.conf file by running the following command (you can also use vim editor):
sudo vi /etc/sysctl.conf
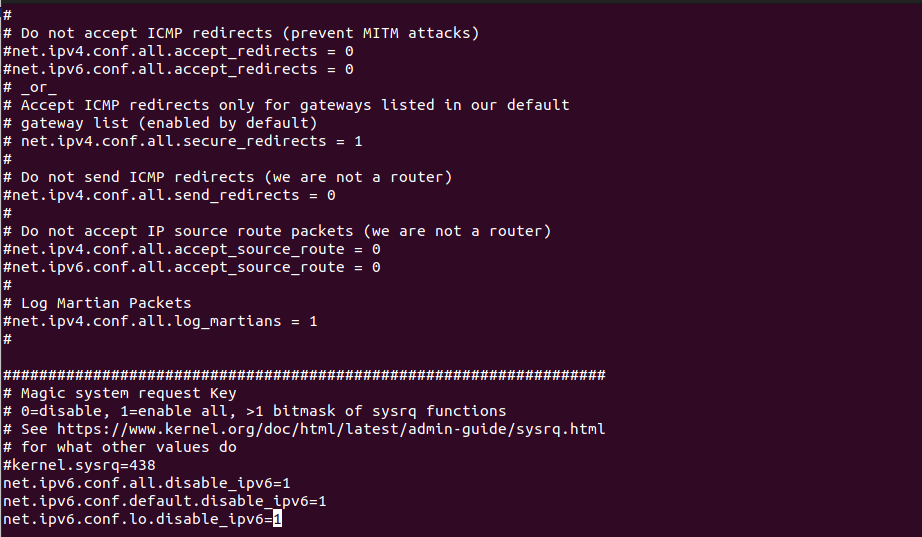
Now add these lines in the file and save and exit:
net.ipv6.conf.all.disable_ipv6=1
net.ipv6.conf.default.disable_ipv6=1
net.ipv6.conf.lo.disable_ipv6=1
Run the following command for changes to take effect:
sudo sysctl -p

This will disable IPv6 but sometimes after rebooting, IPv6 is enabled again. Now, Create a file /etc/rc.local by executing the following command:
sudo touch /etc/rc.local

Open the file using the nano command:
sudo nano /etc/rc.local

Add the following lines and save by pressing Ctrl+X.
#!/bin/bash
# /etc/rc.local

/etc/sysctl.d
/etc/init.d/procps restart

exit 0

Now make the file executable by running the chmod command:
sudo chmod 755 /etc/rc.local

That’s it, IPv6 will be disabled permanently until you manually enable it. Check by using the ip a command,
In case, if you need to reenable IPv6, Delete the /etc/rc.local file by executing the following command:
sudo rm /etc/rc.local

Ipv6 will be enabled again after reboot.
Method 3: Disabling IPv6 using GRUB
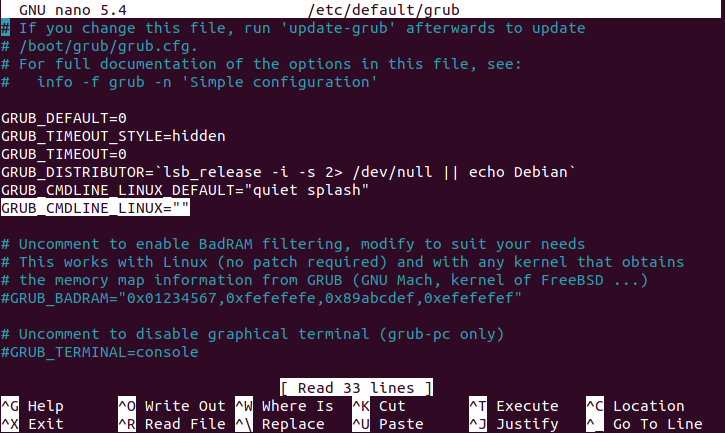
GRUB is the default Bootloader for all Linux distros. To disable IPv6 using this method, you need to edit /etc/default/grub file. Open the file by using nano:
sudo nano /etc/default/grub

Now replace the following line:
GRUB_CMDLINE_LINUX=""
with
GRUB_CMDLINE_LINUX="ipv6.disable=1"
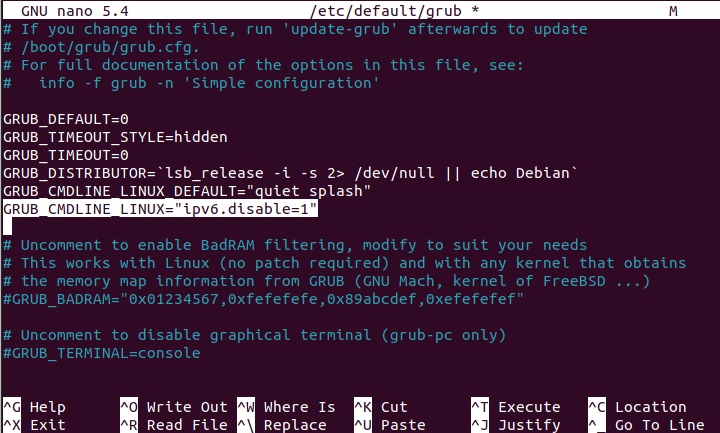
Save the file and exit. Now, Run the following command to update the GRUB boot menu and reboot.
sudo update-grub
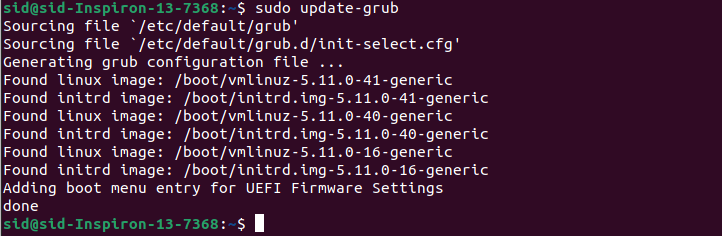
IPv6 will be disabled permanently.
Conclusion
So, we discussed how to disable Ipv6 using systemctl. You can disable IPv6 either temporarily or permanently. Modifying the Grub file is the easiest method to permanently disable IPv6.