

Introduction
Virtualmin is an open-source web hosting control panel used to manage system administration and web server tasks. It provides a graphical web-based interface and automation tools that simplify the process of hosting an online presence. Virtualmin is an easy-to-use control panel that makes it easy to manage website hosting tasks such as creating and managing users, setting up domains, configuring databases, email accounts, DNS records and more.
The panel also has built-in security features and supports a variety of popular web server software.
It also offers a range of features to make it easier to manage the server, including:
- Automated installation and configuration of web servers, database servers, and other server software
- Monitoring of server resources and alerts for when thresholds are reached
- Easy creation and management of domains and subdomains
- Support for multiple domains and subdomains on a single virtual server
- Ability to create and manage email accounts and forwarders
- Support for various web hosting frameworks, including PHP, Perl, and Python
- Integration with popular control panels for domain registration and DNS management
- Easy migration of existing websites to the virtual server
- Advanced security features, including SSL/TLS support and two-factor authentication
- Support for multiple Linux distributions, including Ubuntu, CentOS, and Debian.
In this tutorial, we will show you how to install Virtualmin on an Ubuntu 18.04 server.
Step 1: Prerequisites
Before you begin, you will need the following:
- A fresh Ubuntu 18.04 server or higher with a non-root user with Sudo privileges.
- A domain name that resolves to the server’s IP address.
- A static IP address for the server.
- A user with root or sudo privileges on the server.
- The necessary dependencies installed, including Perl, openssl, and libauthen-pam-perl.
Step 2: Update Your Server
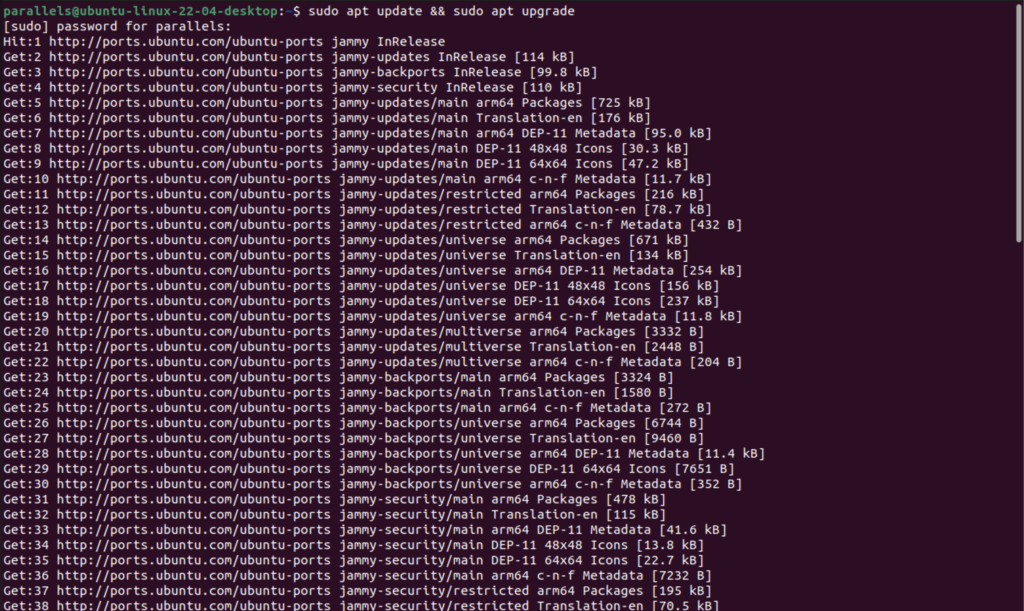
Before you start installing software, it is important to make sure that your server is up to date. You can do this by running the following command:
$ sudo apt update && sudo apt upgrade
By running sudo apt update and sudo apt upgrade before installing new packages, you can ensure that your system is fully up-to-date and ready to install the new software. This can help to avoid potential issues that might arise while installing Virtualmin.
Step 3: Download Virtualmin Installer
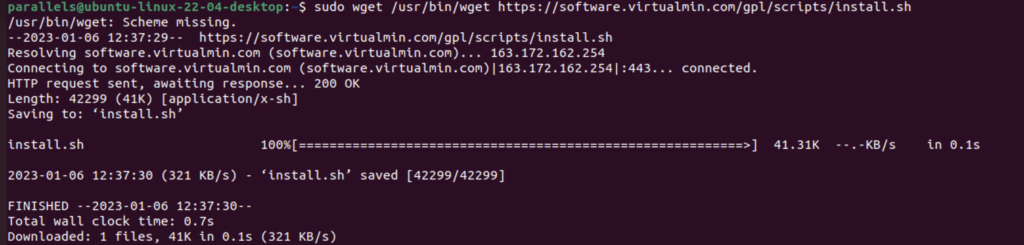
Once your Ubuntu server is up to date, you can download the Virtualmin installer script from the official Virtualmin repository with the following command (we can use both wget and curl, I’m using wget)
sudo wget /usr/bin/wget https://software.virtualmin.com/gpl/scripts/install.sh
OR
sudo curl /usr/bin/wget https://software.virtualmin.com/gpl/scripts/install.sh
Step 4: Provide Execute Permission
Once the download is complete, you need to make the script executable. install.sh is the installation script for Virtualmin, and it needs to be made executable before it can be run.
By running chmod +x install.sh, you are making the script executable, so it can be run with the ./install.sh command.
chmod +x install.sh

Step 5: Install Virtualmin
Now, you can run the installer script with the following command directly. Virtualmin installer also comes with a number of options that we need to be aware of for granular control of the installation. These flags or options that can be used to modify the behavior of the script. Here is an explanation of each flag:
--helpor-h: Display a help message and exit.--bundleor-b: Choose the bundle to install. The available options are “LAMP” (Linux, Apache, MySQL, and PHP), “LEMP” (Linux, Nginx, MySQL, and PHP), and “Mail” (email server only). The default is “LAMP”.--minimalor-m: Install a smaller subset of packages, suitable for low-memory or low-resource systems.--unstableor-e: Enable support for Grade B systems, such as Fedora, CentOS Stream, and Oracle.--no-package-updatesor-x: Skip installing system package updates.--setupor-s: Set up the Virtualmin software repositories and exit.--hostnameor-n: Set the fully qualified hostname for the server.--forceor-f: Assume “yes” as the answer to all prompts.--verboseor-v: Increase the verbosity of the output.--uninstallor-u: Remove all Virtualmin packages. This should not be used on a production system.
We will be doing the default install,
sudo ./install.sh
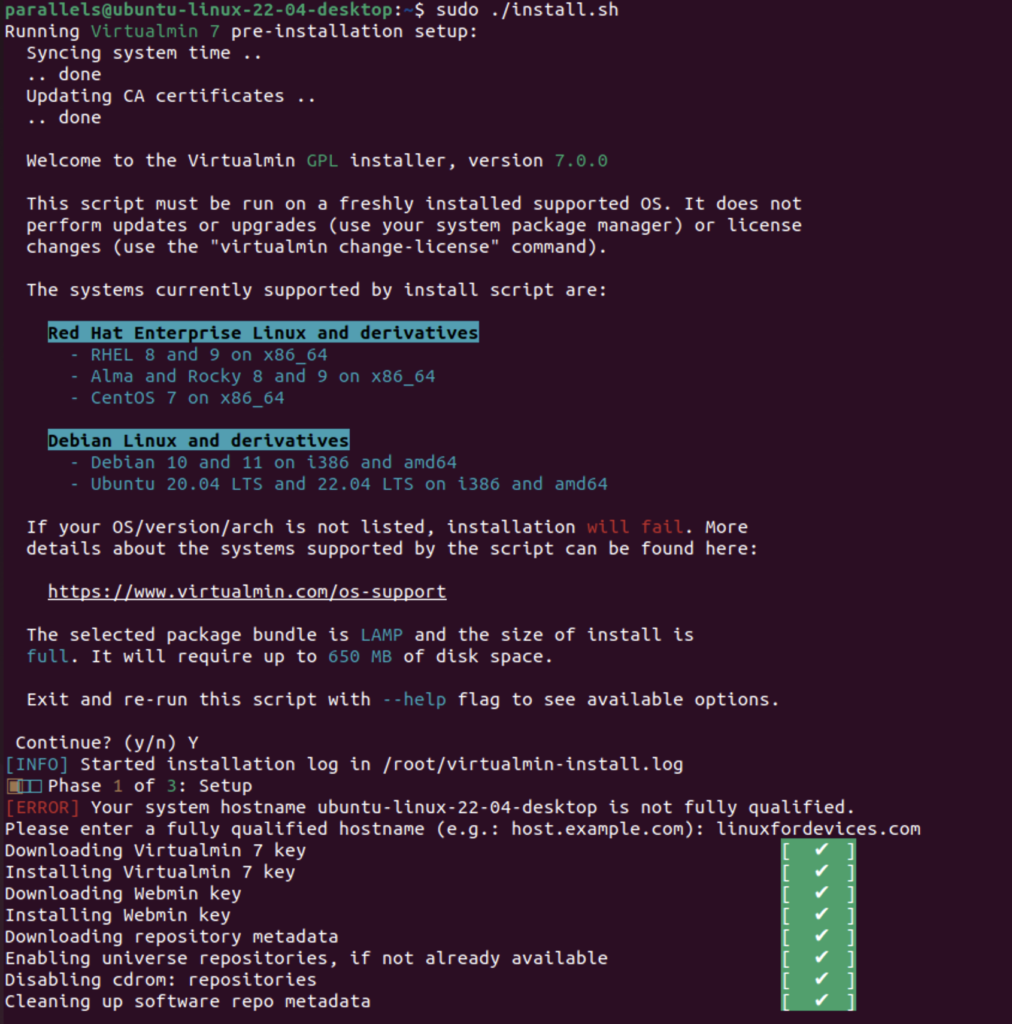
- You will be asked to accept the GPL license. Type ‘y’ and press Enter to accept it.
The installer will then ask you to configure the DNS zone for your domain. Type ‘y’ and press Enter to configure it.
If not configured initially you will be asked to configure the firewall. Type ‘y’ and press Enter to configure it.
Step 6: Allow access through Firewall
After the installation is complete and the firewall is configured, you need to allow access to the web interface by running the following command:
sudo ufw allow http
If ufw is not found,
Install ufw by typing,
sudo apt install ufw
by default ufw is not enabled so we enable it by using the following command,
sudo ufw enable
once it is enabled we can then go ahead and do sudo ufw allow http
Step 7: Open Webmin UI
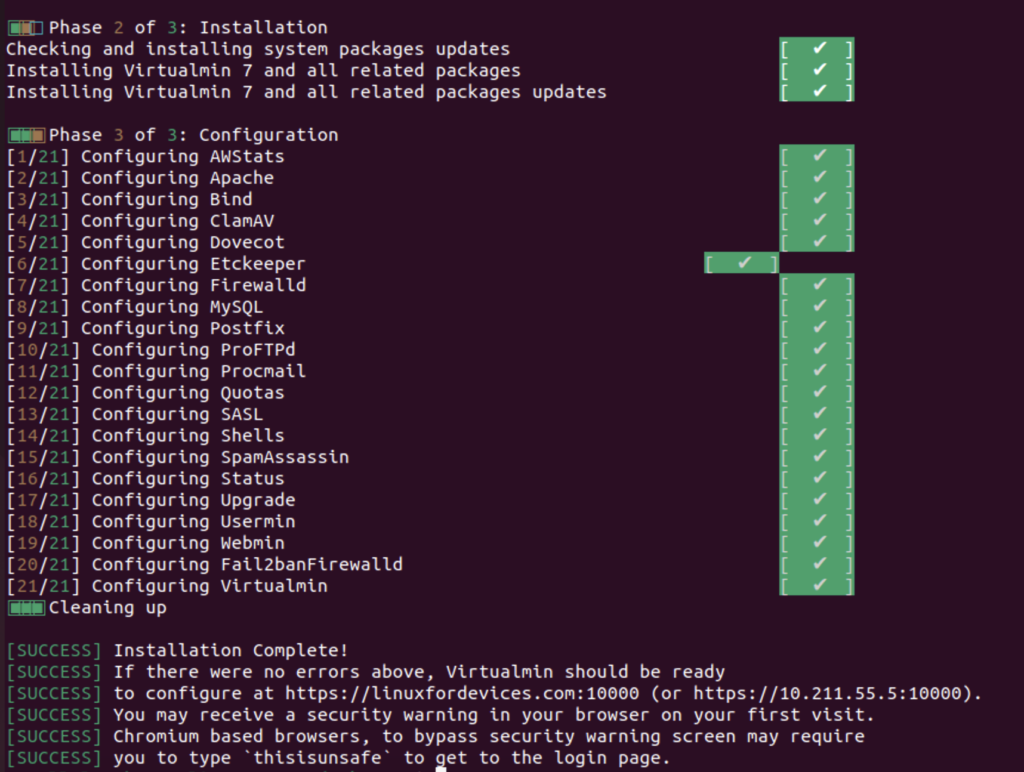
Now, open your web browser and type the URL http://your_server_ip:10000, You will be redirected to the Virtualmin login page.
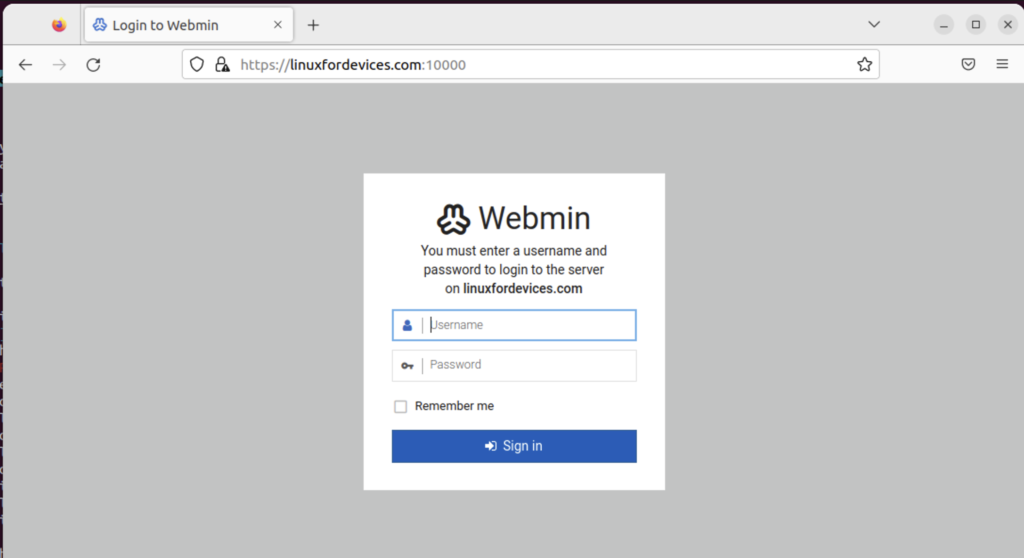
Step 8: Login to Virtualmin
By default if you are using Ubuntu the root user is locked and if you’ve locked the root user, you may find that you can’t use it to log in to webmin. This is a security measure to prevent unauthorized access to your system, but if you need to use the root user for some reason, you can unlock it and set a password for it (however, we do not recommend doing this).
If you need to access webmin as the root user, here’s how to do it:
- Open a terminal and enter the following command:
sudo vim /etc/webmin/webmin.acl
This will open up the vim text editor, however ubuntu comes with nano as its default editor so we will just use that.
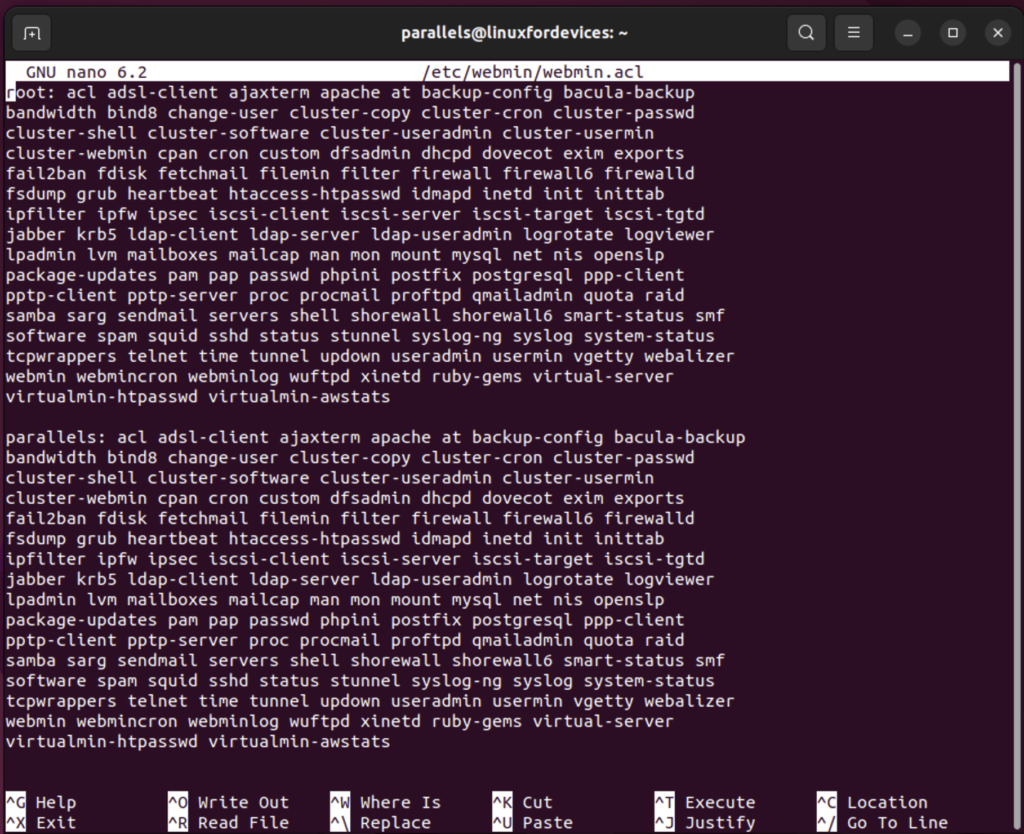
sudo nano /etc/webmin/webmin.acl
Copy the line that begins with “root” and paste it onto a new line. Replace “root” with the name of an existing Linux user.
Similarly, we gotta do this with one more webmin file.
sudo nano /etc/webmin/miniserv.users

Copy the line that begins with “root” and paste it onto a new line. Replace “root” with the name of an existing Linux user.
Once, the users have been changed we can then restart the webmin with the following command,
sudo service webmin restart
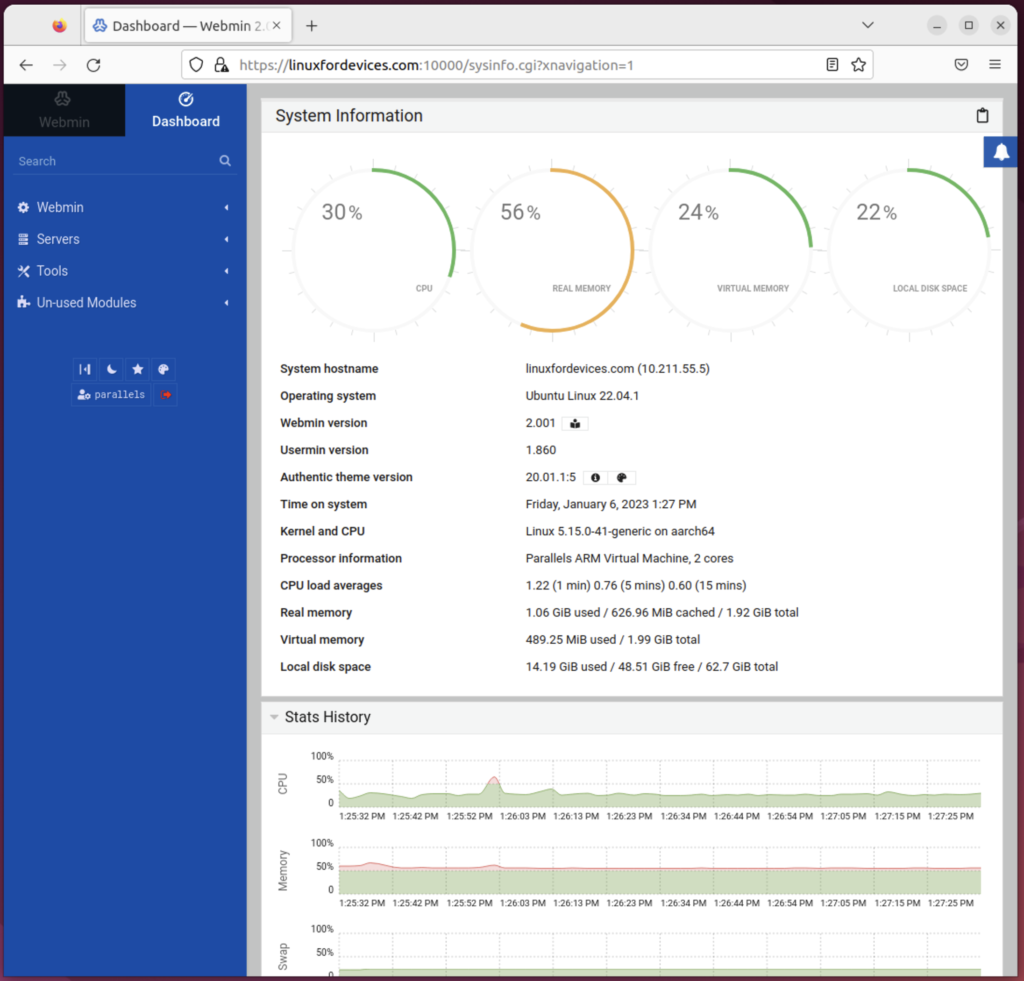
You should now be able to log in to webmin using the username and password of the Linux user you specified. To access webmin, visit https://servername:10000 in your web browser.
You can login to Virtualmin using the default credentials of your Ubuntu user:
Username: <linux_username>
Password: <linux_password>
Step 9: Uninstall Virtualmin
If you want to uninstall Virtualmin, you can run the following command:
sudo ./install.sh --uninstall
Conclusion
In this tutorial, we have shown you how to install Virtualmin on an Ubuntu 18.04 and above server. Setup the users in Ubuntu to login to the Virtualmin/Webmin Dashboard and uninstalling Virtualmin.