
ShellCheck is a powerful static analysis tool for shell scripts. It helps users to identify and fix common issues, ensuring that scripts are efficient and secure. For users of Linux, ShellCheck can be a very useful tool because of its extensive collection of checks and user-friendly interface.
In the following guide we will learn the advantages of ShellCheck, then we will go through the step-by-step procedure of the installation and set it up on Linux, and finally conclude with the insights into how this tool can help your scripting.
How can ShellCheck be useful to me?
- Error Detection: The primary function of ShellCheck is to find errors. This tool analyzes the shell scripts and detects all kinds of issues, from syntax errors to common pitfalls. This feature of finding the errors at an early stage helps the developers to rectify the errors initially and write more robust and error-free scripts.
- Code Quality Improvement: As we now know that ShellCheck helps us by finding the errors, common mistakes, and inefficiencies in the scripts. It also provides suggestions for fixing issues, makes the script more readable, maintainable and less error-prone.
- Compatibility Checking: ShellCheck does a compatibility check for different shell environments(e.g. bash, sh, ksh), ensuring that scripts run correctly on various systems. This decreases the risk of compatibility issues and ensures scripts run consistently across platforms.
- Security Enhancement: ShellCheck also helps you in identifying security vulnerabilities in shell scripts, like injection attacks and unsafe practices. In this way and with the help of its recommendations, you can write more secure and efficient scripts and protect them against potential threats.
- Learning Tool: ShellCheck can prove itself as a valuable learning tool, especially if you are a beginner in the world of shell scripting. As this tool provides you with insights with the best practices, common mistakes, and ways to improve code. It can be very helpful for you to understand the concepts of shell scripting and improve your skills over time.
Installation
Now, we’re going to install ShellCheck on your Linux environment using a variety of different methods. ShellCheck offers multiple installation methods to the user for maximum flexibility. For the sake of simplicity, we’ll be using Linux Mint as our Linux environment throughout this article. However, installation commands have also been provided for Arch Linux, Debian and Fedora through package managers.
Using Package Manager
Firstly, launch a terminal on your Linux system. You can do this by searching for ‘Terminal’ in your systems’ application menu or use the shortcut key combination for launching the terminal ‘Ctrl + Alt + T’.
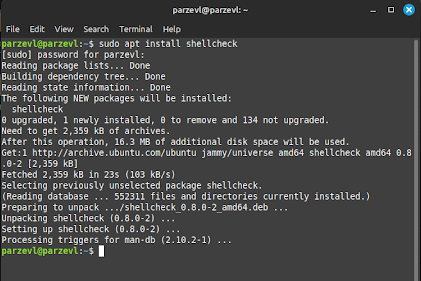
To now download and install ShellCheck in your environment, simply run the following command in the terminal:
# Ubuntu/Debian
sudo apt install shellcheck
Additionally, you can also use the following commands in package managers of different Linux distributions to install ShellCheck.
# Arch Linux
sudo pacman -S shellcheck

# Fedora
sudo dnf install shellCheck
From Pre-compiled Binaries
Pre-compiled binaries are ready to run executables, that are created by compiling the source code of the program. In this case, we can simply download the binaries from the Releases tab of ShellChecks’ official GitHub page, unzip and run.
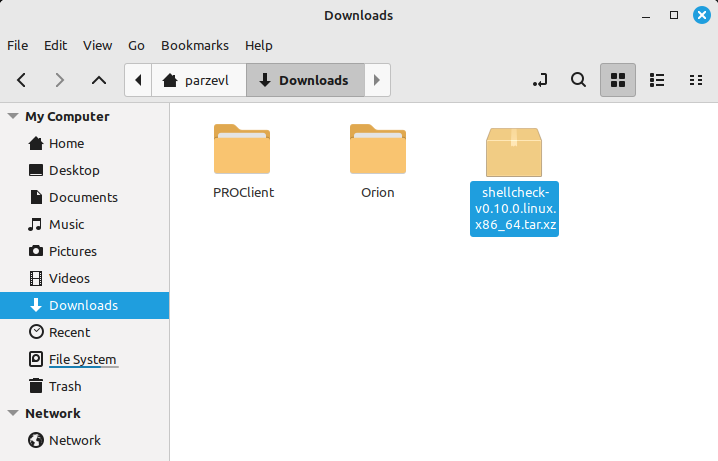
Step 1: Download Latest Release
You can find the Release page for ShellCheck here. Once you open this page, you’ll want to download the compressed folder that is most appropriate for your system. In our case, we’ll be downloading “shellcheck-v0.10.0.linux.x86_64.tar.xz“, as this contains the binaries for the Linux platform.
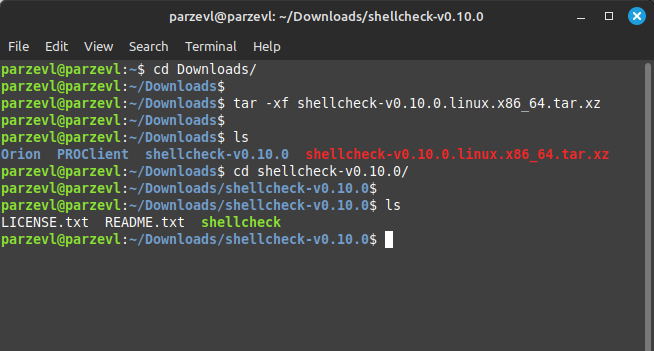
Step 2: Unzip Downloaded File
Next, we can unzip the downloaded folder by using the following command. If you’d like to know more about zip and unzip commands on Linux, you can check out this article.
tar -xf shellcheck-v0.10.0.linux.x86_64.tar.xz
Step 3: Running the script
Now we will be directly able to run ShellCheck by including its path and then putting a script file as an argument for ShellCheck to work its magic on.
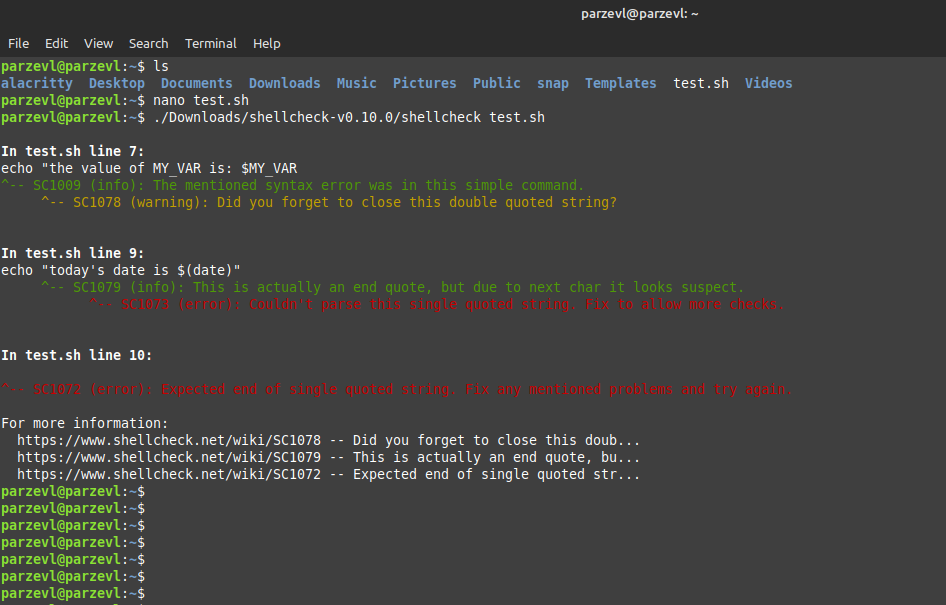
./Downloads/shellcheck-v0.10.0/shellcheck test.sh
From Docker Hub
Before you run this command, if you don’t have Docker already set up in your Linux environment, you can install docker on Ubuntu using this guide.
If Docker service is already running, you can execute the command given below to instantly create a container from an image pulled directly from the official GitHub repository of ShellCheck.
docker run --rm -v "$PWD:/mnt" koalaman/shellcheck:stable myscript
Using Snaps
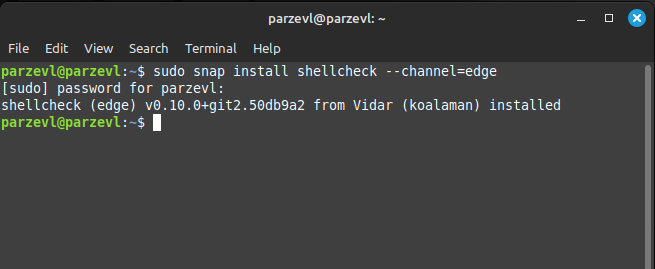
You can download and install ShellCheck simultaneously through the Snap Store. If you need help setting up Snaps in your Linux environment, you can follow this guide.
sudo snap install shellcheck --channel=edge
Usage
Step 1: Create a script
First make a script file to put some code in. We are using this as an example for the purpose of this article, however you can use this on any existing scripts that you may have.
nano test.sh
Step 2: Put some code in
We will now write a few lines of shell code, and deliberately make a few mistakes so that ShellCheck is able to detect it.
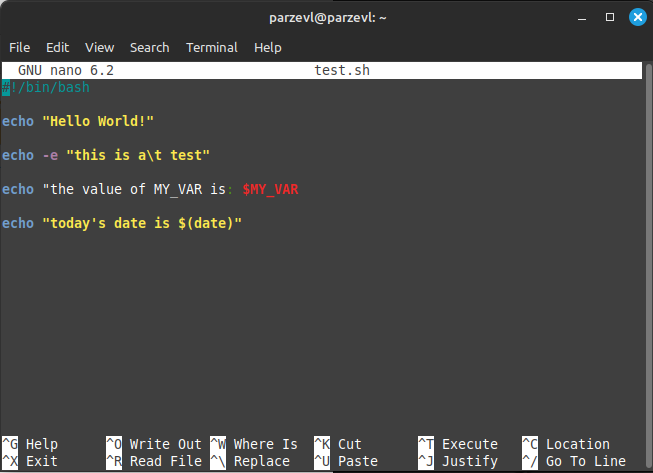
We’ll paste the following code into the text editor and save and exit.
#!/bin/bash

echo ""Hello World!"

echo -e "this is a\t test"

echo "the value of MY_VAR is: $MY_VAR

echo "today's date is $(date)"
Step 3: Run using ShellCheck
Now we can use ShellCheck to check our script file for errors and potential fixes. It should be able to tell us where we went wrong.
So, to run it, we can use the command below:
shellcheck test.sh
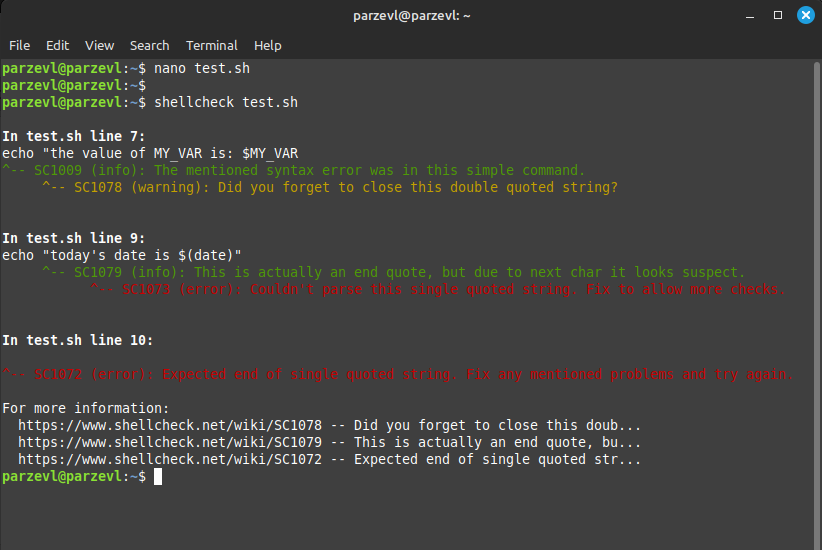
As expected, ShellCheck gives us an output, letting us know that there are errors or Lines 7, 9 & 10.
Surely enough, it automatically suggests that we should close our string in Line number 7.
Step 4: Fix the code according to ShellChecks’ instructions
Let’s open our text editor again, and close the string with our quotation marks. Now when we re-run the same command with shellcheck, we don’t get any output, meaning that all errors have been fixed.
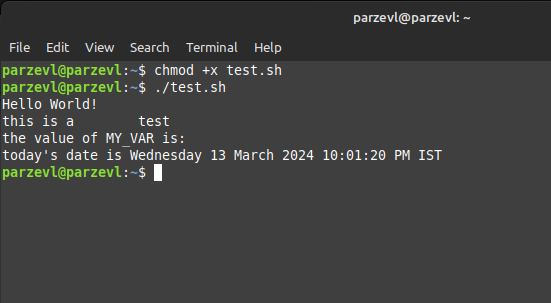
To run our script, we first change the permissions to be able to run the file. You can run the command given below:
chmod +x test.sh

./test.sh
Conclusion
In conclusion, users can enhance the quality, compatibility, and security of shell script code by installing ShellCheck on a Linux system. This is a very effective application. With its many benefits, such as enhanced security, compatibility checking, code quality improvement, and educational possibilities, ShellCheck is a priceless tool for shell script developers.