

Python is the third most popular programming language in the world according to the Stack Overflow survey 2023, and one of the most loved and widely used programming languages in the world. Though the popularity and need of Python is sky-high in the hour, it doesn’t come without its inconveniences. These inconveniences mostly origin from the fact that Python doesn’t have an explicit type system, which makes it harder to maintain the code, as well as lead to runtime errors, until and unless one specifically uses the type annotation within their code.
Although type annotation exists, it isn’t strictly enforced by the Python compiler, and allows the code to run even though it might lead to errors due to incompatible type of the variables. Therefore, to encounter this major inconvenience, Microsoft developed Pyright, which is a static type checker for Python.
Pyright can analyze your python code, detect type errors, as well as other errors related to the imported modules in your project. Then it reports all these errors in an easy-to-understand manner. Thus, by incorporating it in your development process, you can significantly improve the code quality as well as catch errors during the development phase, resulting in an overall boost to your productivity.
Installing Pyright on Linux
Let’s dive into the installation process. The first step is to ensure that you have Node.js and Node Package Manager (npm) installed on your Linux system, as Pyright requires Node.js to run. If you already have these installed, you can skip to step 2.
Step 1 : Installing Node and Npm
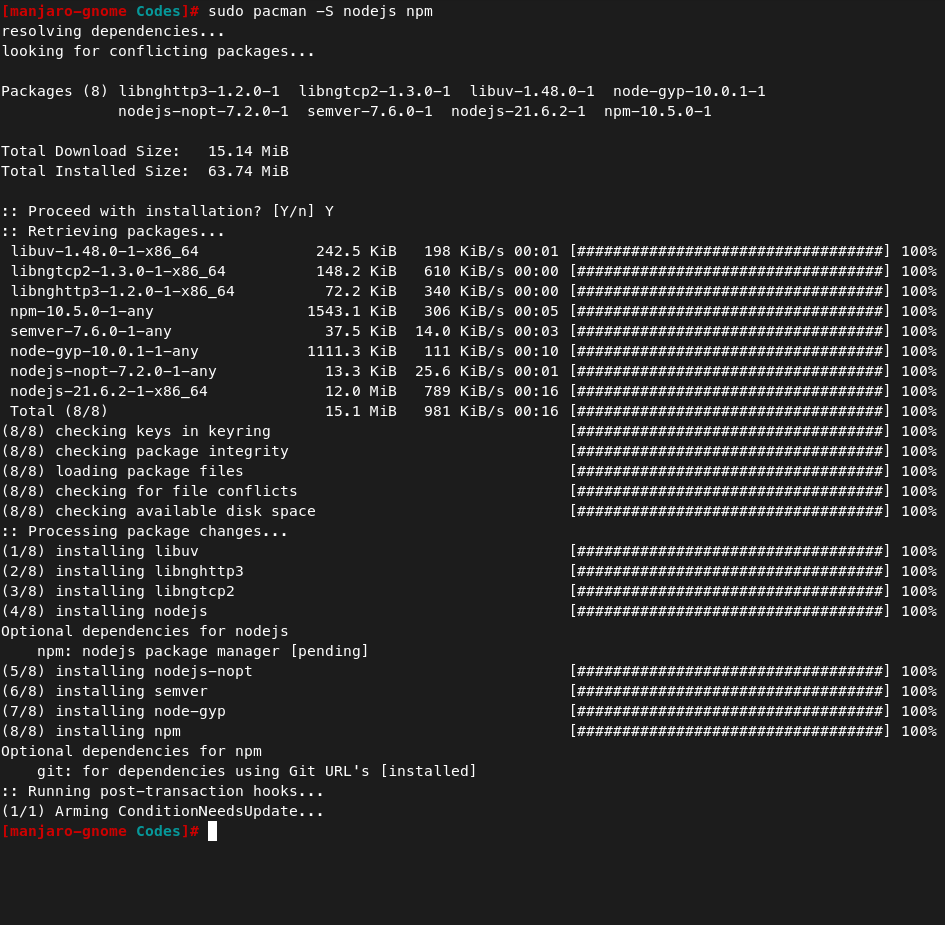
If you haven’t installed Node and/or npm, then you can do so by using your package manager. In my case, I’m using Manjaro (Arch-based distro, with the package manager being pacman), so I’ll be running the following command –
sudo pacman -S nodejs 6pm
In case you’re using a Debian/Ubuntu based distro, use the following command
sudo apt install nodejs npm
Or, if you’re using Fedora, use the following command –
sudo dnf install nodejs npm
Step 2 : Installing Pyright using npm
To install Pyright, run the following command
sudo npm install -g pyright

Verifying Pyright is Installed
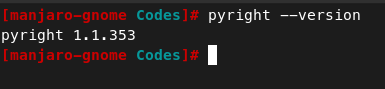
Let’s check if Pyright is properly installed by typing the following command and press enter.
pyright --version
If you don’t get the version number as shown below, then you might want to repeat the installation steps.
We’re further going to check if Pyright is working properly by testing it on a python file. For the same, I’ve taken the following python code –
def add(a : int, b : int):
    return a + b

print ("Hello World")
print (add(10, "20"))
As you can clearly see in the above code, we’re passing a parameter of invalid type of the function. Let’s see if Pyright catches this error or not. To see the same, you have to type out pyright, followed by the name of the python file you want to test. In my case, I’ve named it test.py, so I’ll be running the following command
pyright test.py

And as you can clearly see from the image, pyright shows that the program has an error which must be resolved and would lead to runtime error.
Configuring Pyright
Pyright also offers flexible configuration options which can be specified in a JSON file. By default, this file is called “pyrightconfig.json” and has to be within the root directory of your current project. It’s also worth noting that the configuration options can also be stored in a TOML file, but the JSON file will always take precedence over the TOML file. Here’s what a standard pyrightconfig.json file looks like
{
    "include" : [
        "src"
    ],
    "exclude" : [
        "**/__pycache__"
    ],

    "pythonVersion" : "3.11.6",
    "pythonPlatform" : "Linux",

    "reportMissingImports" : true,
    "reportMissingModuleSource" : true,
    "reportMissingParameterType" : true,

    "strict" : true
}
The above code can be explained as follows:
- “include” : Specify which directories you want to include for analysis
- “exclude” : Specify which directories you want to exclude from analysis
- “pythonVersion” : Specify which version of Python you’re using for the project.
- “pythonPlatform” : Specify the target platform that will be used to execute the code.
- “reportMissingImports” : Generate or suppress errors for imports that haven’t been imported
- “reportMissingModuleSource” : Generate or suppress errors for imports that have no corresponding source file
- “reportMissingParameterType” : Generate or suppress errors for input parameters for functions or methods that are missing type annotation.
If you want to explore more options which you can customize this tool, then you can check out the official documentation from Microsoft.
Conclusion
In this module, we discussed Pyright, a valuable asset for Python development due to its ability to improve the overall code quality and increase the productivity of the programmer. We also learned about tested Pyright on our sample code, as well as learned how to configure Pyright according to our project. If you want to learn more about Pyright, you can refer to their documentation. If you want to see a sample project done in Python, you can see this link here.