
Let’s understand what Windows Subsystem for Linux is and how we can implement it. Windows Subsystem for Linux (WSL) is the perfect solution for you if you want to use Linux on your Windows machine, but don’t want to indulge in the complicated process of setting up the virtual machine or the dual boot mode for that.
What is Windows Subsystem for Linux (WSL)?
WSL is a feature of Windows 10 that creates a lightweight Linux environment. We can easily use most of the command line tools, utilities, and applications of Linux directly on the Windows system while using the traditional Windows Desktop and apps.
Using the WSL feature of Windows 10 we can avoid the complex and tedious task of setting up a virtual machine or dual boot mode for using Linux. The greatest advantage of using WSL rather than using Linux in a virtual machine is it requires very few resources like CPU, memory, and storage than a full virtual machine.
It has been developed as a primary tool for all those developers who love the Windows productivity tools but also love using Bash and other common Linux tools. It becomes handy for web developers who work on some open source projects or deploy to the Linux server environments.
Steps to install WSL on Windows
Before you start with the installation process of WSL just keep two things in mind:
- WSL is only available for Windows 10 users.
- WSL supports x64 and ARM64 CPUs.
Following are the six steps to install WSL on your Windows machine:
Step 1: Find the Windows PowerShell from the start menu and right click on it to run as administrator.
Step 2: Run the following command in the PowerShell window to enable the WSL feature of Windows. Note: Your system will automatically restart after running the below command.
Enable-WindowsOptionalFeature -Online -FeatureName Microsoft-Windows-Subsystem-Linux
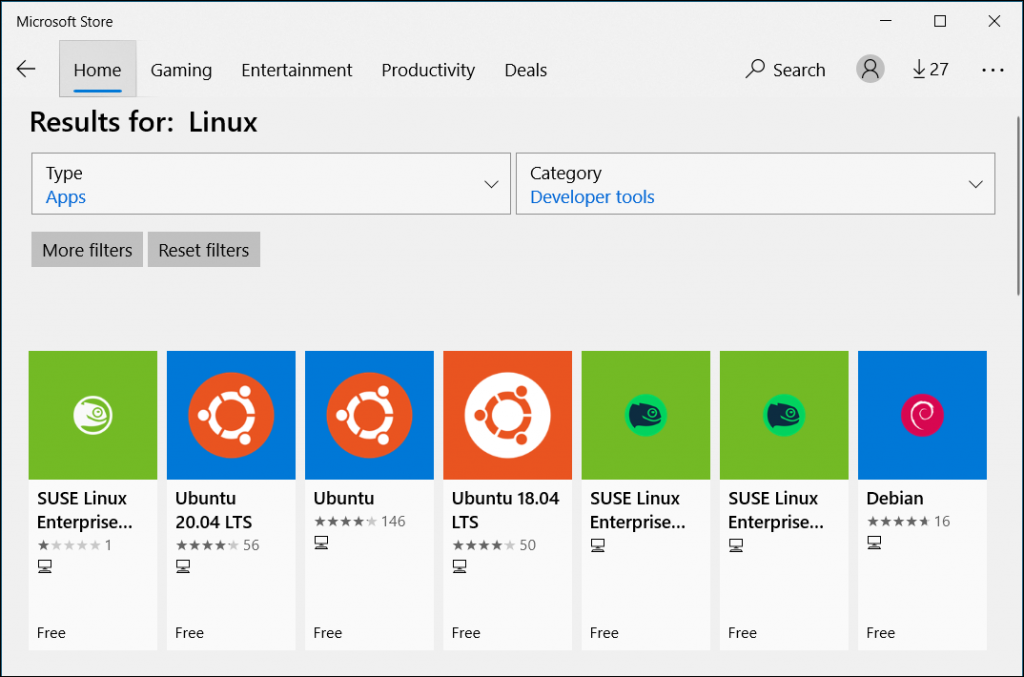
Step 3: Download and install any Linux distribution of your choice available on Microsoft Store after your system restarts.
Or you can also perform this step using the PowerShell (Run as administrator) just run the following commands in the PowerShell window:
- Move to c-drive and create a new folder to be used as a download folder to download the
.appxfile of the Linux distribution.
PS C:\WINDOWS\system32> cd \
PS C:\> mkdir <folder_name>
- Move to the newly created folder and download the
.appxfile of the Linux distribution you want to install.
PS C:\> cd <folder_name>
PS C:\folder_name> Invoke-WebRequest -Uri https://aka.ms/wsl-Ubuntu-1804 -OutFile Ubuntu.appx -UseBasicParsing
Note: Above command will download the Ubuntu version 18.04 but you have to change the name and version of the Linux distribution in place of Ubuntu-1804 for other Linux distributions and versions.
- Install the Linux distribution using the following command
PS C:\folder_name> Add-AppxPackage .\Ubuntu.appx
Step 4: Download and install the Linux kernel update package to use the latest version of WSL (WSL 2) from here.
Step 5: Search for the Linux distribution you have installed on your system in the Start menu and launch it, you may be asked to wait for a minute or two for the files to de-compress and be stored on your system. But in the future, all launches should take less than a second.
Step 6: Create a username and password for your Linux distribution. It is specific to each Linux distribution that you install on your system and has nothing to do with your Windows username. This account will be the default user for the Linux distribution and automatically sign-in on launch. This account will be considered as the Linux administrator, with the ability to run sudo (Super User Do) commands.

Note: Each Linux distribution running on the WSL has its own usernames and passwords. You have to configure a Linux user account every time you add a Linux distribution, reinstall, or reset.
Steps to Uninstall WSL from Windows 10
If anytime it feels like you do not require WSL anymore, you can always revert the changes you have made during the installation process of WSL on your system. Following are the steps required to uninstall WSL completely:
Step 1: First of all uninstall the Linux distribution from your system.
You can do this in two ways:
1. Simply search for the Linux distribution installed on your system in the Start menu and right-click on its icon you will get an ‘Uninstall‘ option just click on it.
2. Open Windows PowerShell app as administrator and perform the following steps:
- Find out the complete name of the Linux distribution installed on your system running the command below:
PS C:\WINDOWS\system32> Get-AppxPackage *partial_distro_name*
Note: Replace the partial_distro_name with the name of the Linux distribution installed on your system. For example ‘ubuntu’.
- Uninstall the Linux distribution running the command below:
PS C:\WINDOWS\system32> Get-AppxPackag <full_distro_name> | Remove-AppxPackage
Note: Replace the full_distro_name with the full name of the Linux distribution displayed in the output of the above command. For example ‘CanonicalGroupLimited.Ubuntu18.04onWindows’.
Step 2: Disable the WSL feature of Windows running the command below: Note: Your system will automatically restart after running the below command.
PS C:\WINDOWS\system32> Disable-WindowsOptionalFeature -Online -FeatureName Microsoft-Windows-Subsystem-Linux
Step 3: Uninstall the Linux kernel update package downloaded and installed in step 4 of the installation process. Follow the steps given below:
- Go to Apps & Features from the start menu
- Find ‘Windows Subsystem for Linux Update‘
- Click ‘Uninstall‘
How to Switch a Linux distribution version from WSL 1 to WSL 2?
The transformation of WSL from WSL 1 to WSL 2 added the following functionality:
- WSL 2 uses the latest and greatest virtualization technology to run a Linux kernel inside a lightweight utility virtual machine (VM). However, it does not provide the traditional VM experience.
- WSL 2 supports full system call capability.
- WSL 2 has increased the performance of the file system.
If you have followed the above-listed steps for your WSL installation then by default the WSL version assigned to the Linux distribution will be WSL 2. Or you can manually set WSL 2 as the default WSL version when installing a new Linux distribution on your system through the PowerShell using the following command:
PS C:\Users\sanju> wsl --set-default-version 2
One can easily check the WSL version assigned to each of the Linux distributions installed on the system through the PowerShell command line by entering the following command:
PS C:\Users\sanju> wsl --list --verbose
You can also configure each Linux distribution to be backed by either version of WSL through the PowerShell command line by entering the following command:
PS C:\Users\sanju> wsl --set-version <distribution_name> <version_number>
Note: Replace the distribution_name with the actual name of the Linux distribution and version_number with the number ‘1’ or ‘2’.
Key Features of Windows Subsystem for Linux
WSL provides the following key features:
- Use Linux command line tools on Windows
- Choose any Linux distributions (like Ubuntu, Kali, Debian, Alpine, OpenSUSE, etc.) of your choice to run in the Bash shell.
- Use all our files and folders on the local Windows machine within the Linux Bash shell mounted under
/mntfolder. For example, C can be accessed as/mnt/cin the Linux Bash shell. - Access Linux/Unix terminal-based text editors like Nano, Vim, Emacs, etc.
- Install and use additional Linux/Unix terminal-based software using the GNU/Linux distribution package manager.
- Invoke the Windows apps/tools from Linux/Unix command-line interface using
[tool-name].exelikenotepad.execommand on the Linux terminal will open the Notepad application. - Run and use Linux/Unix terminal within Windows PowerShell and Command Prompt just open Windows PowerShell or Command Prompt and run the command
wsl.exeorbash.exe. - Work on the Linux command line services like MySQL, PostgreSQL, Apache, SSHD, etc.
- It allows us to run the Python and Node.js console within the Bash shell just type the command
python3to run the Python console andnodeto run the Node.js console.
Limitations of Windows Subsystem for Linux
Following are some of the key limitations of WSL:
- This is a feature of Windows that is only available for 64-bit versions of Windows 10.
- Only supports the following processors:
- x64
- ARM64 CPUs.
- Does not support accessing or changing the files/directories stored in the Linux distribution’s file system using Windows apps and tools.
- Does not support Linux-based GUI desktops or applications like KDE, Gnome, etc.
Conclusion
The recent developments in the Windows Subsystem for Linux have enhanced the experience of developers who love the Windows operating system and its productivity tools. But WSL still lacks a lot of features that a real Linux operating system provides. And that’s the reason Linux is still the first and the foremost choice of developers.
I hope this tutorial helped you install Windows Subsystem for Linux on your Windows 10 machine and get you started on your WSL journey.