

No matter which operating system you use, your installed applications will start utilizing more disk space as the days pass. They create temporary files or ‘cache’ so that the next time you launch that particular application, it can give you a slightly faster result.
But this mechanism is slightly flawed, as you might pay a visit to a YouTube video online, which you will probably never visit again, but ‘cache’ of that video will be stored in your Browser’s cache. We all have been there when all the cache aggregates, clutters, and eventually slows down your machine.
On Windows, Ccleaner is the go-to choice of users for clearing temporary files, but on Linux Distributions, an application named Stacer will be your friend. In this article, we are going to take a look at all the cool and exciting features of Stacer and will learn how to install it on your Linux Machine.
Introduction to Stacer – A Disk Cleaner and Optimizer for Linux
Let’s now look at Stacer as the CCleaner alternative for Linux that helps you keep your system running smoothly for years to come!
1. Dashboard
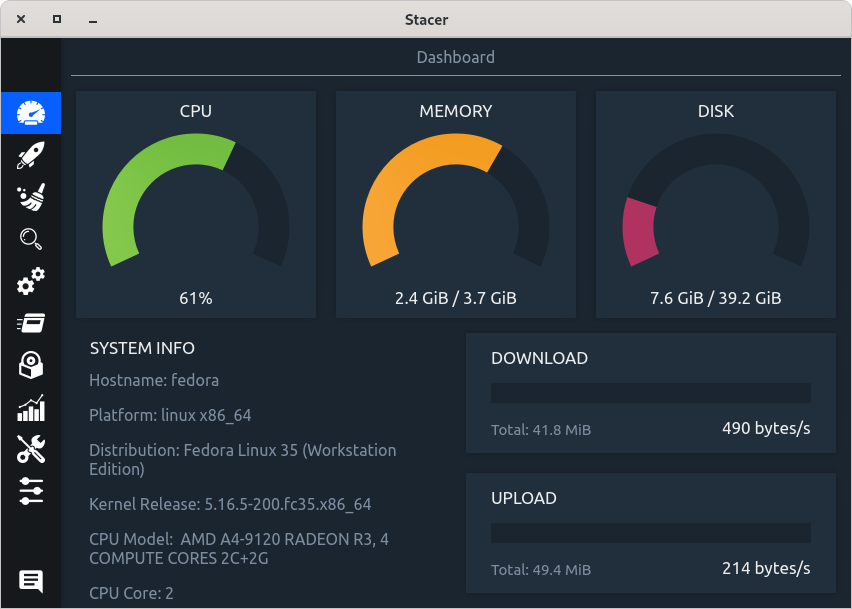
When launched, you are greeted with this dashboard. It shows you your CPU, RAM, and disk usage statistics as well as Network upload and download speeds. It also shows you brief system information such as Kernel version, CPU cores, and CPU model.
2. Start-up Applications
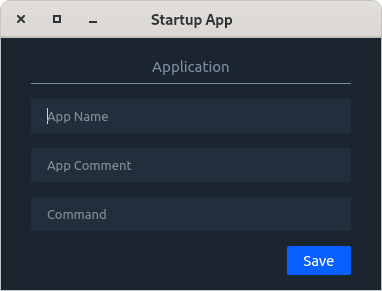
In the next section, we can enable or disable the applications (or a script) which runs on system startup and increase your boot time. To enable command or a script, click on ‘Add Startup apps’ and then specify the full path of the script or command’s location and hit save. It is recommended that you disable all the startup applications so that you have a faster boot time.
3. System Cleaner
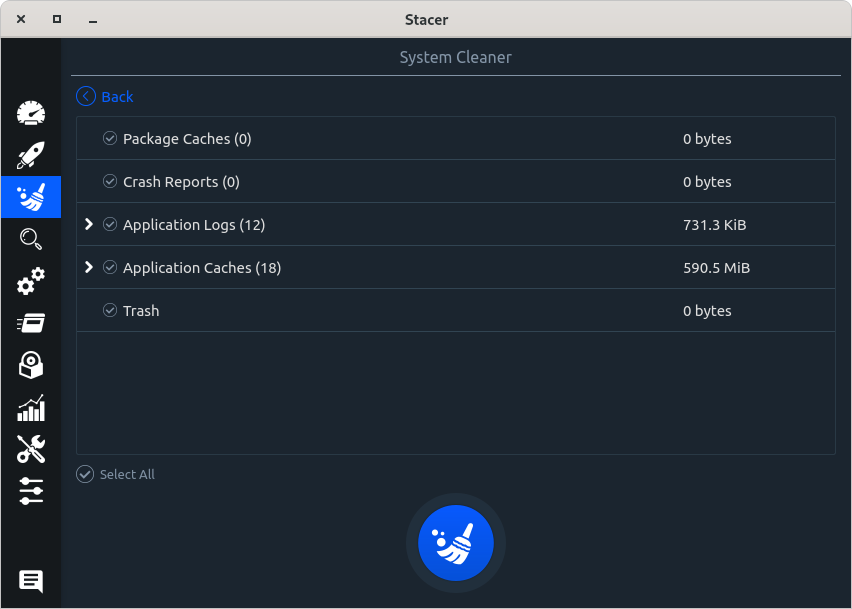
The next section of this application is dedicated to cleaning all the cache and unused data from your machine. Select all the options and then hit search. Once the search is finished, again select all the options and hit ‘Clean’. Doing this frequently can save you a lot of space in the long run.
4. System Services
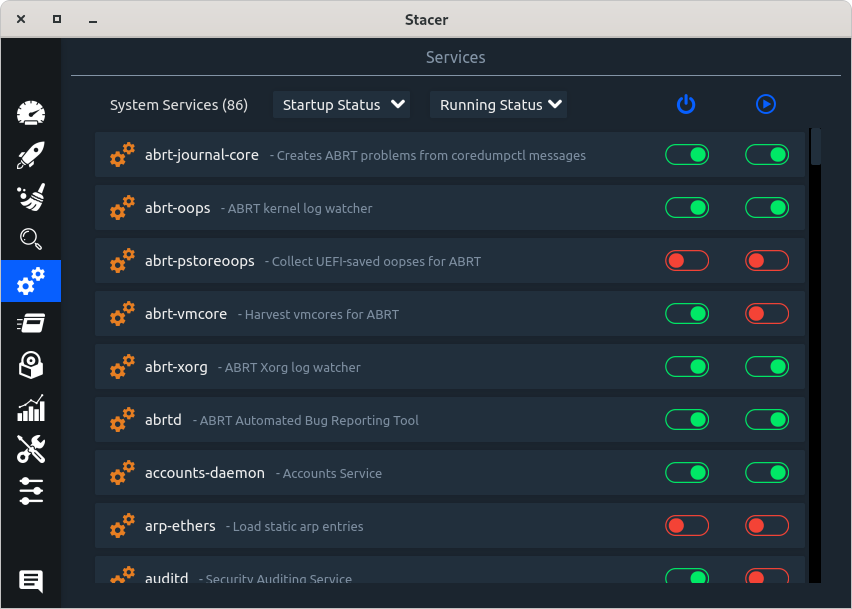
In the next menu, you can look up the services that are running currently, as well as the services that run on system startup. Be careful, though, do not disable anything if you don’t know what you’re doing.
5. Task Manager
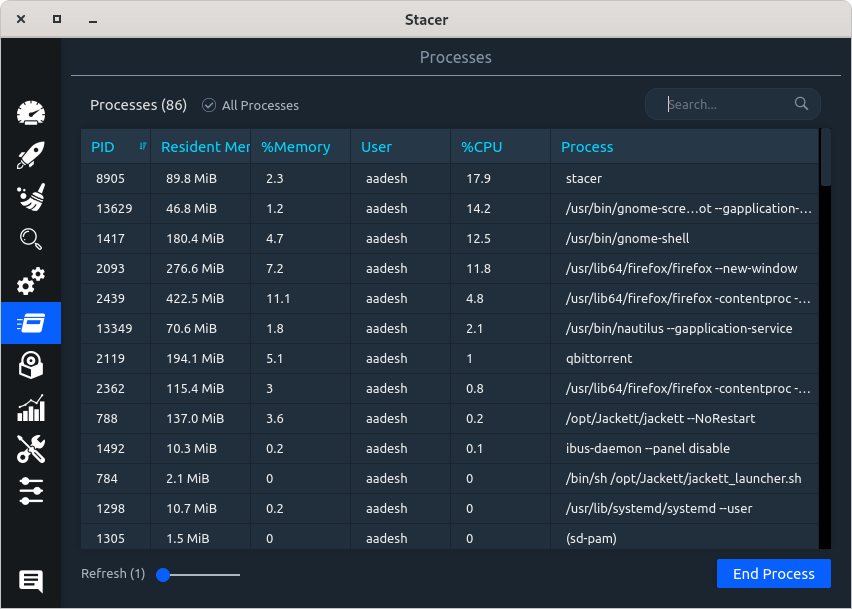
The next menu is really simple to understand. It shows you all the applications which are running currently and utilizing your system’s resources such as memory and CPU. You can look up here if there is any background resource that is hogging too much memory.
6. Package Uninstaller
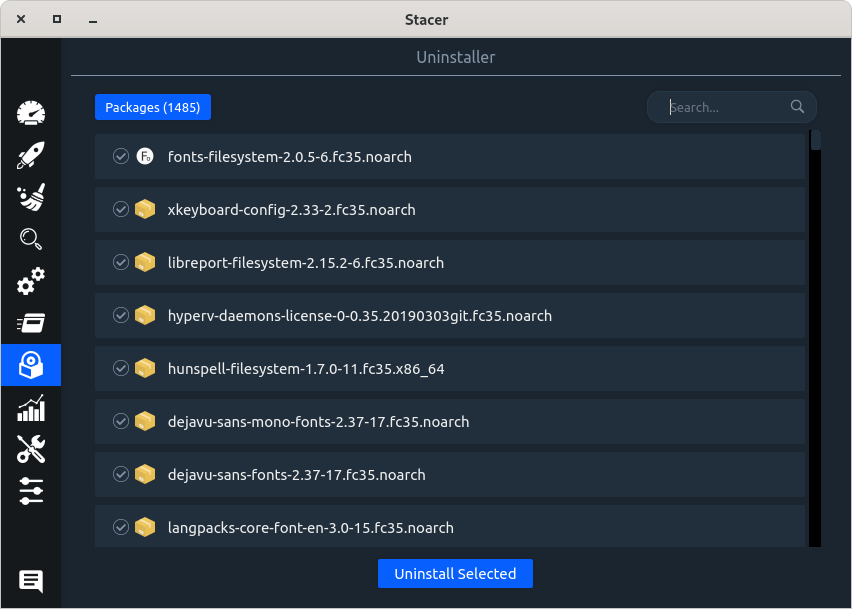
Stacer also ships with a package uninstaller, however using it to uninstall packages is not recommended. Uninstall packages via the terminal so that all the unused dependencies can be removed automatically.
7. Resource Usage
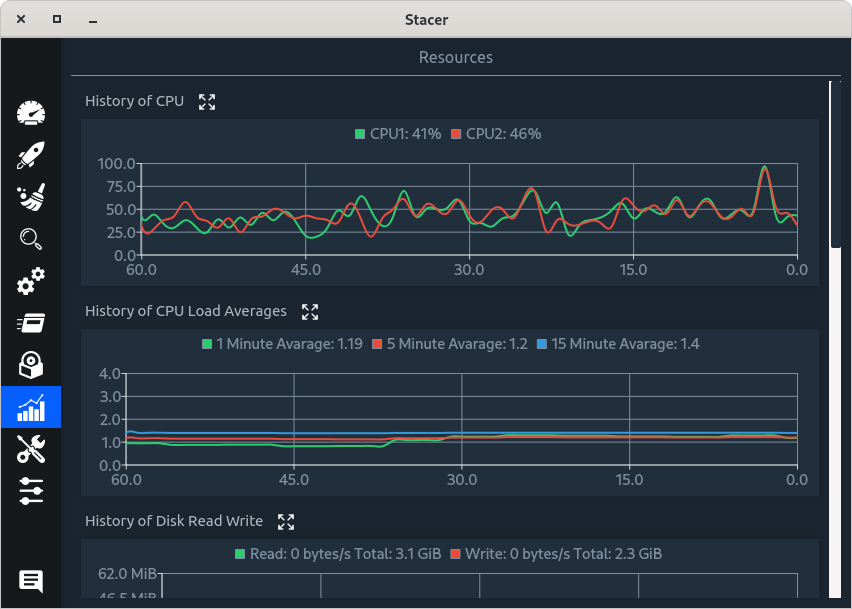
In the next section, you can see the graph of system resource utilization in real time and history up to 60 seconds. History of Network, Memory, Disk read/write and CPU load are nicely displayed in a chart form.
8. Settings
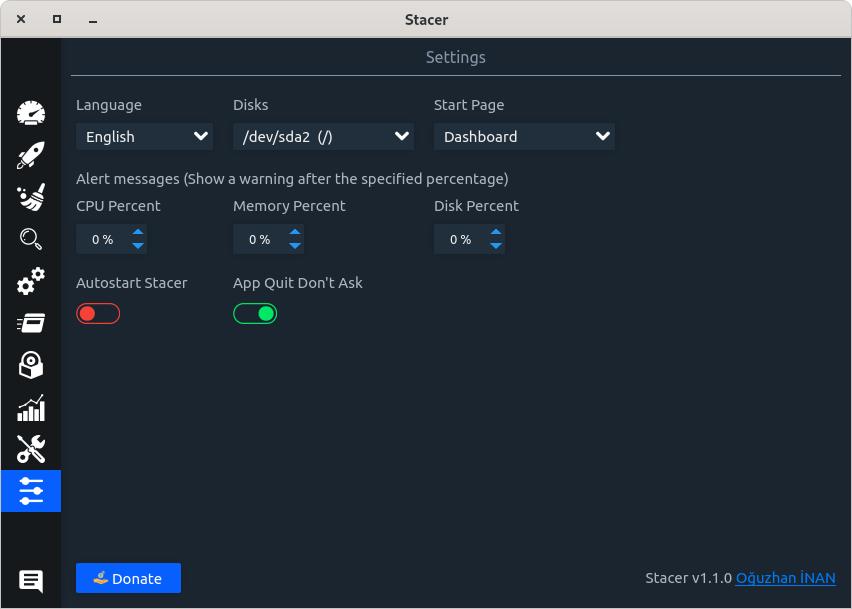
Last, but not least, you can configure Stacer to display a warning message if the resource usage hits a certain threshold from the Settings menu. Also, you can set up Stacer to launch at system startup.
How to Install Stacer on Linux
That’s enough of an intro! Let’s install Stacer on our Linux systems and clean out the junk that’s been holding our system back in speed!
Stacer on Ubuntu and Ubuntu-based systems
To install Stacer on your Ubuntu or Ubuntu based distributions, such as Linux Mint or Pop_OS!, open your software center (or Pop Shop) and search for Stacer. Otherwise, you can type the following commands in the Terminal to add a repository and install the latest version of Stacer :
sudo add-apt-repository ppa:oguzhaninan/stacer
Type your password when asked and then press enter. Next, we will update the repositories.
sudo apt update
And then finally, install Stacer
sudo apt install stacer
On Arch and Arch-based systems
If you have a GUI application manager (such as Pamac in Manjaro Linux), first make sure that AUR is enabled from the settings and then search for Stacer. Click on install and type your password when asked, and then proceed to installation.
Stacer is not available in the official repositories in this distribution, but it is available in the AUR, and we can install it from there. We first have to make sure that any AUR package builder is installed on our machine, check if Paru or Yay is installed on your distribution :
yay --version
or
paru --version
If yay or paru is not installed, then install it by typing :
sudo pacman -S --needed base-devel
git clone https://aur.archlinux.org/paru.git
cd paru
makepkg -si
Once the installation finishes, we need to build the Stacer package from the source. Type :
sudo paru -S stacer-git
On Fedora
Stacer is available in the official repositories, Open the ‘Software’ application and just look for Stacer and install it from there, otherwise install it via the command line :
sudo dnf install stacer
Summary
Hopefully, you find the Stacer application useful for doing basic System Monitoring and clearing system cache, and you were able to install the application on your favorite Linux distribution with the help of this article!