
In Linux-based distributions, freedom is essentially guaranteed. You are free to do anything, change the Kernel if you want, or change the whole Desktop Environment if you feel like it. GNOME Tweaks is one such application you can use to customize your Desktop if GNOME is your Desktop environment.
Also, almost all the major distributions like Ubuntu, Manjaro, Fedora, and Pop_OS! use GNOME. In this article, we will learn the basic features of the Gnome tweak tool as well as how to install it on your machine.
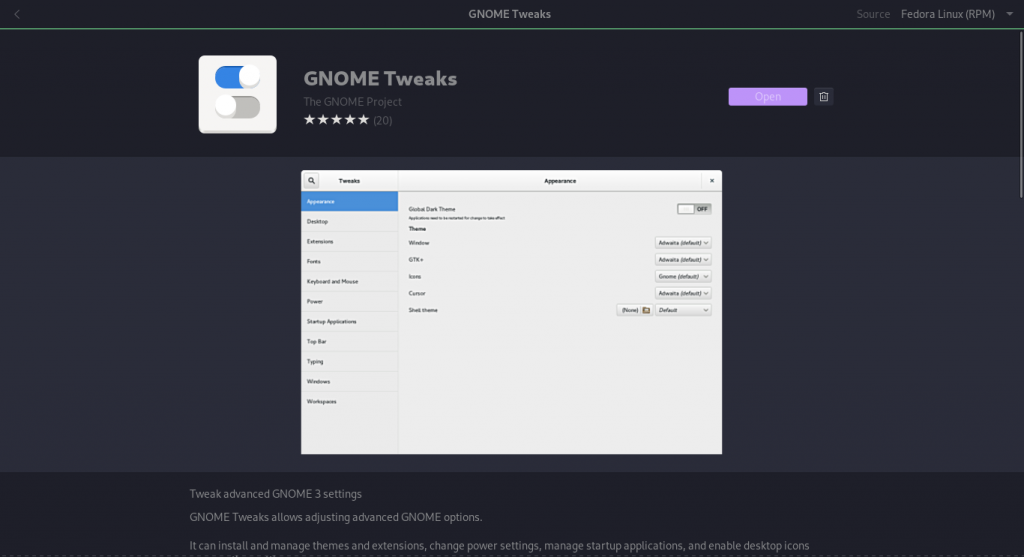
How to Install GNOME Tweaks?
Gnome tweaks, or simply ‘Tweaks’ are available in the official repositories of all the major Linux distributions. Follow these steps to install tweaks on your system :
On Ubuntu and Ubuntu Based Systems
Open the software center and look for an app named ‘Tweaks’ simply click install, and you will be done. To install the Tweak tool via the command line, simply type :
sudo apt update && sudo apt install gnome-tweaks
On Arch and Arch Based Systems
It is also available in the official Arch repositories. Either install tweaks from the GUI software manager or open the terminal and type :
sudo pacman -S gnome-tweaks
On Fedora Workstation
Similarly, on Fedora Workstation, open the ‘Software’ store and look for Gnome Tweaks. Hit install and then type your password when prompted.
To install it from the terminal, type :
sudo dnf install gnome-tweaks
Tweak your OS
Done with the installation? Let’s now tweak the OS and our GNOME desktop environment!
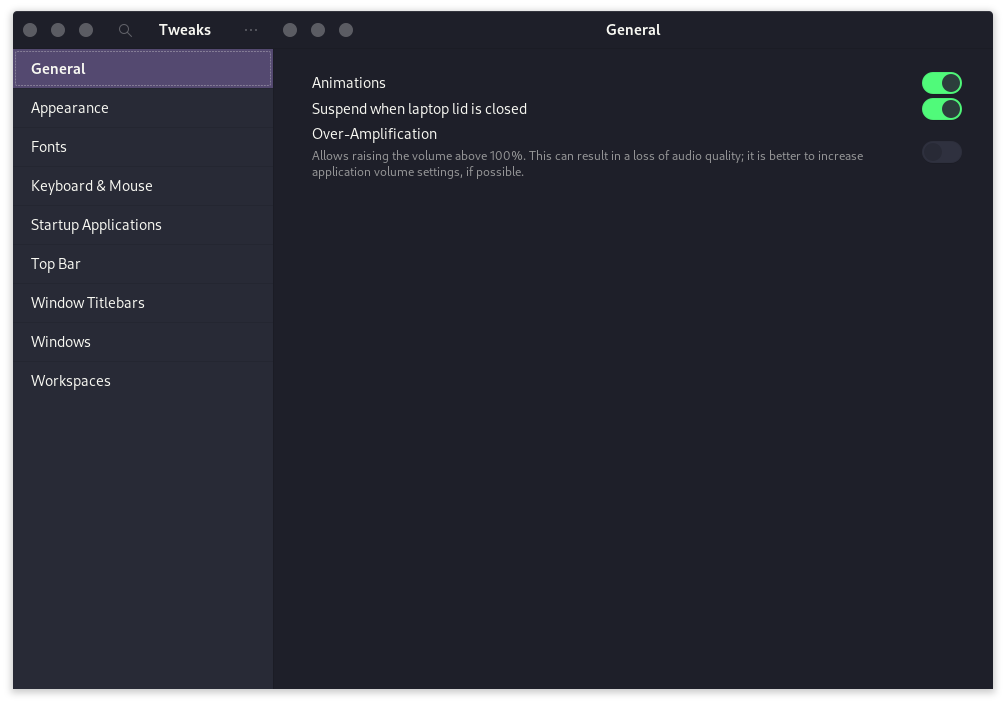
1. Disable animations to save resources
Once you open Gnome tweaks, you’ll be first greeted with general settings. From here, you can disable animations if you have a low-end PC to save some memory. You can also disable/enable the system to suspend itself once you close the lid of your laptop. You can also enable over-amplification of sound, but this is not recommended as it can cause damage to your speakers.
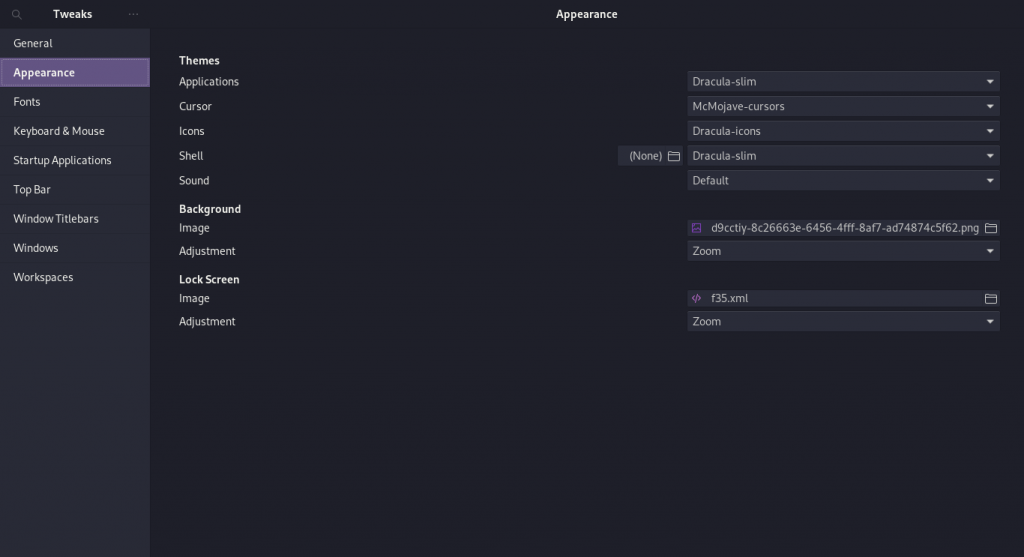
2. Change how your desktop looks
In the next section, we have various settings through which we can change the looks of our System with the installed themes. You can even change the look of the Cursor to make it look like Windows or a Mac’s mouse pointer if that’s what you prefer. Change your lock screen and desktop background to your preferred image from here as well.
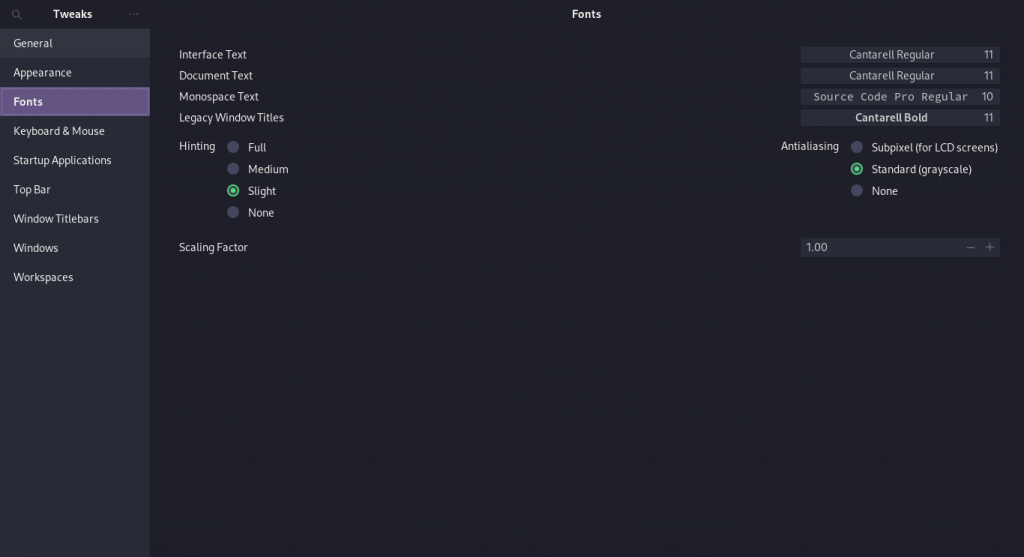
3. Make texts more stylish
From the next section, we can change the fonts of window titles and document text files, thereby making our interface more stylish. You can even change the scaling from here if you have a HiDPi Monitor.
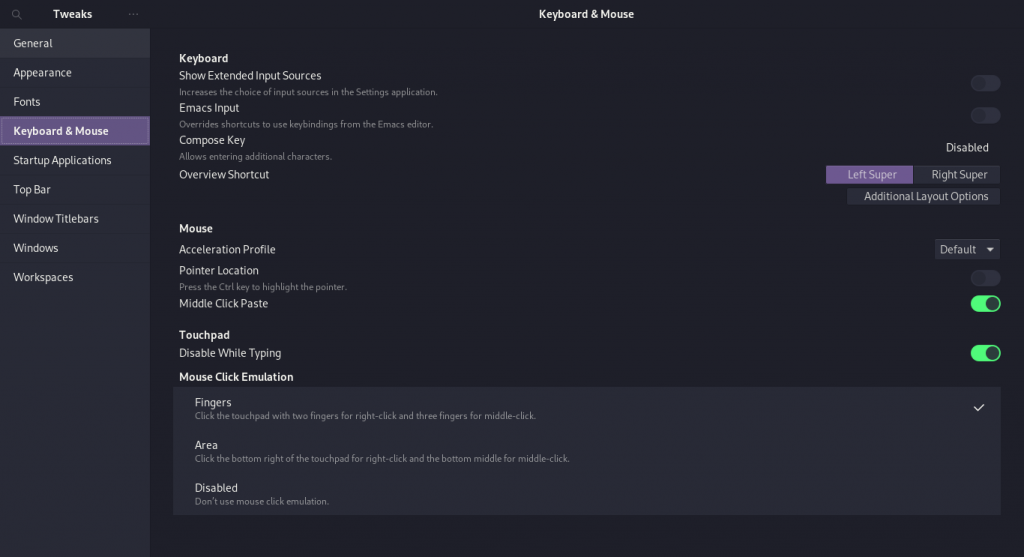
4. Change keyboard and Mouse Behavior
You can change Keyboard and Mouse behavior from the next menu, and if you’re on a laptop, you can even customize the touchpad behavior and configure the acceleration profile. From the additional layout options, you can enable tons of keyboard optimization and keybindings, which can help you personalize your system a lot.
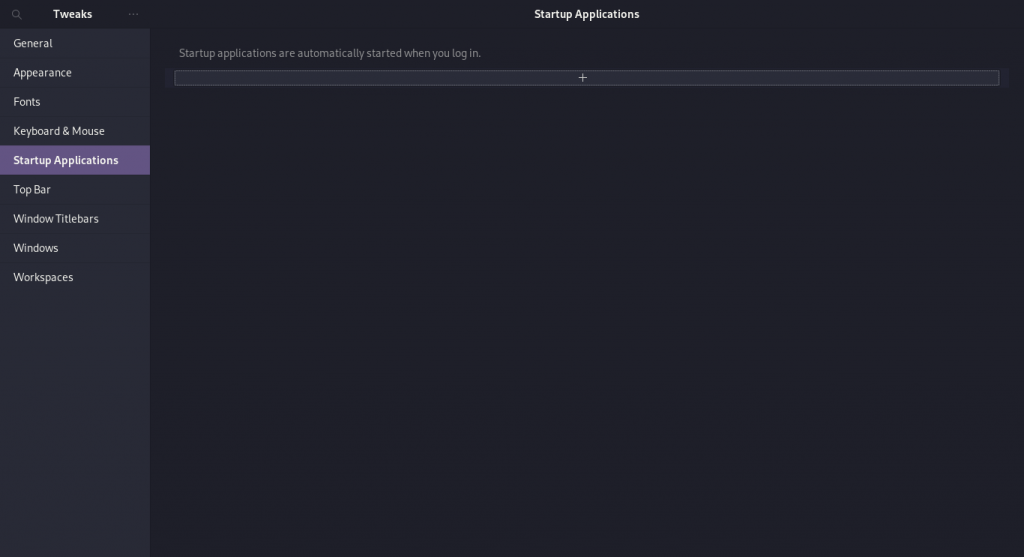
5. Run commands on system startup
From the next menu, you can easily enable any command, application or a script to run on system startup. You just have to click on the add button and specify the location of the command.
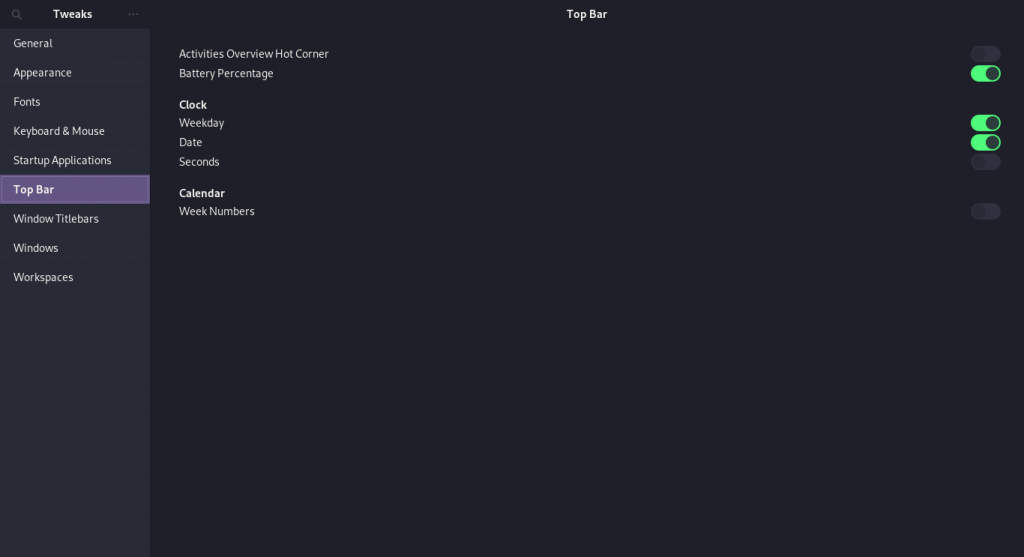
6. Configure Top Bar
The top bar in GNOME is dedicated to the Date, Time, and applications menu. However, you can add more information on the Clock at the top to display the Weekday and date. For some people, the activities hot corner is annoying and from here, you can disable it if you want.
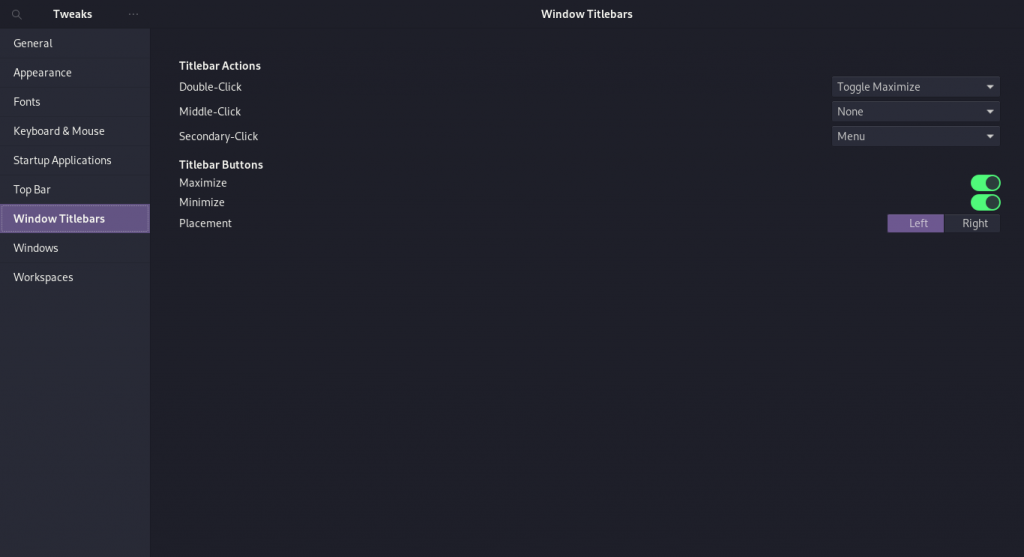
7. Configure Window Title bar
In the next menu, you can change the look and behavior of the Titlebar of any application. If you are more comfortable with the Apple ecosystem, then change the placement of title bar buttons to the left. Pop_OS! has disabled the maximize button as default, you can enable it from here if you want.
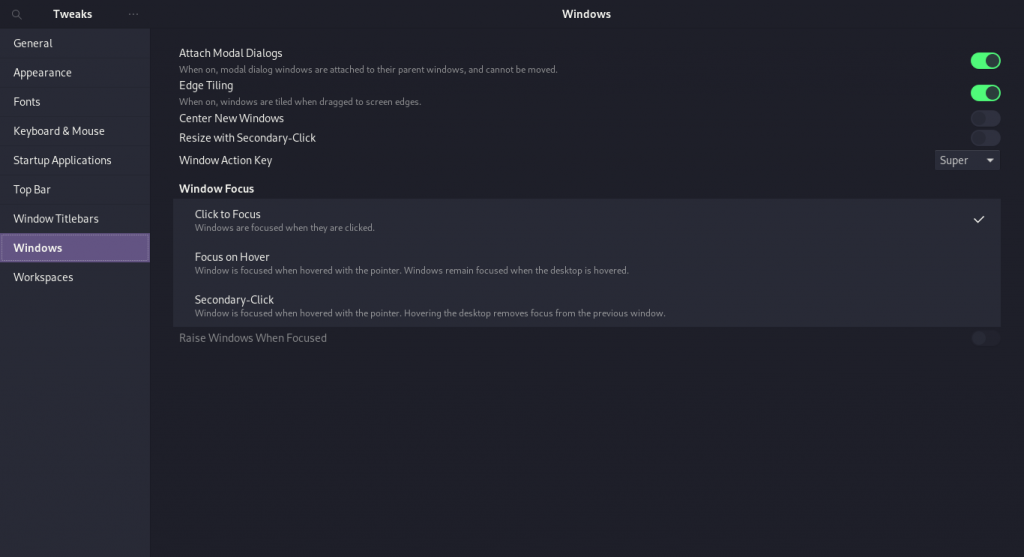
8. Change windows behavior and enable Edge Tiling
You can add a personal touch to the window behavior by enabling edge tiling as well as enabling ‘Center New Windows’ so that everything on your display is properly organized if you have a lot of apps open at the same time.
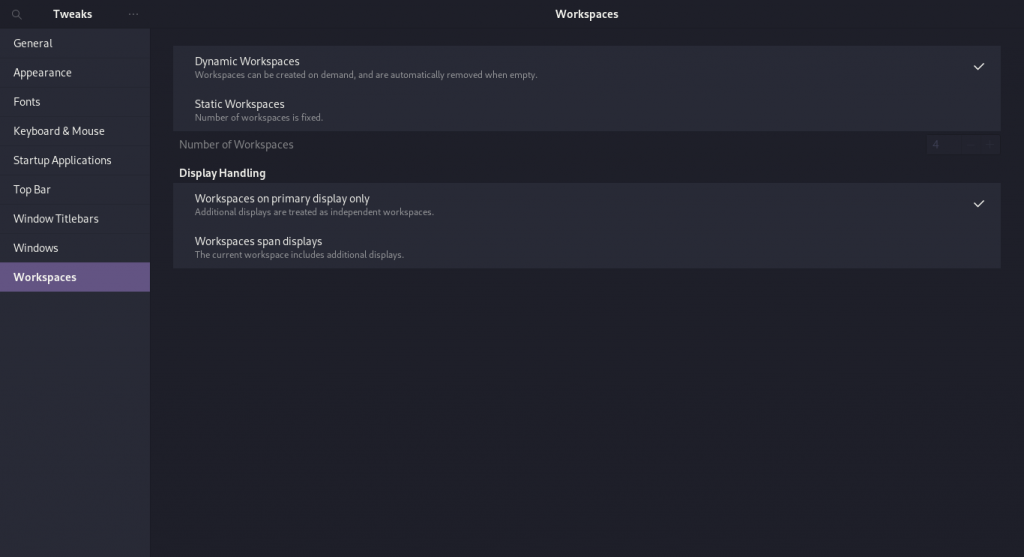
9. Workspaces
Workspaces improve the efficiency of your display. You can listen to music in one workspace and simultaneously work in another one. They come in handy, especially if you have a multi-monitor setup. Enable static workspace if you have a multi-monitor setup so that you can switch through applications hassle-free.
Summary
In the older version of this application, there used to be an extra settings menu dedicated to Extensions, but the developers have moved it completely to the ‘Extensions’ application. I hope this article helped you to make your desktop even more personalized using GNOME tweaks and thereby making your digital life more comfortable.