

You can use commands like ‘cd’ and ‘cd ..’ to navigate between the folders in the Linux Terminal. But it is not efficient and certainly more time-consuming, as you may not remember all the subdirectories present in a directory, and you might have to list the contents every time you enter a new directory. This is where a terminal-based file manager comes in.
Why a Terminal Based File Manager?
GUI-based file managers like Nautilus, Thunar, and Dolphin are easy for beginners and GUI users. But they consume your system resources. You also have to double-click on something to open or execute something, and you have to take the mouse pointer all the way to the top left to go back to your previous directory. It is therefore not very efficient. Terminal-based file managers solve all of the above problems. It can run smoothly on old hardware with less RAM or processing speeds, but you can also use it on modern PCs for efficiency’s sake.
Why Ranger?
If you’re familiar with the Vim text editor, then this file manager is definitely for you. All the Ranger’s default keybindings and their usage are extremely similar to vim. If you’re not familiar with the Vim text editor, you can still use this terminal-based efficient file manager.
The middle row keys on your keyboard are the most efficient to use as they are not too far or too close to your hands. And Ranger uses the H, L, J, and K keys to navigate left, right, top and bottom respectively. You can use the arrow keys as well if you find it hard to memorize.
Installing Ranger on Linux
Ranger is available pretty much in the official repositories of every distribution. Depending on your Distribution, type the following commands :
For Ubuntu and Ubuntu-based distributions:
sudo apt update && sudo apt install ranger
For Arch and Arch Linux-based distributions:
sudo pacman -S ranger
And for Fedora Workstation:
sudo dnf install ranger
Great! Let’s check out how to use ranger and navigate around our file system.
Interface of Ranger and Usage
To launch Ranger, simply open your terminal and type:
ranger
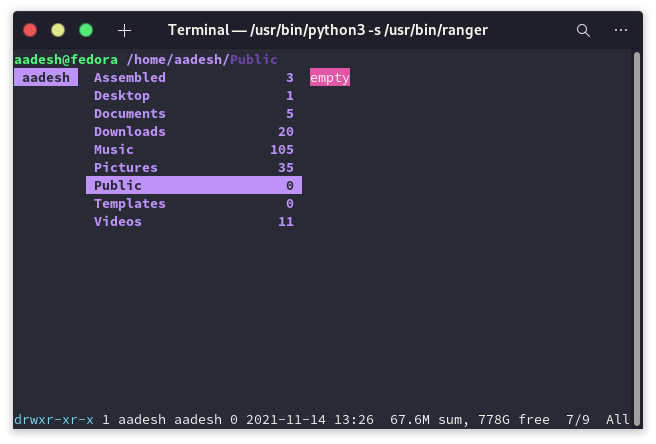
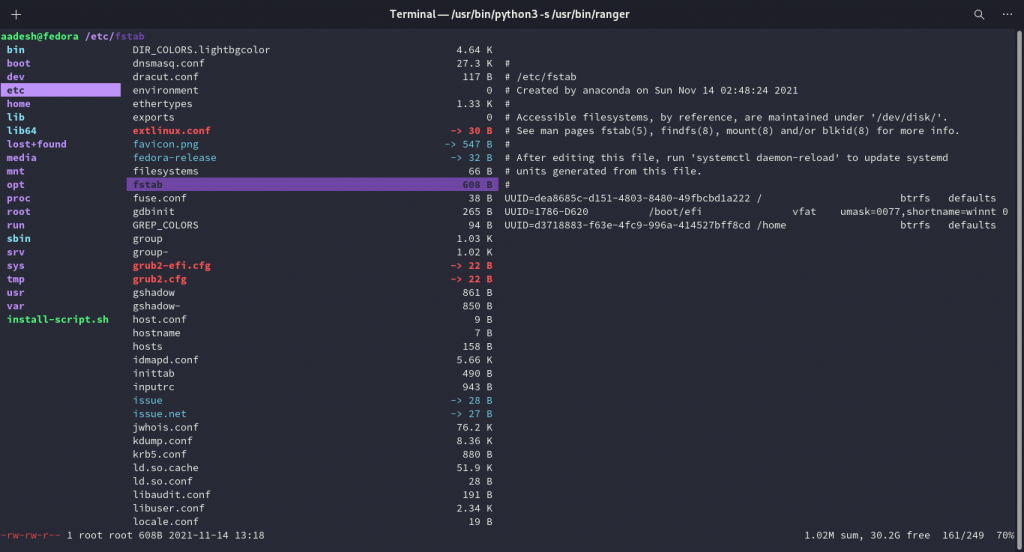
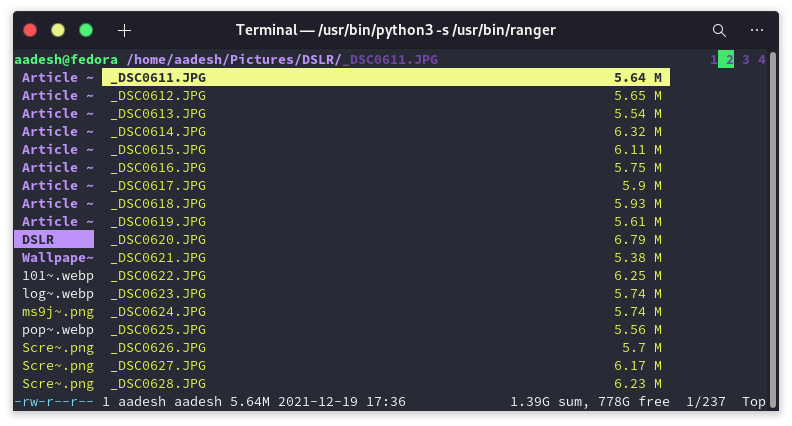
You will now be greeted with 3 columns or panes. The Left pane is where your current directory is located, The Middle pane is where you are currently located (that is your Home folder), and the pane on the right is the contents inside your current highlighted directory.
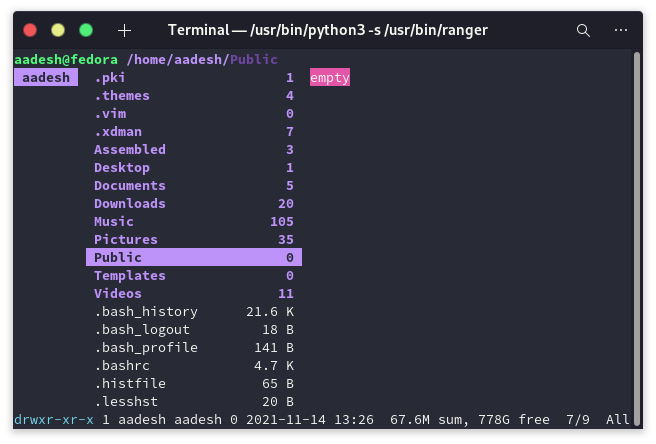
As mentioned above, you can navigate through the folders with the H, J, K, and L keys or simply with the arrow keys. To view or hide the hidden files and folders, you can type ‘z + h’ or ‘Ctrl + h’ in quick succession.
If you have numerous content in a directory, press ‘Shift + g’ to navigate to the bottom of the folder. And to navigate again to the top, press ‘g + g’ in quick succession.
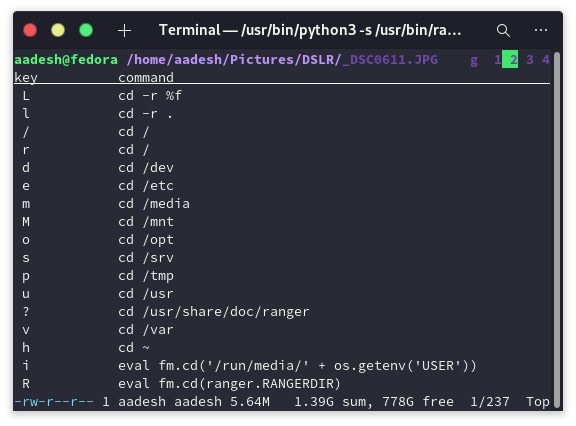
You can learn more about the navigation shortcuts by pressing ‘g’. For example, pressing ‘g + h’ will lead us directly to the home directory.
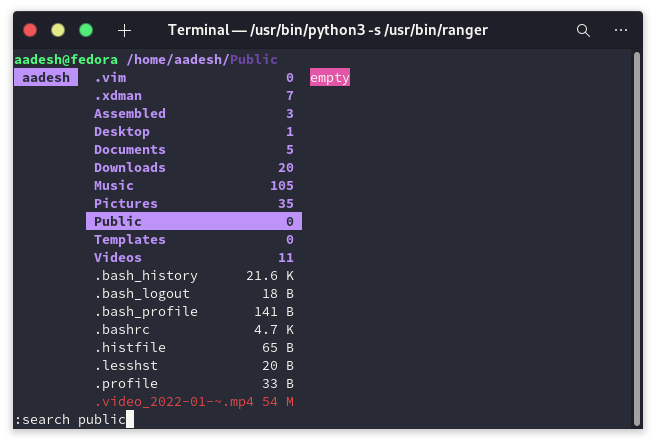
To search for a file or folder in the current directory, simply type :
/Search_Term
And press enter.
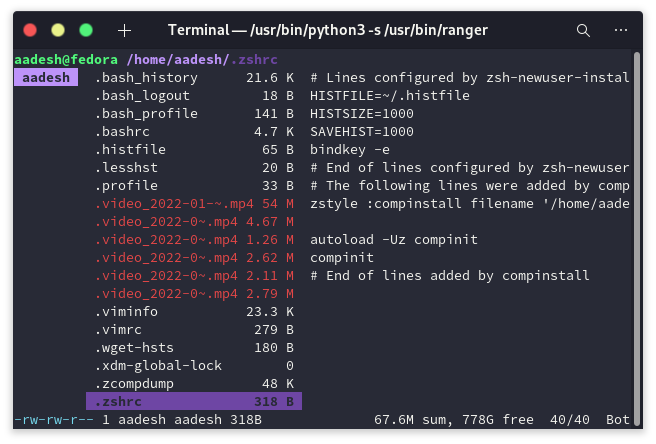
It also shows you the preview of the highlighted text files without opening them in the right pane, and to open the file in your default text editor, press enter, the right arrow key or ‘L’ key.
You can also create folders and files like you normally do in the terminal using mkdir and touch commands respectively preceding with a colon ‘:’. For example :
:mkdir folder
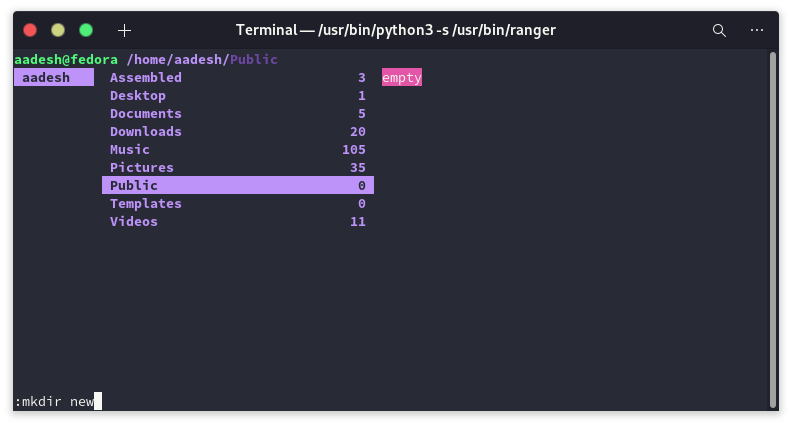
Will create a directory named folder. And
:touch file1.txt
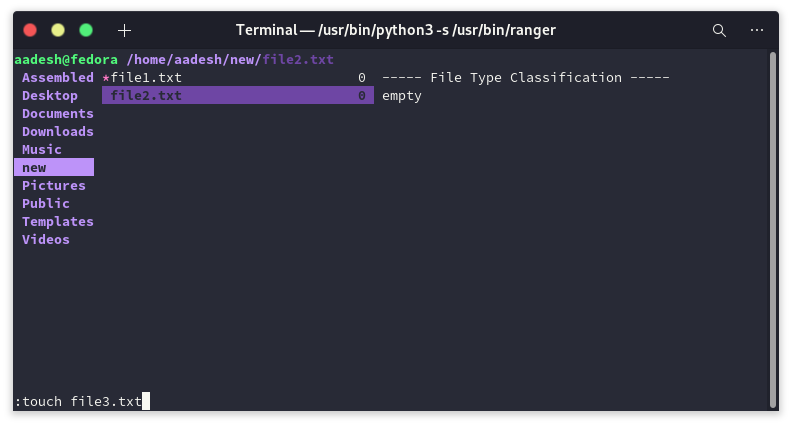
Will create an empty text file. To delete something from the terminal, press the space bar to highlight files and folders to be deleted and type :
:delete
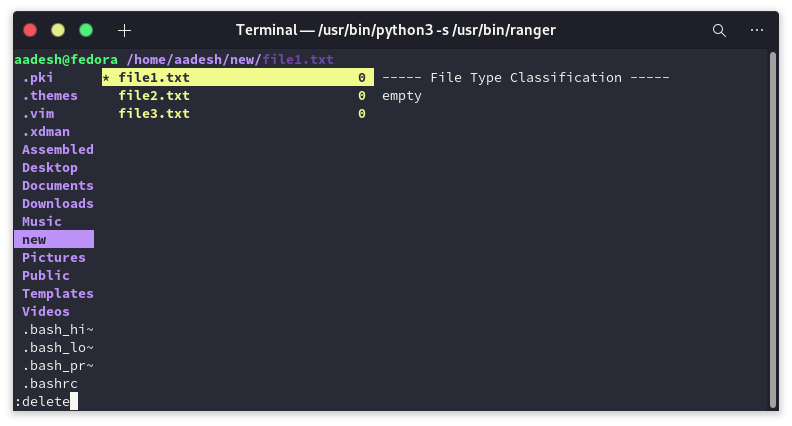
If asked for confirmation, press ‘y’, and the highlighted files will be deleted.
You can also create tabs in the Ranger file manager by pressing ‘Ctrl + n’. An indicator will be placed in the top right corner to let you know the highlighted tab. And to navigate through tabs, press ‘Shift + Tab’ key. To close a tab, simply press ‘Ctrl + w’.
To exit out of ranger, simply press ‘q’.
Summary
We scratched barely the surface of Ranger in this article, you can modify all the keybindings by modifying the dot-files of this file manager. You can also add new keybindings to execute certain commands or to navigate through certain directories. We hope that this overview of Ranger helped you in the installation and usage of this terminal-based file manager.