
Managing your self-hosted home lab can get complicated if you are self-hosting a lot of applications. If the URL of the web pages of those services are not bookmarked in your browser, you may forget how many services you have installed or running unless you SSH to your web server and then running htop.
This is exactly why having an Admin dashboard is important, you can monitor everything running on your server from a single web page. You can easily monitor system resources, network speed, and more directly from the dashboard.
Most of the dashboards also allow you to add custom bookmarks and links to webpages on the main page, so you can set your admin dashboard as the homepage of your web browser.
Homarr provides a seamless way to manage and monitor your self-hosted home server. It integrates effortlessly with popular ARR services like Sonarr and Radarr. This tutorial shows you how to set up Homarr using Docker, configure it through a YAML file, and monitor various server applications through its user-friendly interface.
In this tutorial, we will look at the Homarr dashboard, which integrates really well with the other ARR services (like Sonarr, Radarr, etc), and is more user-friendly because it does not require editing config files in order to change the appearance, listed services etc.
Also read: How to install Docker on Arch Linux in 4 easy steps!
Install Homarr on Docker: A Step-by-Step Guide
Docker is an ideal method of installing applications and services on a server. It allows easy upgrades and has many advantages over locally installed applications. Make sure that you have docker installed on your system, and then create a file named docker-compose.yml using your text editor:
# For Vim Users
vim docker-compose.yml

# For Nano users
nano docker-compose.yml
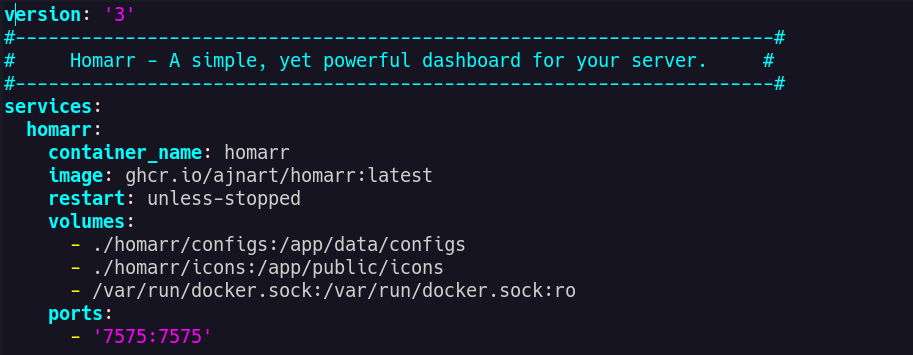
You can store information about any application in this single file, and all the applications will be pulled and installed when you run the docker compose up -d Command. Add the following lines in this file to install Homarr:
version: '3'
#---------------------------------------------------------------------#
#     Homarr - A simple, yet powerful dashboard for your server.     #
#---------------------------------------------------------------------#
services:
  homarr:
    container_name: homarr
    image: ghcr.io/ajnart/homarr:latest
    restart: unless-stopped
    volumes:
      - ./homarr/configs:/app/data/configs
      - ./homarr/icons:/app/public/icons
      -v /var/run/docker.sock:/var/run/docker.sock
    ports:
      - '7575:7575'
Once you’re done, simply save and close the file by pressing Ctrl+O, Enter, and Ctrl+X if you are using the Nano editor, press Escape and type:wq if you are using the Vim editor.
Now, from the same directory, run the following command:
docker compose up -d
Add Dash [optional]
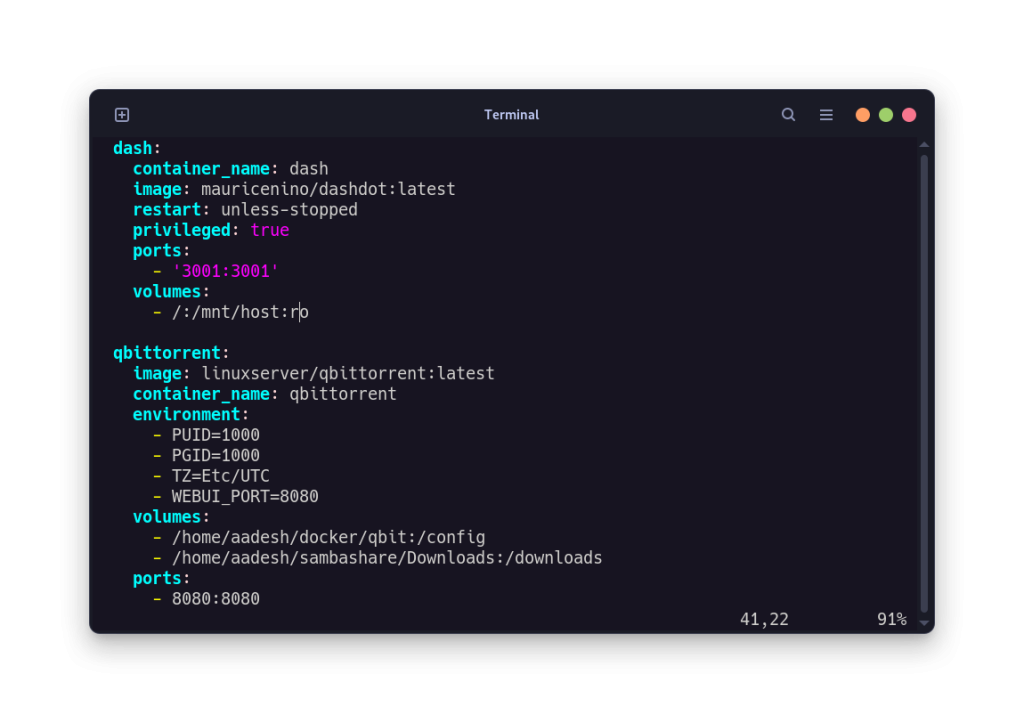
If you want a system monitor in the dashboard so that you can view your system’s disk usage, RAM usage etc, then you can install Dash using docker. In the same docker-compose.yml file, add the following lines below the Homarr services:
  dash:
    image: mauricenino/dashdot:latest
    restart: unless-stopped
    privileged: true
    ports:
      - '80:3001'
    volumes:
      - /:/mnt/host:ro
Ensure that the ‘dash‘ service is properly indented to align with the ‘homarr‘ service in the YAML file
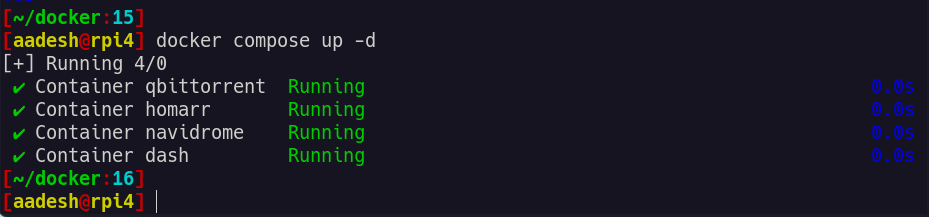
Then again, run the docker compose Command:
docker compose up -d
How to Configure Homarr WebUI
Once all the services are running, you can visit the Homepage by entering the IP address of your server along with the port number specified in the docker file (default port number is 7575). So just open your web browser and type the following URL: http://IP_ADDRESS:7575
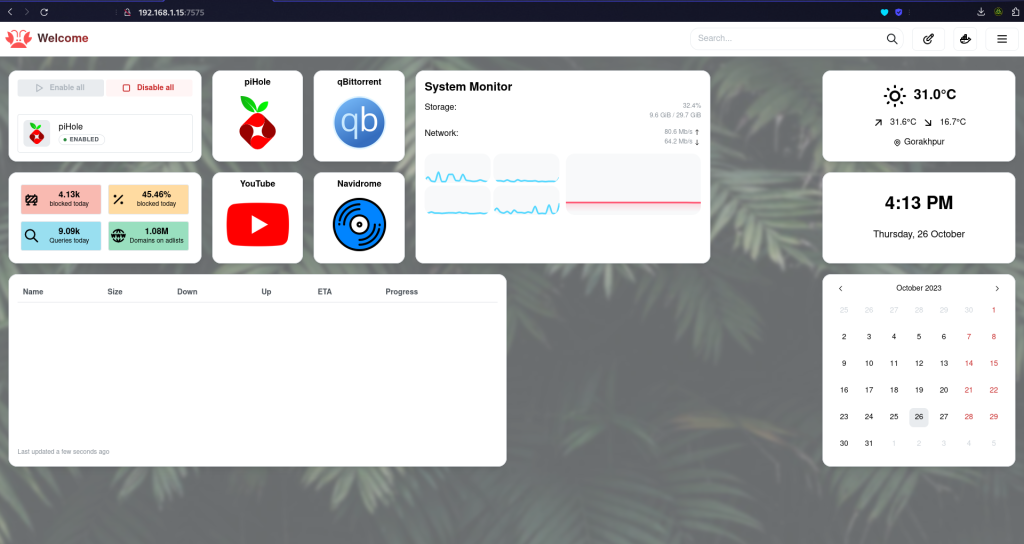
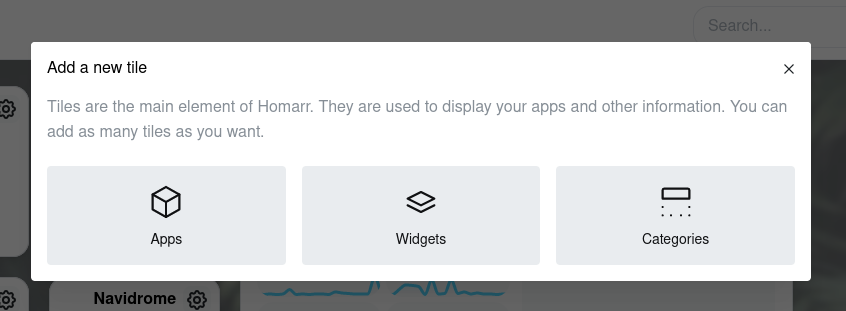
As you can see, I have added several widgets related to different applications, such as qBittorrent, piHole, Navidrome, and a Widget to an external website (YouTube). You can add them by clicking the ‘Enter Edit Mode’ button.
This dashboard is compatible with many applications like Radarr, Sonarr, Overseer, Readarr, Lidarr as well as different torrent clients like qBittorrent, Deluge, and Transmission. You can install them via docker and then add their shortcuts/widgets to the main dashboard.
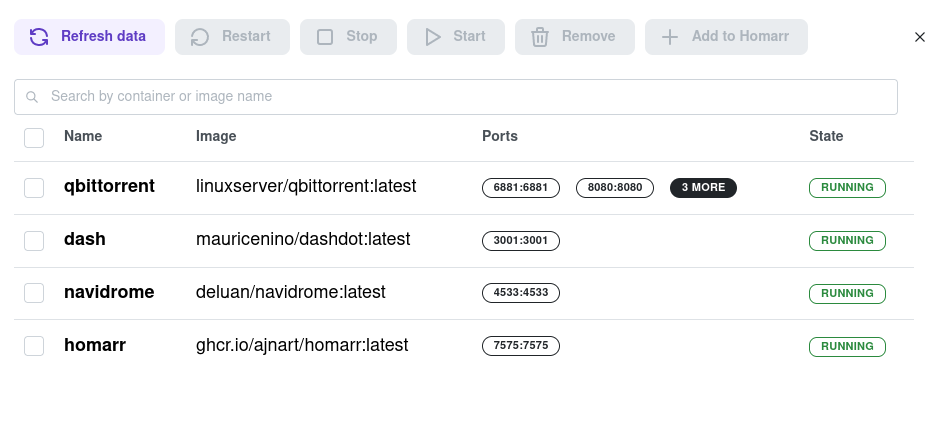
You can also see the services which are running in a Docker and stop, restart, and remove them from here as well.
Why Homarr Stands Out Among Dashboards
Homarr isn’t just another dashboard; it’s your one-stop solution for managing all your server applications. Want to explore beyond Homarr? Dive into the r/selfhosted Subreddit to discover other dashboards. What dashboard are you keen to try next?
References
Official Documentation – Homarr
How do I install Homarr on my home server?
To install Homarr, you can set up Homarr following these steps: use a docker container to run the Homarr dashboard. Homarr is a powerful dashboard for your home server that offers access to various services and applications.
What are the main features of Homarr dashboard?
The Homarr dashboard is a simple yet beautiful interface that allows you to manage and monitor your server with ease. It allows you to view and access various applications and services in one place.
Can Homarr be integrated with Sonarr and Radarr?
Yes, Homarr supports integration with Sonarr and Radarr, allowing you to link your Sonarr and Radarr services to the Homarr dashboard for a unified experience.
Is there documentation available for Homarr?
Yes, there is documentation available for Homarr that provides useful guides and tutorials on how to set up Homarr and configure it according to your preferences