
Are you a .Net developer creating applications for businesses? Optimize your workflow and boost your efficiency with the right IDE.
Rider is a renowned IDE for .Net developers, launched by JetBrains in 2017. It has gained immense popularity among .Net development communities.
Key Features of Rider IDE for .Net Development
- Rider helps you in writing code. It has built-in templates, code suggestions, snippets and intelligent code completion.
- Rider simplifies code refactoring, allowing for straightforward modification of variables, classes, and files.
- It also supports other languages like javascript, typescript, C#, F#, VB.NET, ASP.NET, XAML, XML, SQL, and many more in the .Net framework.
- The testing and debugging tools in the IDE help to catch bugs and prevent errors.
- It has a user-friendly UI. The UI looks modern and similar to IntelliJ Idea.
- Rider works on all the major desktop platforms namely – Windows, Linux, and macOS.
- Rider can analyse your code to provide insights, errors, and potential fixes as well.
- You can easily manage the version of your application through version control systems. Rider has integrations with popular VCS like git, Mercurial, Subversion, Perforce, etc.
Pre-installation Checklist for Rider on Linux
The following should be taken care of before installing Rider on Linux:-
- The latest stable release of Mono and .Net Core for Linux should be installed in your system.
- Your Linus distro should be supported by Rider. Some of the Linux distros Rider supports are:- Debian 9+, Ubuntu 16.04+, CentOS 7+, Fedora 30+, etc.
- Your system should have GLIBC 2.28 or later.
- The minimum hardware requirements for Rider are:-
- A modern processor with at least 2 GHz clock speed.
- 4 GB of RAM
- 2.5 GB of storage space
While these are the minimum requirements, we recommend a more robust system for heavier tasks. You should have sudo or root permissions for installation.
Methods to Install Rider on Linux
You can install Rider on Linux in multiple ways. In this article, we’ll show methods of installing Rider via snap package manager, JetBrains ToolBox App, and from Standalone tarball from the website.
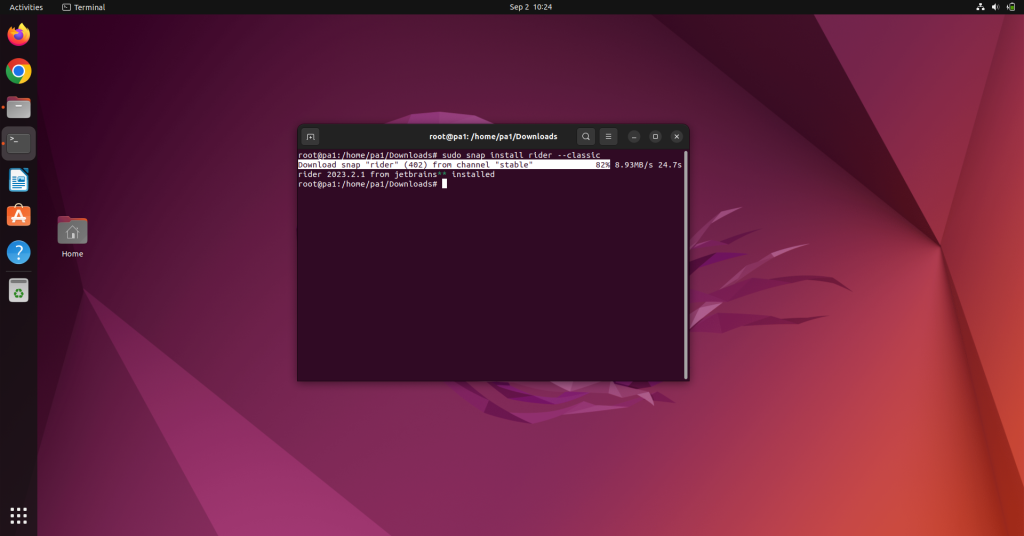
Installing Rider on Linux via snap
The Rider package is available on the snap package manager’s repositories. We can use snap to install Rider. Execute the following command if snap is already installed on your system:
sudo snap install rider --classic
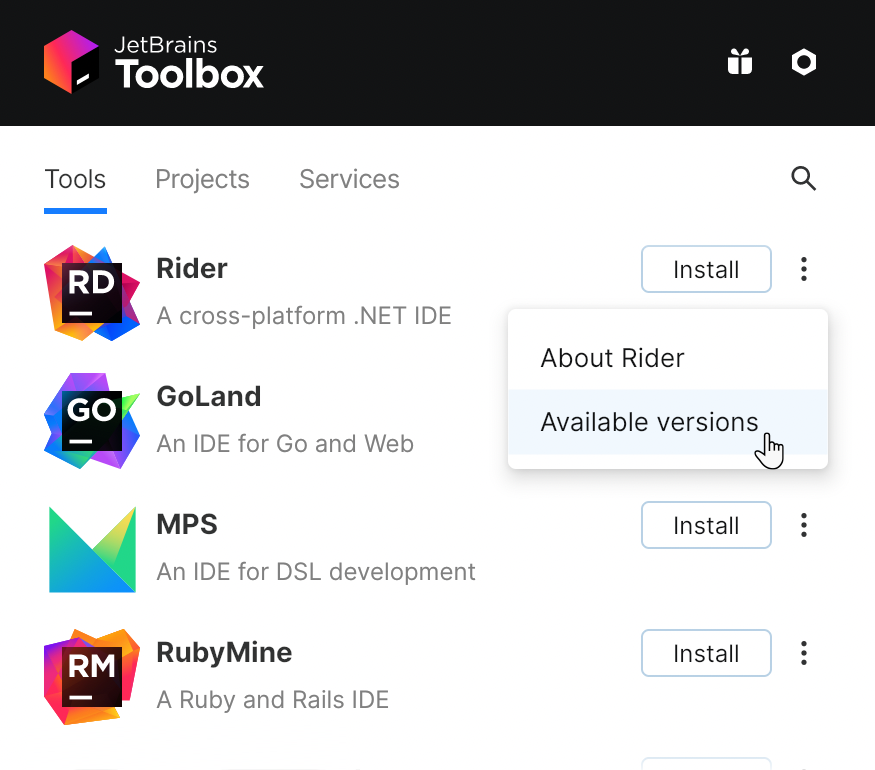
Installing Rider on Linux Through JetBrains Toolbox
ToolBox App is an IDE manager for JetBrains. We’ll first download the Toolbox App from the official site and then install Rider from that. The steps to do so are:-
- Download the .tar.gz Toolbox App file from the Toolbox App web page.
- Then extract it using the following command. The directory should support file execution, the common directory is home/ opt.
sudo tar -xzf jetbrains-toolbox-1.17.7391.tar.gz -C /<directory_name>
- Run the JetBrains Toolbox app by executing the extracted file.
- Select Rider from the list of available IDEs
- Then simply go through the installation process.
Installing Rider on Linux Standalone via Tarball file
The steps to install Rider on Linux via its tarball file are:-
- Download the Rider Tarball from the official site according to your system specifications.
- Extract the downloaded file using the command:-
sudo tar -xzf JetBrains.Rider<version>.tar.gz
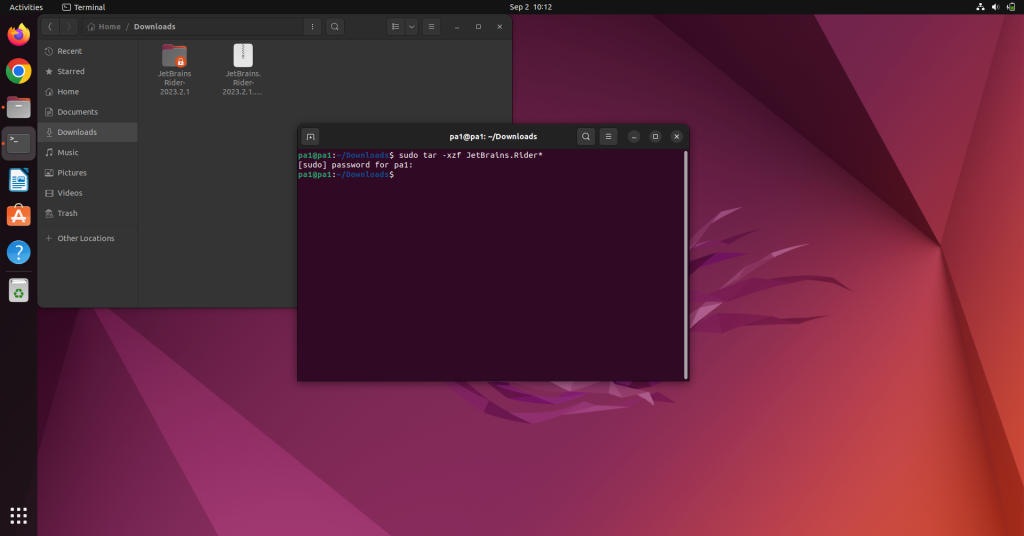
You can change the directory as well but it should support file execution.
- From the extracted files, execute the Rider.sh.
- Go through the installation process and configure your IDE.
Setting Up and Using Rider on Linux
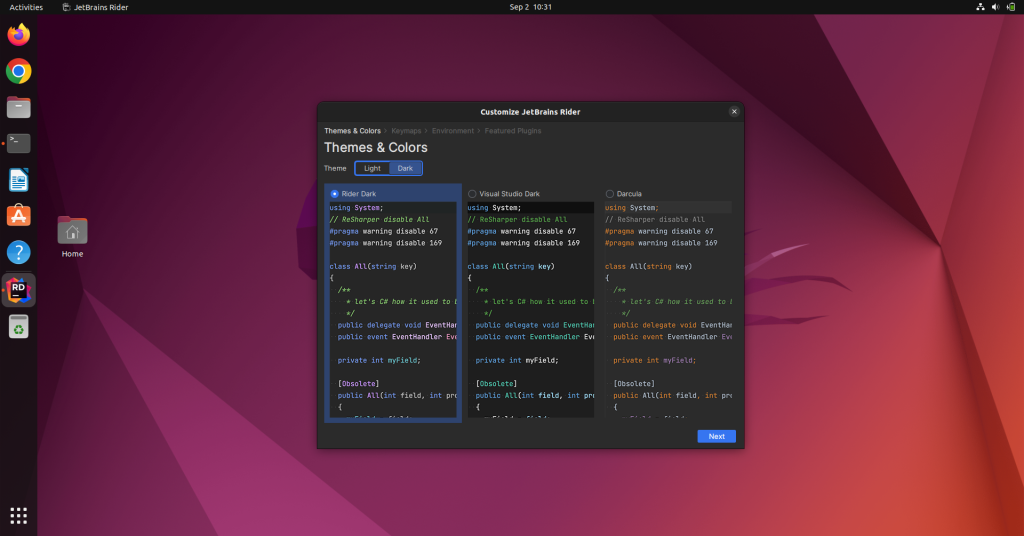
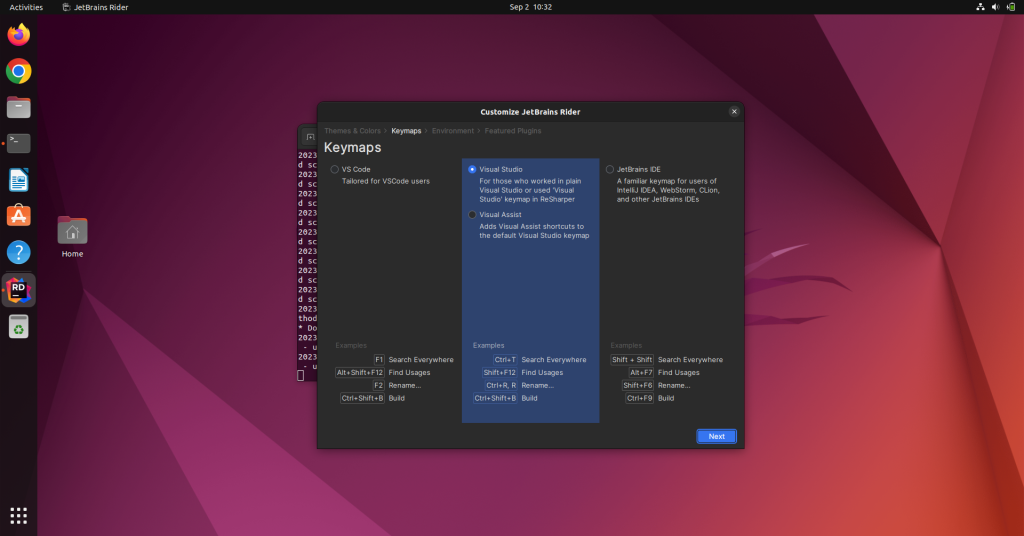
You can launch Rider via the Applications list or by the rider command in the terminal as well. You’ll be prompted to accept the terms and conditions. Accept those and move forward to selecting data-sharing preferences. Choose whichever option you prefer. Then Choose the themes and keymappings you want. For beginner, we recommend using VS code keybindings.
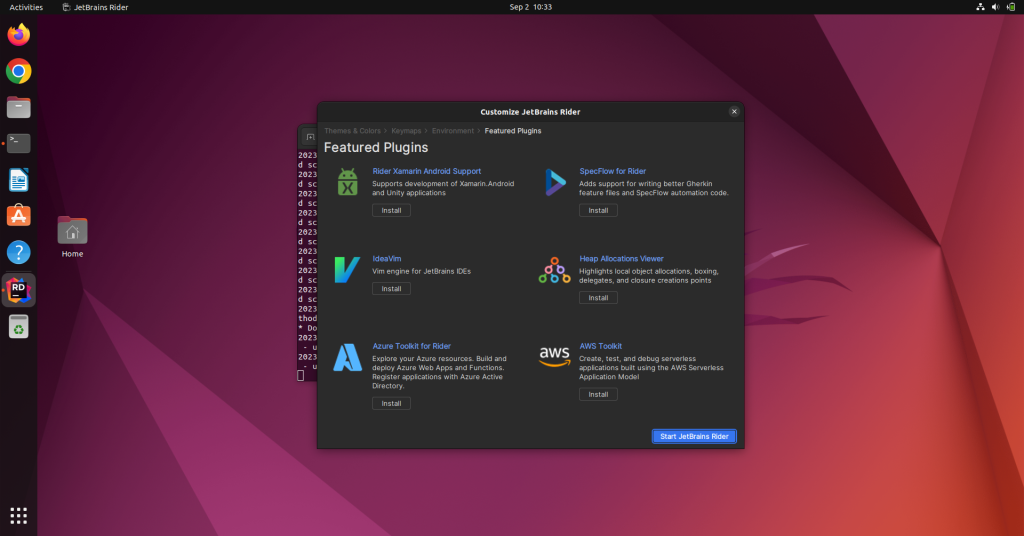
Next, configure environments such as .Net or Mono. After configuring them, select the plugins you want. The IDE will show some recommended or Featured plugins to choose from, but you can also install them later.
Click on Start JetBrains Rider to run the workspace. It’ll ask you for a license and log in. You can either make a new ID for JetBrains or log in to the existing one. There is a 30-day free trial if you haven’t purchased a license.

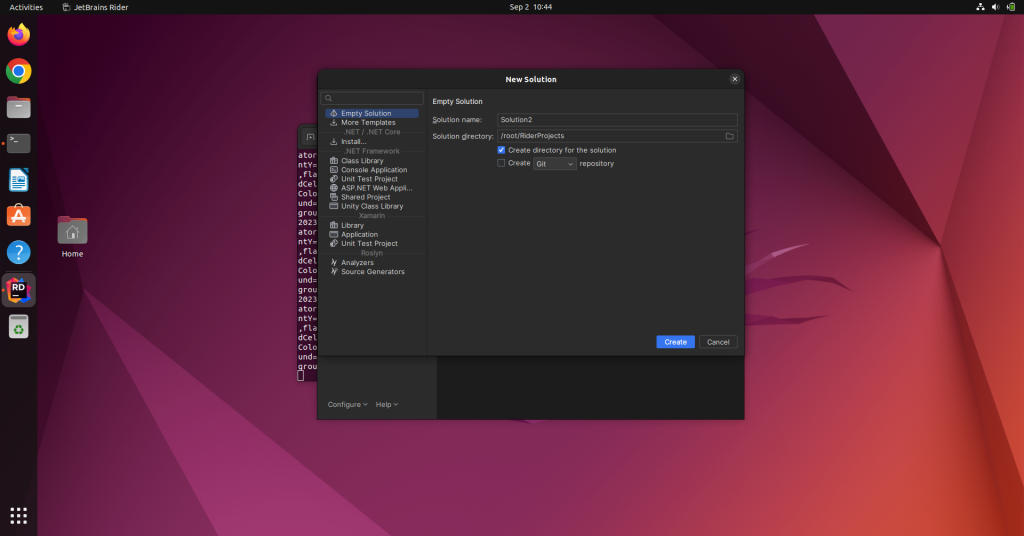
After logging in, you can make a new project or open an existing one. The New Project option will ask you to configure the details like Project name, location, git settings, etc. You can also select a template like .Net, Xamarin, or Roslyn to start with.
Rider is just like any other you’ve used in past. For beginners, it may seem very complex. But here’s a quick walkthrough for you. We’ve used a .Net project template here. The IDE looks minimal but it contains lots of tools.
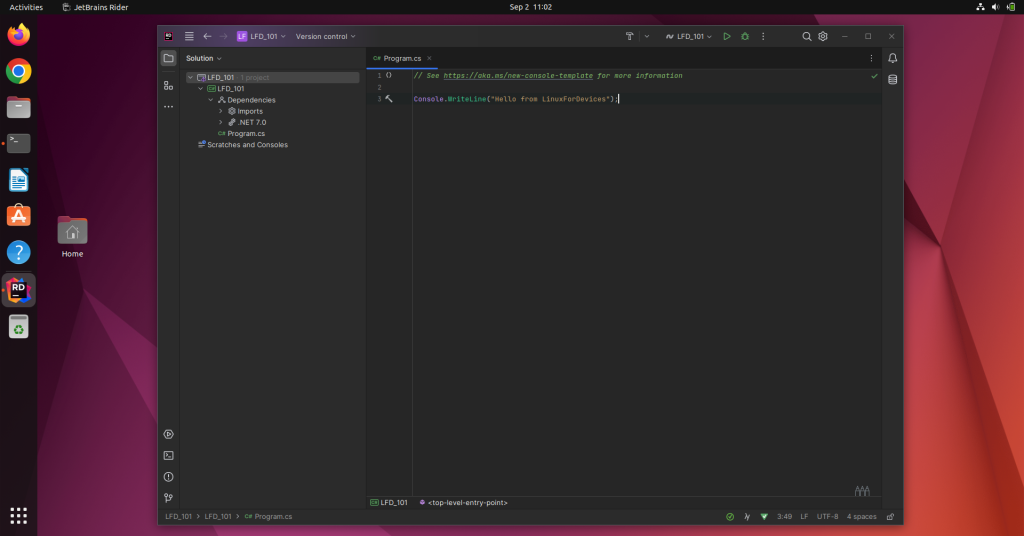
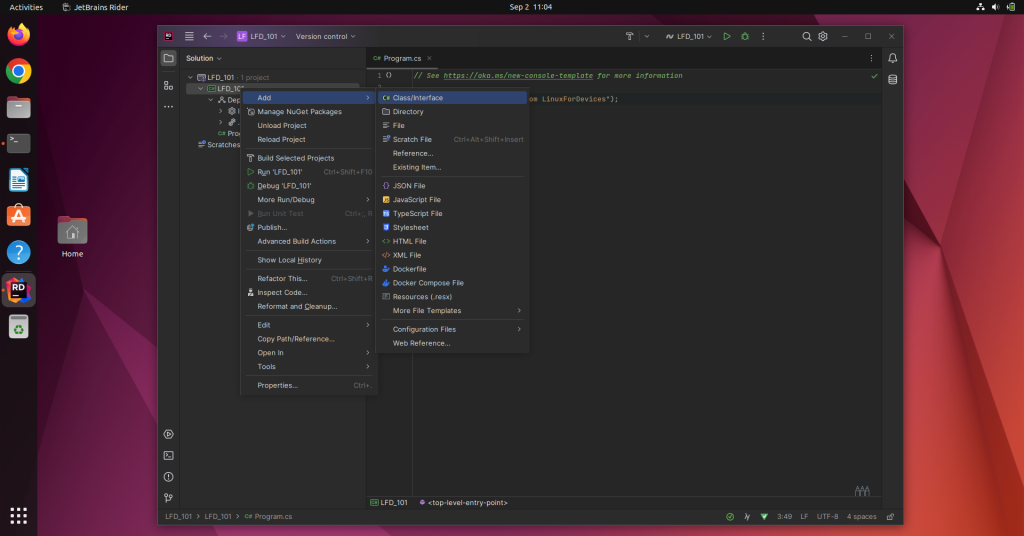
To create a new file, right-click on the folder and choose the file type you want to create.
Similarly, you can make the folder structure. We recommend familiarising yourself with the UI and exploring the IDE. You can take help of documentation or some tutorial to learn more about Rider IDE.
Conclusion
Rider is more than just another IDE; it’s a productivity powerhouse for .Net developers. With robust built-in tools and seamless integrations, it’s the complete package for .Net development. Rider can improve your productivity and speed of development as well. The latest update has a lot of improvements like better UI, support for C#, better code analysis, and many more.
Are you ready to accelerate your .Net development journey with Rider?