

Git is a free and open-source distributed version control system. In this article, we’re covering the exact steps to install latest Git on Linux and complete the set up for the same. It is fast, ensures data integrity, and supports non-linear workflows. Used by developers, teachers, UI/UX Designers, it is a nifty tool to have in one’s toolbox.
We will be installing Git on our local Ubuntu machine. Git can also be configured to track online repositories which makes it easier for people to collaborate over the internet. Several websites like GitHub and GitLab provide free online Git repository hosting services.
Steps to Install Latest Git on Linux
Git can be installed simply by using the command line with the apt command as shown below:
$ sudo apt install git

If you want to check the version before installing Git, run:
$ apt-cache policy git

This concludes the installation process for Git on Ubuntu.
Setting up Git
Now that you have Git, it’s time to configure it so that it can be used. Open up a terminal and type:
$ git config --global user.name "Your Name"
$ git config --global user.email "[email protected]"
Note: You should set user.email as the ‘no-reply’ email address provided by your repository hosting service if you want your primary email to remain private. (For GitHub, more information can be found here.)
1. Set up SSH
SSH(Secure Shell) is a network protocol for operating network services securely. It’s uses include
- Secure remote access to a machine
- Remote command-line and command execution
- Authentication
For pushing commits to any online repository, Git will require your credentials for that repository hosting service every single time. This can be skipped and passwordless commits can be pushed if the service supports SSH keys and you have set it up. So, let’s set up SSH.
If you already have SSH, proceed to the next step. To install SSH, simply type :
$ sudo apt install openssh-server
2. Check for already present SSH keys
SSH Keys are usually present in ~/.ssh . Look for ~/.ssh/id_rsa (Your private key) and ~/.ssh/id_rsa.pub (Your public key).
$ ls ~/.ssh/id_rsa ~/.ssh/id_rsa.pub

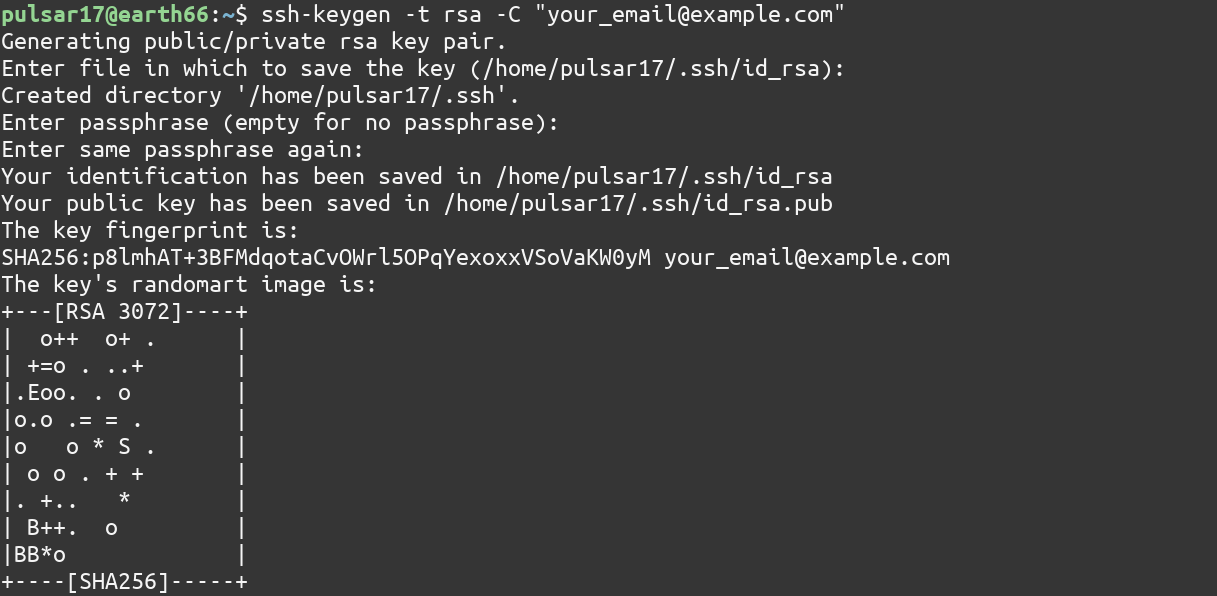
3. If not present, generate new keys
Type the following command:
$ ssh-keygen -t rsa -C "[email protected]"
4. Copy the public key to clipboard
$ xclip < ~/.ssh/id_rsa.pub
5. Add the public key to the repository hosting account
Look for an ‘SSH Keys’ section in your account settings and simply paste the public key there. There may be a Label for the key that you can name anything.
(For GitHub, check here.)
6. Test that the keys were setup correctly
For GitHub, type
$ ssh -T [email protected]

For GitLab, type
$ ssh -T [email protected]

For other providers, these steps may differ. Check their documentation for the steps to add SSH keys.
Conclusion
Git is a very useful tool for literally anything you want it to track. Using SSH for authentication instead of the traditional username and password model, a lot of typing and time can be saved.