

Kate is quite a pretty name and you would never imagine it would be a name of a text editor. It’s actually an acronym for KDE Advanced Text Editor. Today we will learn about Kate and how to install Kate in your Linux systems. So let’s get into it.
Kate is a powerful text editor developed by the KDE community. It offers a lightweight, all-in-one solution with features like an Integrated Development Environment (IDE). Installing Kate on Linux can be done via the Software Center, AppImage, package managers, or by building from the source.
Kate: More Than Just a Text Editor
It was first released back in 2001 and developed by the KDE-free software community. It’s been almost 20+ years since it was first released but still, it is quite popular in the open-source community as it is a lightweight all-in-one application.
Don’t be fooled by the fact that it is a text editor, it’s just not a text editor but also boasts a modest Integrated Development Environment. It has all the right features required to make your text editing experience much simpler and straightforward.
I will certainly agree that the first time you open it, it does not seem impressive, but that’s the simplicity of it, once you start using it you get hooked on it.
Guess what? You can customize the layout to your style. If you are looking to use it for coding then you can integrate it with a debugger, compiler, and code lines. This flexibility that Kate provides is what makes it special. The way it appeals to all types of users, whether you are an author writing your next big adventure or a developer writing your next big program ( mine are usually riddled with bugs) or you are just a student looking to finish your assignment, Kate is for you.
I wouldn’t get too deep into it and let you guys explore, but first, let’s see how to install it in your Linux system.
Step-by-Step Guide to Installing Kate on Linux
We all know Linux has a lot of distros and I will try to cover methods to how to install the software reliably in your system. If nothing works, I will also teach you how to build it from the source (last resort) so stick with me till the end of this journey.
Easy Installation via Software Center
The easiest method is to visit the Kate official website and click on Get Kate. On clicking that you will be directed to a new page where there will be a button to install Kate on Linux. For reference check the image below.
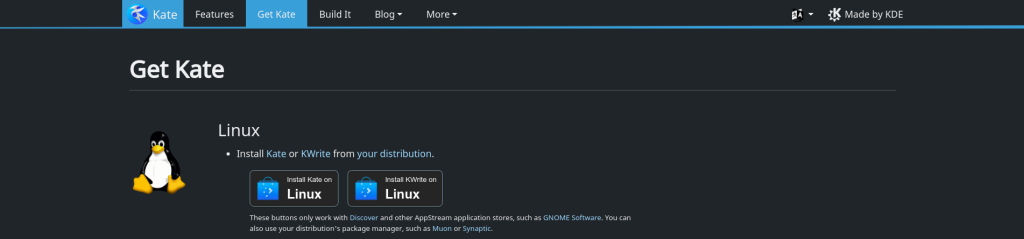
Clicking on this button will redirect you to your Application store or software center and then you can download from there. For reference check the image below of Pop!_Shop.
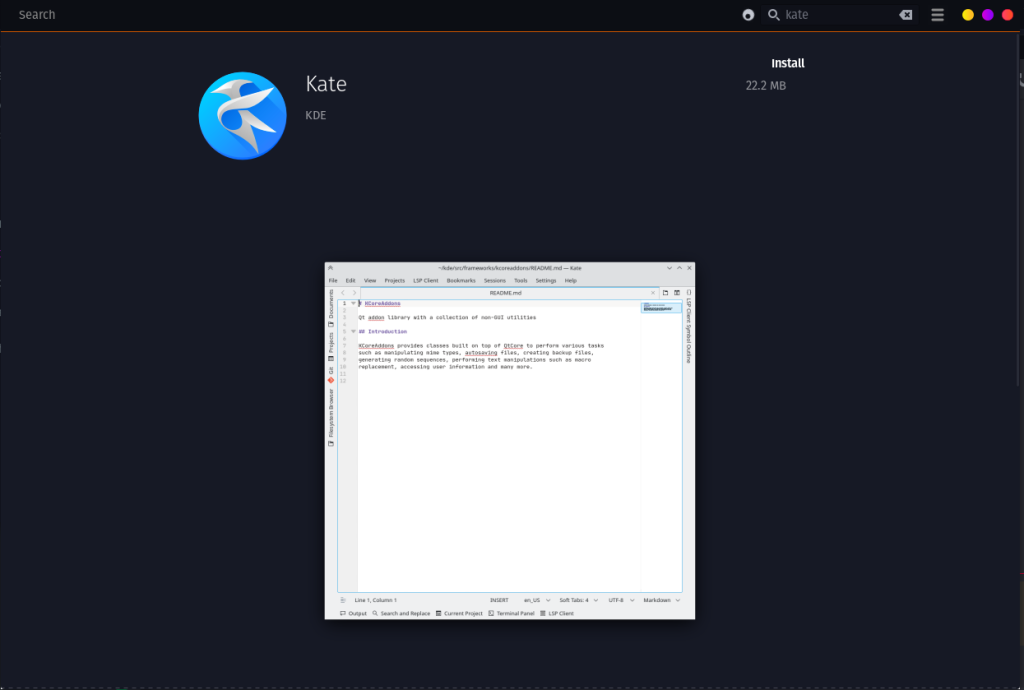
Also instead of going through all this hassle, you can just directly head over to your software center and search Kate and download it. It’s up to you how you prefer doing it.
Alternative Installation with AppImage
If you can’t find Kate on your software center of some other issue, then worry not, you can head over to the website and download the AppImage. AppImage contains all the required libraries and binaries bundled inside it so there should be no problem in setting up.
On the official website, there are two AppImages available, one is a nightly build, and one is just a normal build. I prefer nightly build but it’s up to you which one you download.
Once downloaded, you can either right-click on AppImage and make it executable or you can use our trusty chmod command in the terminal to make the AppImage file executable.
Using Package Managers for a Smooth Installation
Not everyone prefers AppImage, but a lot of us prefer to use the package manager including me to install the software.
So if you are using Ubuntu/Debian then run the below command to install the software.
sudo apt install kate -y
If you are using Fedora, then run the following command.
sudo dnf install kate -y
For other distros I would prefer using Snap package manager, you can check in your Kate in your default package manager but if you can’t find it then you can use Snap. If you want to know how to install snap then you can check this tutorial on snap.
Once Snap is installed, you can run the following command.
sudo snap install kate --classic
Using this method should ensure that you have a working text editor in your Linux System. If this does not work then you can build from the source.
Building Kate from Source
If you are a beginner in Linux then building from the source could seem daunting but worry not, you got me here for you, we will walk through this process together and it’s not that difficult once you get used to it. So let’s get started.
First, you have to choose the path where all KDE development things should end up. For demonstration purposes, I will use ~/projects/kde as the path.
We have to install kdesrc-build which is just cloning it using git. If you don’t have git then follow this tutorial.
mkdir -p ~/projects/kde/src
cd ~/projects/kde/src
git clone https://invent.kde.org/sdk/kdesrc-build.git
After it is done, you can check if kdesrc-build is installed or not by running the following commands.
cd kdesrc-build
kdesrc-build --version
The output should be similar to the image below.

Now that you are sure that kdesrc-build is installed, you can move to the next step. Configuring kdesrc-build, it’s an important step, as this configuration file will be used while building it.
The configuration path will be ~/.config/kdesrc-buildrc.
nano ~/.config/kdesrc-buildrc
Using nano we will edit the file, and copy-paste the below configuration, remember you can change the path mentioned but I will go with the default one.
global
    # use the latest KF5 and Qt5-based software.
    branch-group kf5-qt5

    # we want .kateproject files with ninja
    cmake-options -G "Kate - Ninja"

    # clangd tooling
    compile-commands-export yes
    compile-commands-linking yes

    # Install directory for KDE software
    kdedir ~/projects/kde/usr

    # Directory for downloaded source code
    source-dir ~/projects/kde/src

    # Directory to build KDE into before installing
    # relative to source-dir by default
    build-dir ~/projects/kde/build
end global

include ~/projects/kde/src/kdesrc-build/kf5-frameworks-build-include
include ~/projects/kde/src/kdesrc-build/kf5-applications-build-include
include ~/projects/kde/src/kdesrc-build/kf5-workspace-build-include
include ~/projects/kde/src/kdesrc-build/kf5-extragear-build-include
Once we have set up the configuration file, we can move on to building Kate including the dependencies, you prefer to not install dependencies if you think you already have them but I will recommend you run the below command for error-free installation.
kdesrc-build --inlcude-dependencies kate
This will take quite a bit of time so you might want to work on something else while this run in the background. You can probably watch some anime or you can check this tutorial on how to install OpenComic.
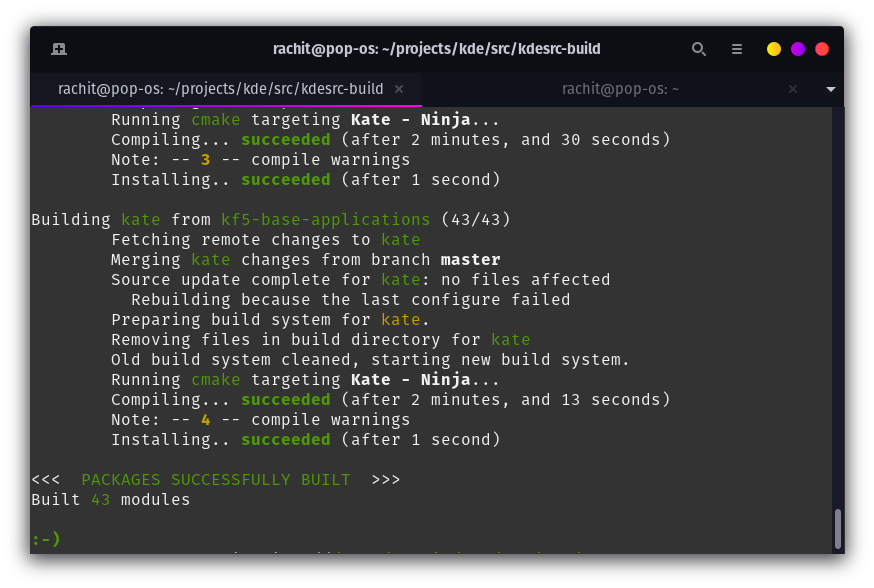
Once the build is finished, you should get a message like this in the terminal.
Once you are done, you can run the below command to run Kate.
source ~/projects/kde/build/kde/applications/kate/prefix.sh
kate
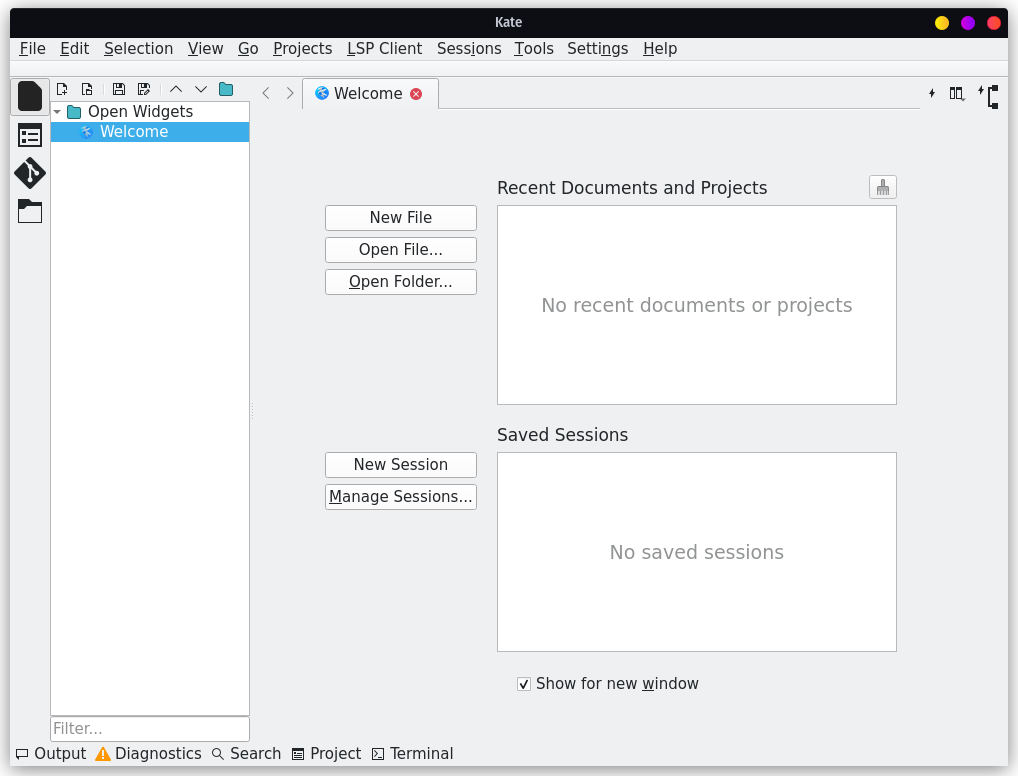
With this we have come to the end of this journey, regardless of the path you took the destination should look something like the image below.
Wrapping Up: Your Journey with Kate
In this article, we learned how to install Kate, an open-source text editor in Linux. We learned how to install using software center, AppImage, package manager and finally building from the source.
Now go on, you got a blank sheet in front of you, write your next story or write your next program, remember to have fun while you explore this simple but efficient text editor. Whether you’re an author, developer, or student, Kate offers something for everyone. What will you create with Kate today?