

In this article, we’ll start with the steps to install Juju on Linux. Juju is a software tool for deploying, configuring and managing software services on a variety of platforms. It is an open-source project that is developed and maintained by Canonicals, which is the company behind Ubuntu. Juju uses a “model-driven” approach to deploying software services, where the user defines a “model” of the desired state of their system, and Juju ensures that the system is configured to match that model.
Juju can be used to deploy software services on a wide variety of platforms, including public clouds (such as AWS and Google Cloud), private clouds (such as OpenStack and Kubernetes), and bare metal servers. Juju also supports deploying software services to devices such as Raspberry Pi and IoT devices.
Juju uses a “charm” to define how a software service should be deployed and configured. A charm is a bundle of scripts and configuration files that Juju uses to deploy and manage a software service. Charms are written in Python and are designed to be easy to write and understand.
Juju also provides a command-line interface (CLI) and a web-based GUI called the Juju GUI, which allows users to interact with the Juju environment and manage their deployed software services.
Juju is widely used in DevOps, where it is used to automate the deployment and management of software services across multiple environments. This can help organizations to improve their software delivery process, reduce the time-to-market and increase the quality of their software services. In this article, we will guide you through the process of installing Juju on Ubuntu.
Also read: How to install WhatsApp Desktop client on Linux
Prerequisites for Installing Juju
Before we begin, it’s important to note that to install Juju Server and Client on a single virtual machine, a minimum of 4 vCPU, 4GB of RAM, and 40GB of disk space is required, using an ubuntu-14.04.4-server-amd64 base image. If you prefer to install them on separate virtual machines, the Juju Server would need a minimum of 4 vCPU, 4GB of RAM, and 40GB of disk space, using an ubuntu-14.04.4-server-amd64 base image.
The Juju Client would require a minimum of 2 vCPU, 2GB of RAM, and 20GB of disk space, also using the same ubuntu-14.04.4-server-amd64 base image.
Additionally, you’ll need to have the following software installed:
- Python 2.7 or later
- curl
- lxc (which should be installed by default on Ubuntu)
- lxd (the LXD daemon, which must be installed separately)
Once you’ve ensured that your system meets the prerequisites, you can begin the installation process.
Steps to Install Juju on Linux
There are various ways to install juju in Ubuntu,
- Using PPA
- Snap
- Binary
Using PPA
The first step is to add the Juju PPA (personal package archive) to your system. This can be done by running the following command in the terminal:
sudo add-apt-repository ppa:juju/stable
Next, update your system’s package list by running:
sudo apt-get update
With the package list updated, you can now install Juju by running:
sudo apt-get install juju
After the installation is complete, you’ll need to configure Juju by running the following command:
juju init
This command will prompt you to select a cloud provider, configure authentication, and specify a default region. Once the configuration is complete, you can verify the installation by running the following command:
juju version
This will output the version of Juju that is currently installed on your system.
Installing Juju Using Snap
Installing Juju client using snap is a recommended method as it ensures that the client is always updated to the latest stable version of Juju as soon as it becomes available. Snap is a package management system for Linux that allows easy installation and management of software packages.
To install the Juju client using snap, you must first make sure that snap is installed on your system. If snap is not installed, you can install it by running the following command in a terminal:
sudo apt update
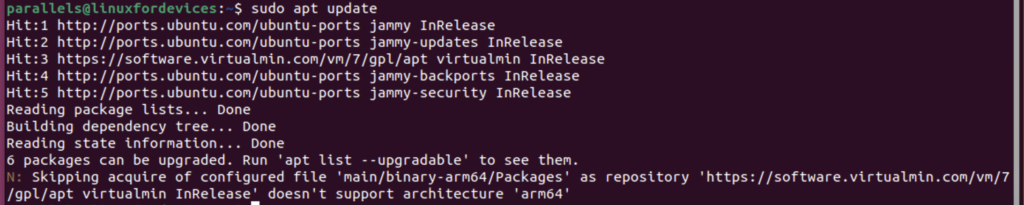
sudo apt install snapd
Once snap is installed, you can install the latest stable version of Juju client by running the following command:

sudo snap install juju --classic
The –classic flag allows the Juju client to access the host file system.
If you want to install a specific version of Juju, you can use the –channel argument. For example, to install version 3.0 of Juju stable release, you can use the following command:
sudo snap install juju --classic --channel=3.0/stable
To see a list of available channels for the Juju client, you can run the following command:
snap info juju
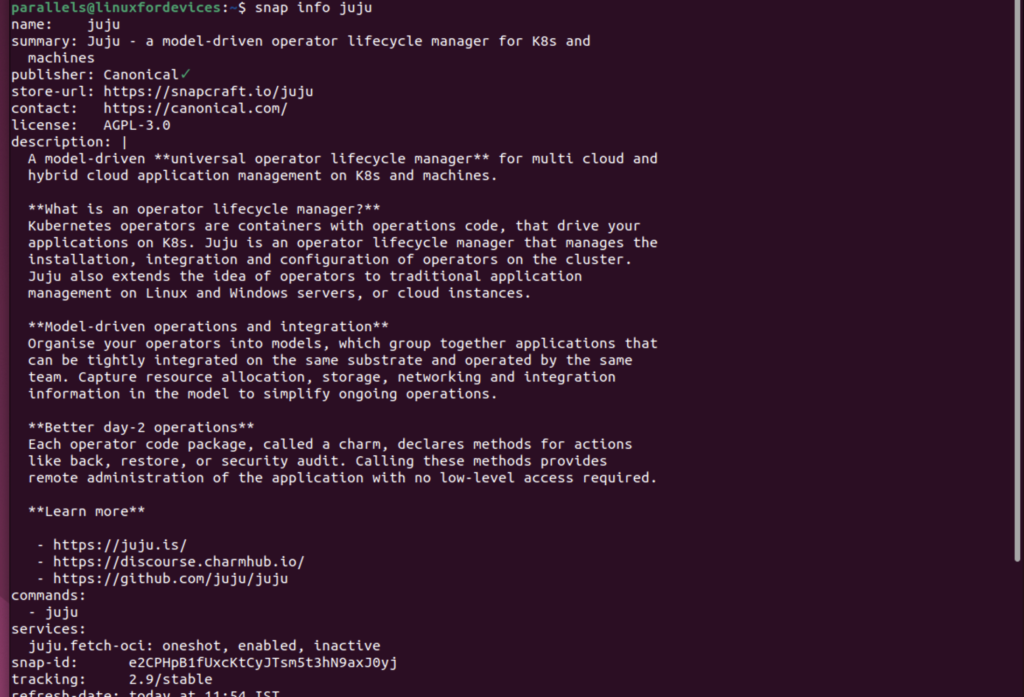
This will display information about the Juju client package, including a list of available channels and their corresponding versions. You can then choose the appropriate channel to install the desired version of Juju.
Installing Juju client via snap would make sure that the client is updated automatically in the background and you don’t have to worry about updating it manually.
Installing Juju Using Binary
The Juju client can be installed on systems that do not support snaps by using a binary installation method.
- The first step is to visit the Juju project’s downloads page (https://launchpad.net/juju) and select the binary that matches your system’s architecture and the version you want to install. For example, to download version 3.0.2 of the Juju client for a 64-bit system, you would use the following command:
curl -LO https://launchpad.net/juju/3.0/3.0.2/+download/juju-3.0.2-darwin-arm64.tar.xz

- (Optional) You can validate the downloaded binary archive by downloading the md5 checksum that matches the binary you just downloaded. The link to the md5 signature can be constructed by appending /+md5 to the end of the link you just downloaded. For example:
curl -L https://launchpad.net/juju/3.0/3.0.2/+download/juju-3.0.2-darwin-arm64.tar.xz/+md5

Then validate the downloaded binary archive against the checksum file:
$md5sum <insert path to juju file download directory>

- Next, unpack and install the client binary by running the following commands:
tar xf juju-3.0.2-linux-amd64.tar.xz
sudo install -o root -g root -m 0755 juju /usr/local/bin/juju

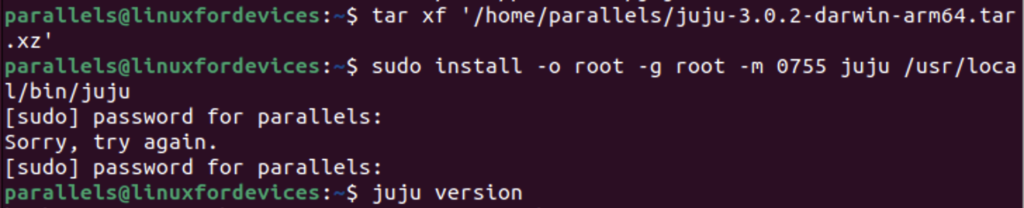
- Finally, you can test that the version of the client you installed is up to date by running:
juju version
It’s worth noting that installing Juju client via binary would not ensure that the client is updated automatically and you would need to repeat this process to update the client.
Few Issues First Time Juju Users Encounter
While the installation process is relatively straightforward, there are a few common issues that you may encounter. One of the most common issues is that Juju is unable to connect to the cloud provider. This is often caused by incorrect authentication settings or a lack of permissions. To resolve this issue, you’ll need to check your authentication settings and ensure that you have the correct permissions.
Another issue that you may encounter is that Juju is unable to start the LXD daemon. This can be caused by a lack of memory or disk space. To resolve this issue, you’ll need to ensure that your system has at least 1 GB of memory and 2 GB of disk space. Additionally, you’ll need to check that the lxd package is installed and that the lxd daemon is running.
Conclusion
Juju is a powerful tool for deploying, scaling and managing services on various cloud platforms. The installation process is relatively straightforward, but it’s important to ensure that your system meets the prerequisites and that you’ve configured Juju correctly. If you encounter any issues, be sure to check your authentication settings and ensure that your system has enough memory and disk space.