

In this tutorial we’ll teach you how to install GIMP on Linux! GIMP stands for GNU Image Manipulation Program, which is a cross-platform powerful image editor. It is a great if not the best image editor in the Linux world. It is a free software, and it’s source code is available to make changes and distribute. It comes with powerful editing tools for all your needs.
Steps to Install GIMP on Ubuntu Linux
GIMP can be installed with the help of following methods:
Method 1: Installing GIMP on Ubuntu via GUI
Ubuntu comes with a nice software store, where you can easily find GIMP. Using the menu on your left, launch Ubuntu Software Center,
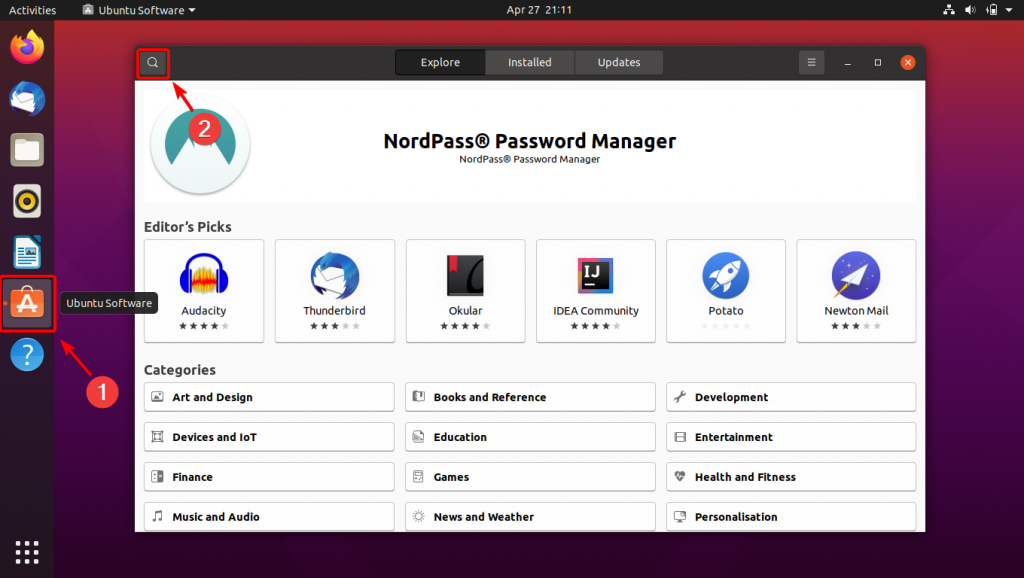
Once the window launches, on the top left you can see a magnifying glass icon. Click on it and type in GIMP to search for it.
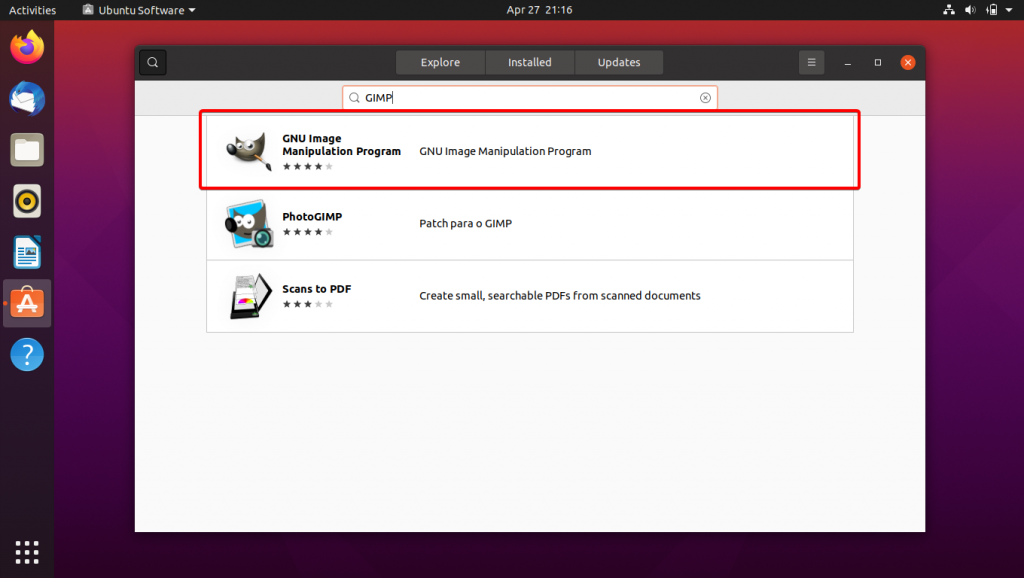
Click to open the GIMP’s Ubuntu Software page, and then click Install.

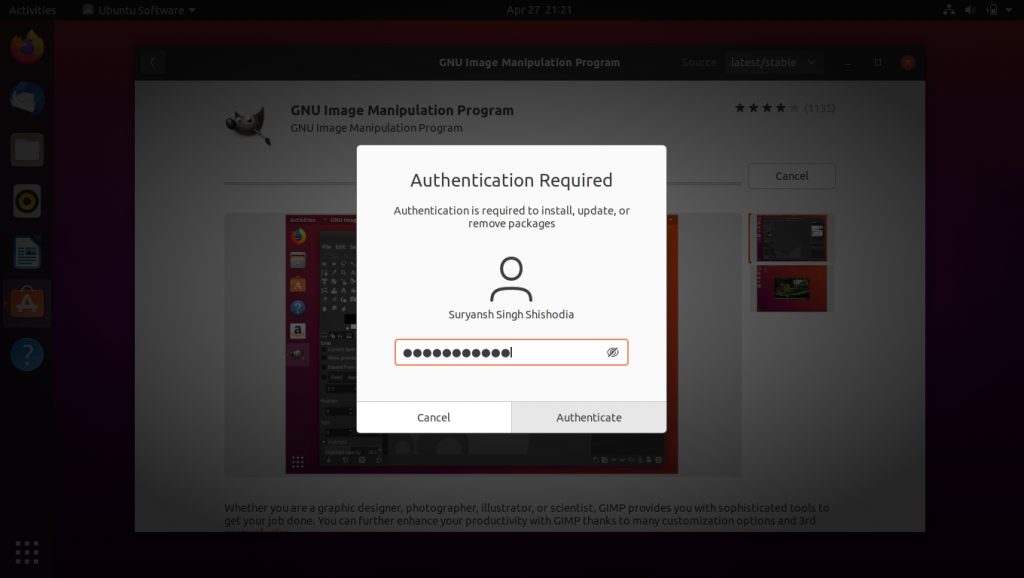
You’ll be required to enter your user password and click Authenticate to proceed further with the installation.
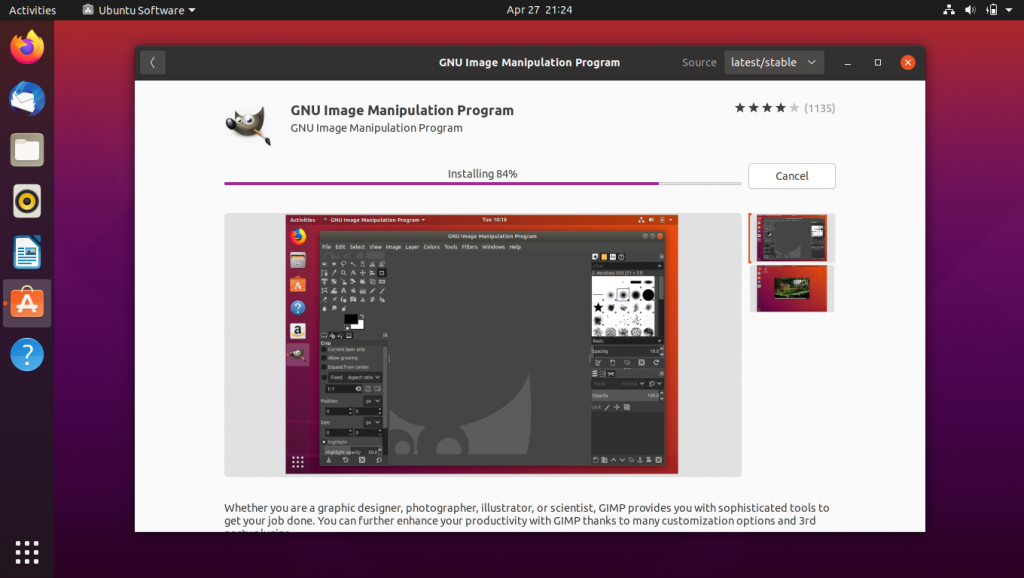
Now, wait for the installation to complete.
Once the installation has completed, click on the Activities on your top-left.
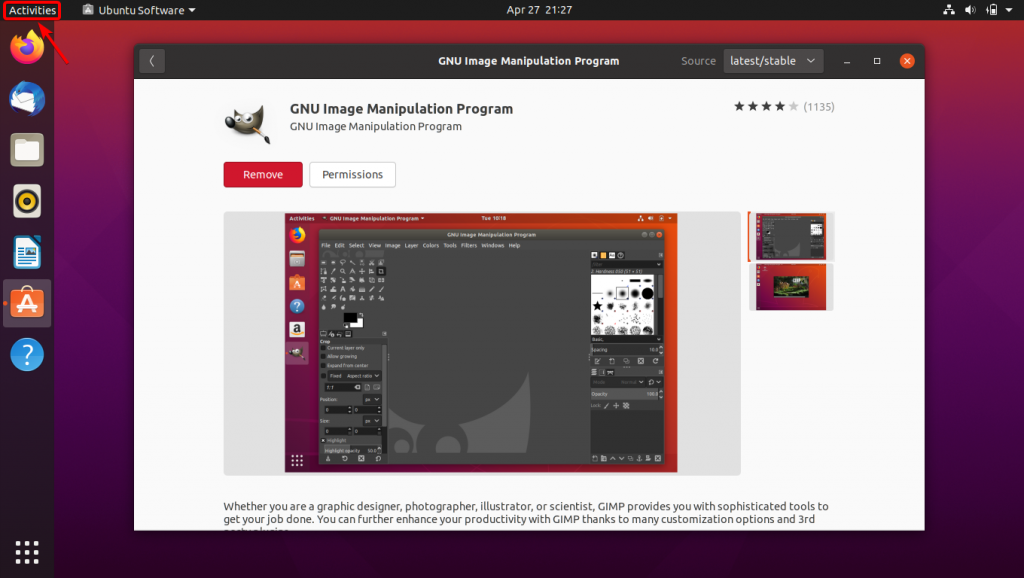
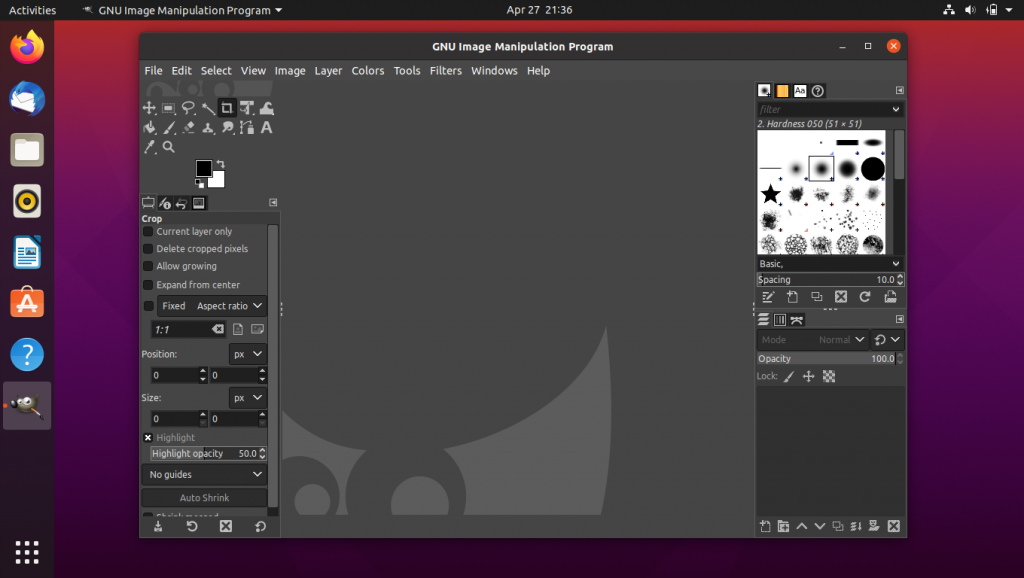
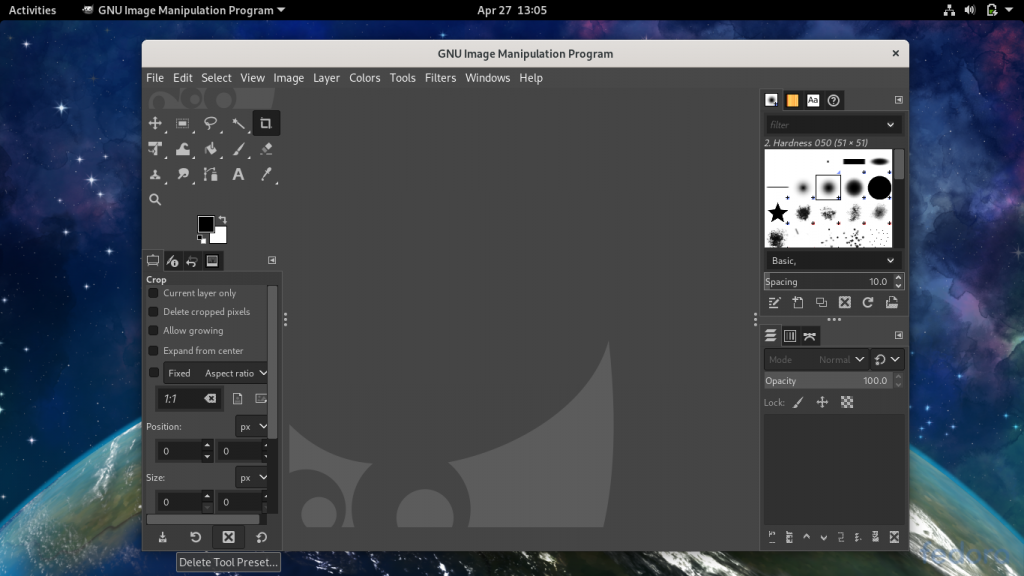
Then search for GIMP, and you can finally Launch GIMP by clicking it’s icon,
Congratulations! You have successfully installed GIMP!
So we have learnt how to install GIMP on Ubuntu with help of Ubuntu Software.
Method 2: Installing GIMP on Ubuntu via Terminal
Installing GIMP with the help of Ubuntu’s terminal is super easy. Let’s get started!
Firstly, launch a terminal window pressing Ctrl+Alt+T or searching for Terminal in Activities,
Before installing GIMP, make sure you update your repositories by:
sudo apt update
Then to install GIMP, enter the following apt command with sudo command:
sudo apt install gimp
Once you are done with the installation, simply go to Activities and search for GIMP, you should be now able see the GIMP’s icon, click on it to launch GIMP! Voila! We have successfully installed GIMP using the Ubuntu’s terminal!
Steps to Install GIMP on Fedora
GIMP can be installed on Fedora with the help of following methods:
Method 1: Installing GIMP on Fedora via GUI
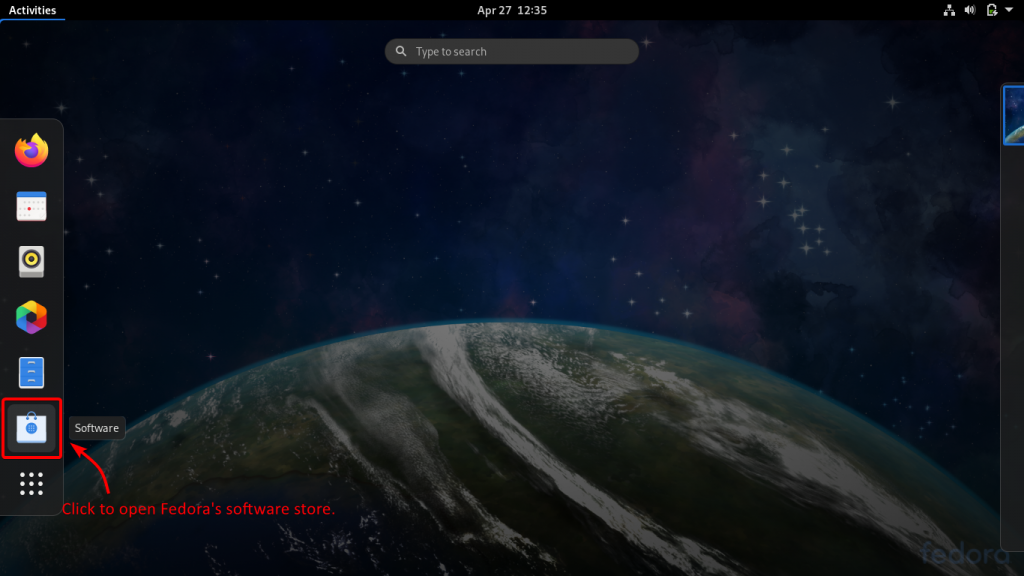
To install GIMP, click on Activities on the top-left

Now click Software to open Fedora’s software store.
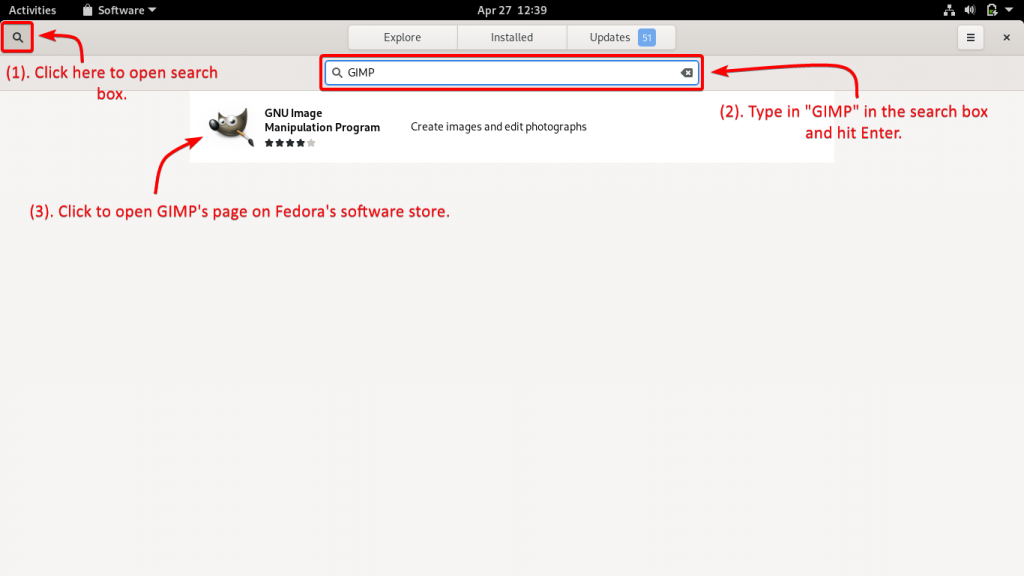
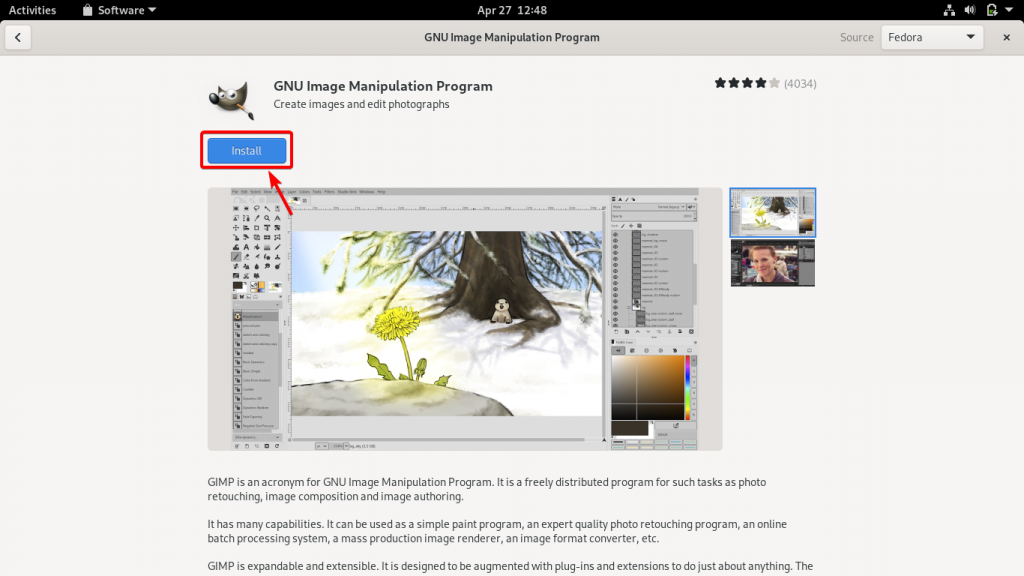
Go to the search icon, click on it to open the search box, and inside that search box type "GIMP" and hit Enter key to search for GIMP software, click on it to open GIMP’s page on Fedora’s software store.
Click on Install to install GIMP.
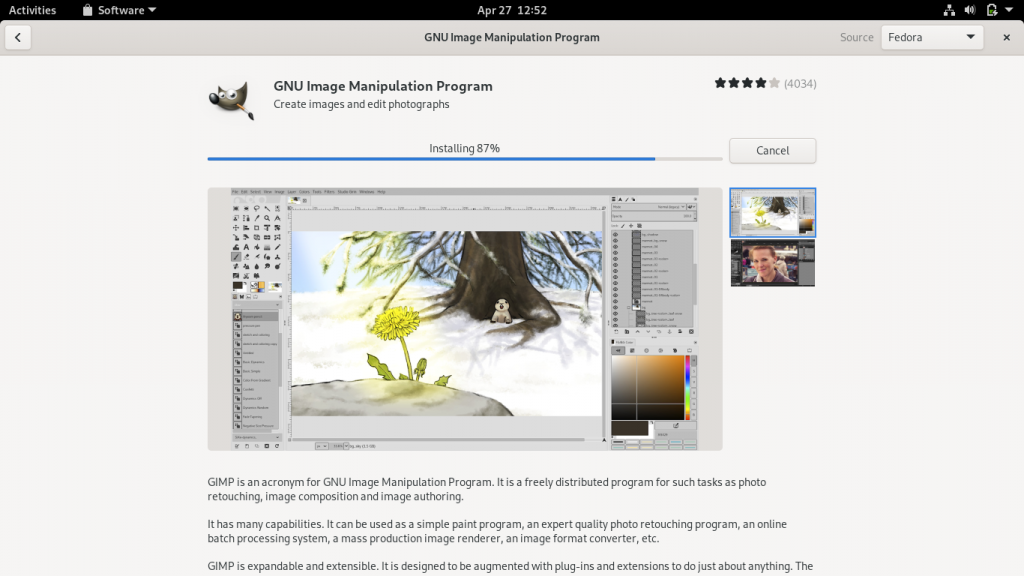
Wait for the installation to complete.
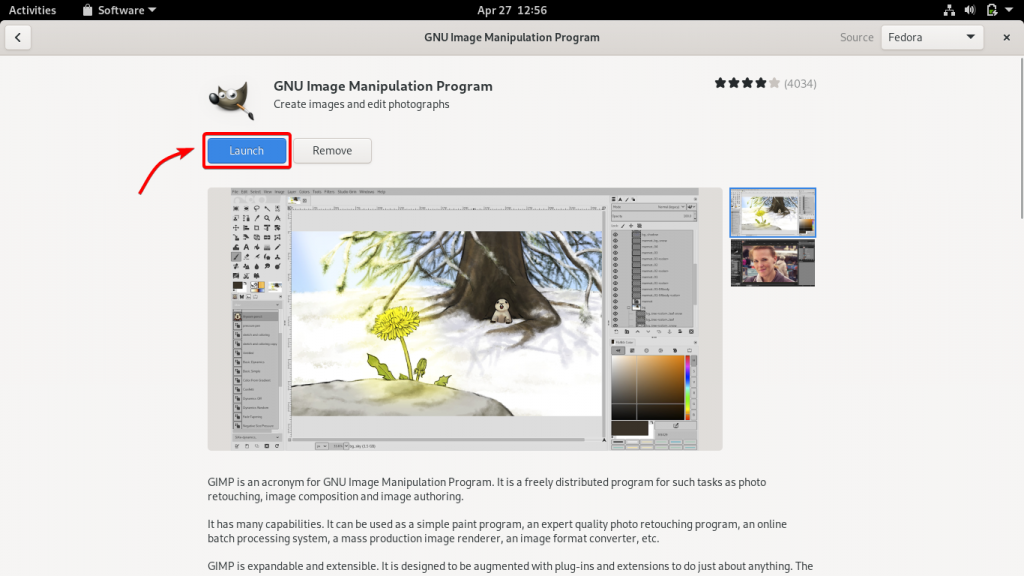
Installation has completed successfully, you can launch GIMP from there itself by clicking Launch.
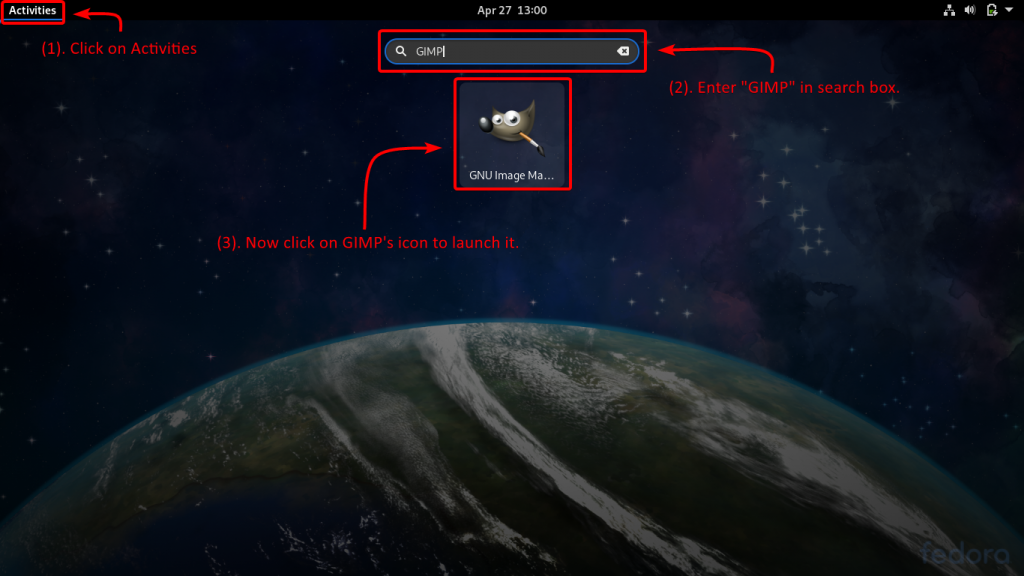
Alternatively, you can click on Activities on the top-left, and search for GIMP you should be now able to see GIMP’s icon.
Congratulations we’ve successfully installed GIMP!
Method 2: Installing GIMP on Fedora via Terminal
To launch Terminal, click on Activities on the top-left and search for Terminal, click on it’s icon to launch a new terminal session, or just hit Enter key.
Make sure you update before we proceed with installation with the help of yum command with sudo command:
sudo yum update
Now we can install GIMP using yum command with sudo command:
sudo yum install gimp
Once the installation is successfully completed, you can search for GIMP in the Activities on the top-left of your screen, and you should be now able to see GIMP’s icon, click on it to launch GIMP.
Voila! We have successfully installed GIMP on Fedora!
Conclusion
Installing GIMP is super easy on the popular Linux distros, be it the GUI way or the terminal way. We hope you enjoyed learning with us! Happy Learning!