
Because of less number of users, Linux usually does not get support from many Hardware and Software companies, and because these companies don’t support Linux, people do not migrate to Linux. This chicken and egg problem has existed for a long time in the Linux world.
Installing Canon printer drivers on a Linux system involves locating and downloading the correct drivers from the official Canon website. The drivers should align with your printer model and Linux distribution. Uncompress the downloaded file with a command like ‘tar -xvf ~/Downloads/cnijfilter2-6.00-1-rpm.tar.gz’. Execute the install.sh file from the terminal with admin privilges using the following commands ‘cd cnijfilter2-6.00-1-rpm/’ and ‘sudo ./install.sh’.
The Challenge of Printer Support on Linux
Printer support can be a hit or miss on Linux, and it depends upon the brand and model of your printer as well as your Linux distribution. The brand name can either choose to open-source the Printer drivers or choose to provide a way to install the proprietary drivers.
They can also decide to just not support Linux at all. On the other hand, Linux distributions can also decide to not ship with any proprietary code at all by default. Fedora’s workstation is one such example. In this tutorial, we will try to add the official Canon printer drivers to our Fedora workstation and see if the drivers make our printer work at all in the Linux environment.
Downloading the Correct Drivers
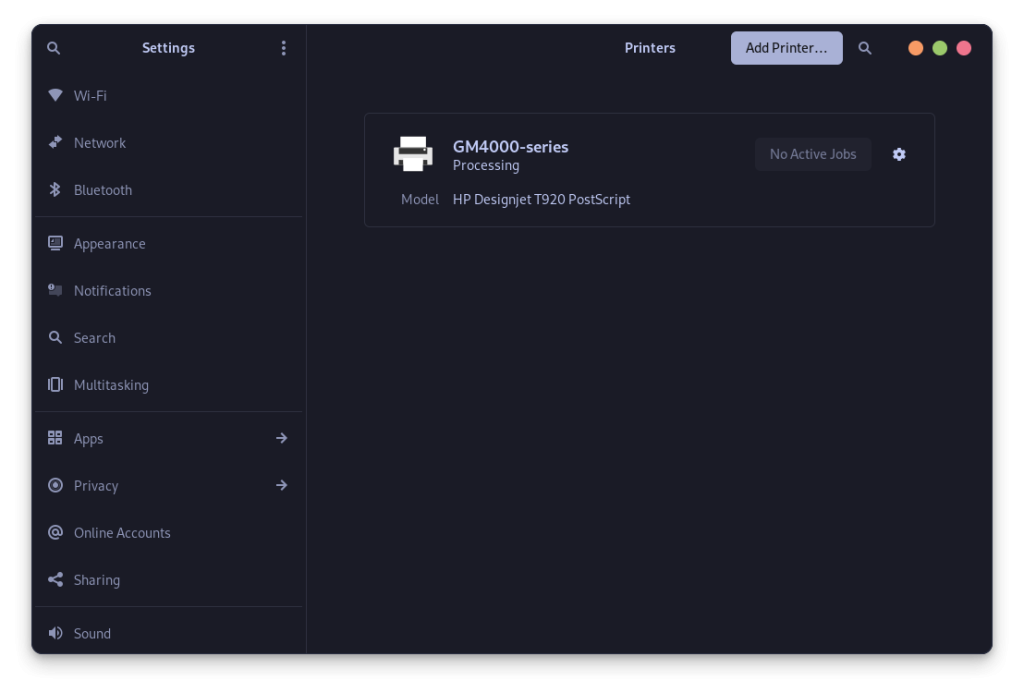
Printing is handled on Linux by the CUPS software in the background. In order for CUPS to recognize your Printer correctly, you will need the appropriate drivers. For example, I have the Canon Pixma GM4070 model printer and without the official Printer drivers installed, it gets listed as HP Designjet T920 which is obviously not the case.
To download the correct drivers, visit the official Canon website, and search for the Model name of your Printer. You can find the model name easily on the Printer itself, either on the front, or at the back of it.
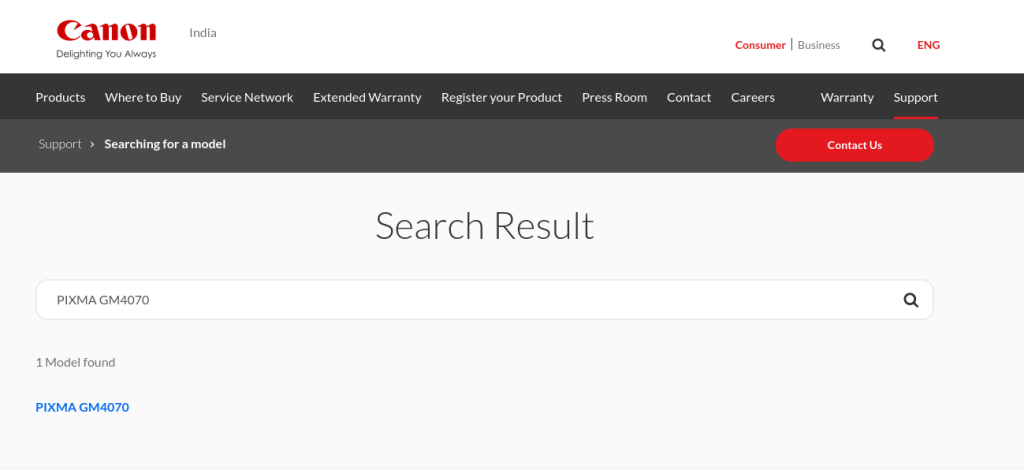
Once you have found your Printer model, simply click on the blue hyperlink, and you will be redirected to the driver page.
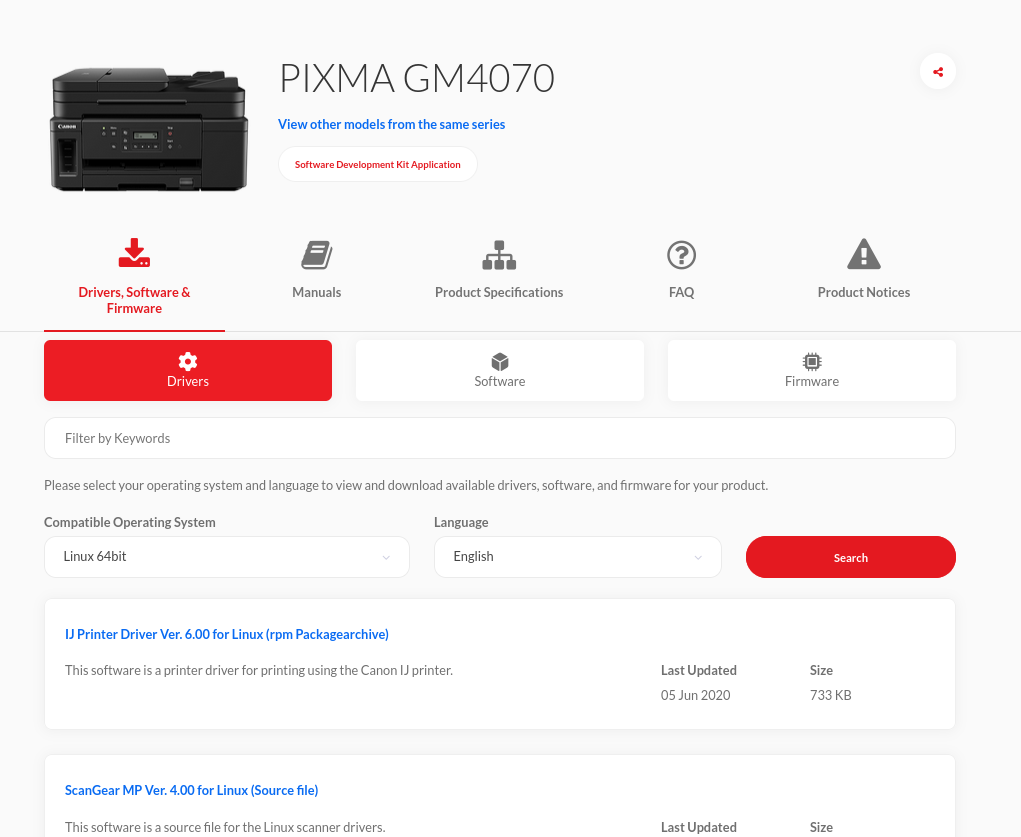
From the dropdown menu, select the Linux 64bit option, and then you will see various options for your printer. If you are using Fedora/RHEL/OpenSUSE or any of its derivative distributions such as Alma Linux or Rocky Linux, then simply download the latest IJ Printer Diver Ver. X.YY for Linux (rpm PackageArchive). And if you are using Debian, Ubuntu, or any of their derivative Linux distribution such as Pop_OS, Linux Mint, etc., then download the IJ Printer Diver Ver. X.YY for Linux (Debian PackageArchive) file.
Installing the Canon Printer Drivers on Linux
Once the driver archive file is downloaded, we have to extract them. You can easily do this from the command line by typing the following commands in the Terminal window of your respective distribution:
tar -xvf ~/Downloads/cnijfilter2-6.00-1-rpm.tar.gz
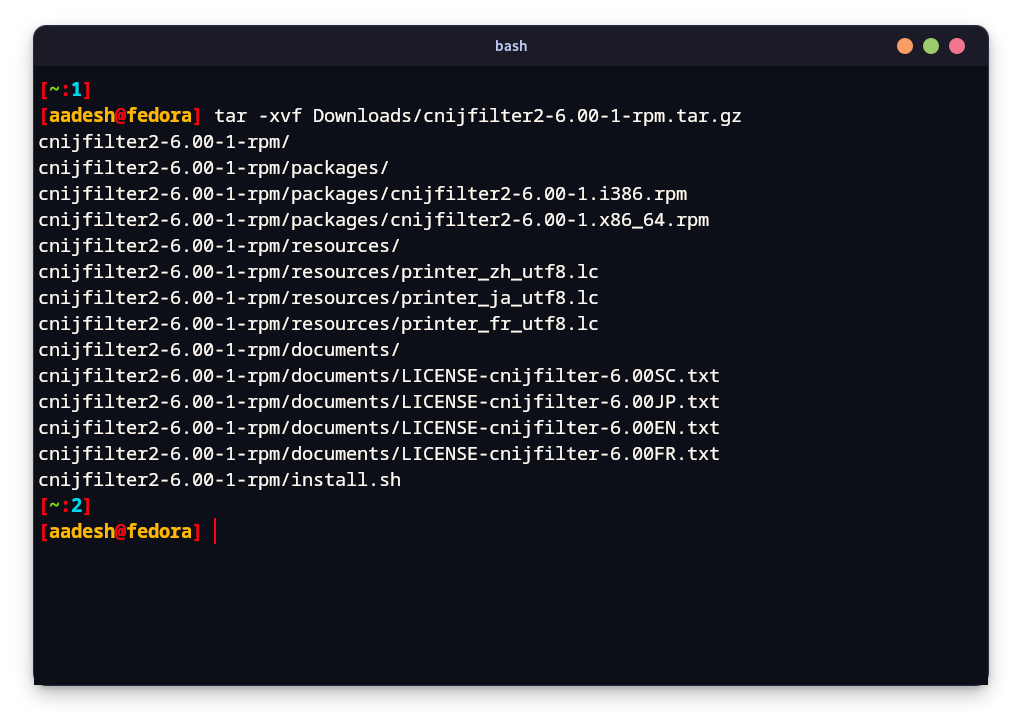
Note that you will have to change the name of the tar.gz file in the above command with the name of the file which you downloaded from the website.
Once extracted, you have to execute the install.sh file from your Terminal with admin privileges and the driver will be installed on your system.
You can do that simply by typing this command (again, do not forget to change the name of the extracted directory, just look into your Home folder from the file manager and copy-paste the new directory’s name after cd command):
cd cnijfilter2-6.00-1-rpm/
sudo ./install.sh
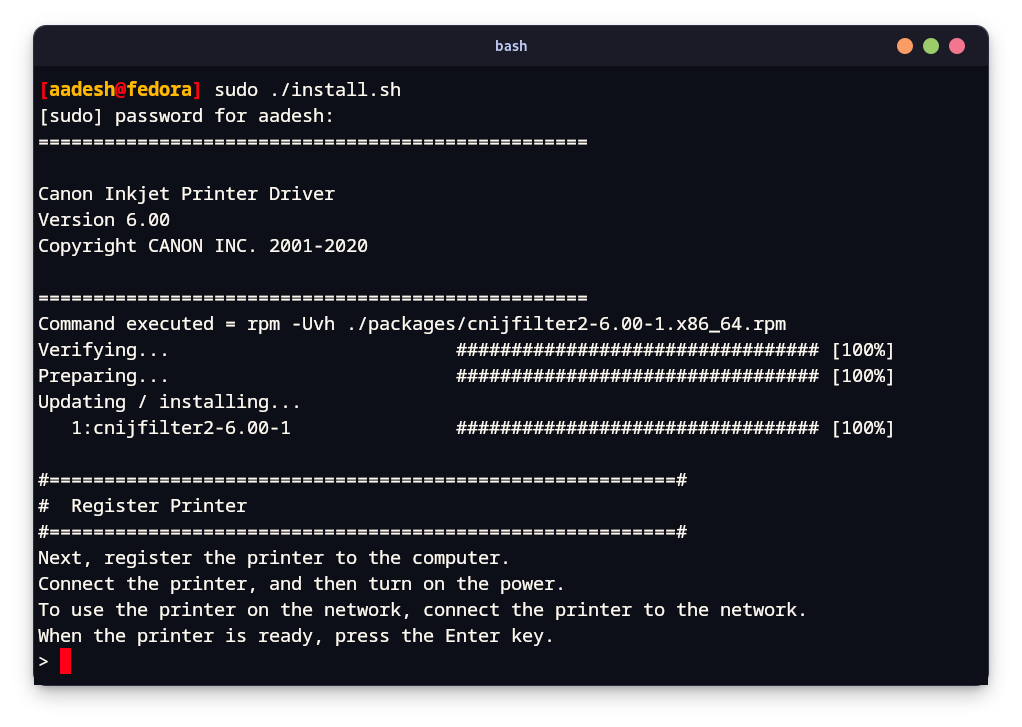
Now, make sure that your printer is connected to your PC, either via USB or over the network, and press Enter. You will be then asked several questions related to the printer, so answer them carefully step-by-step.
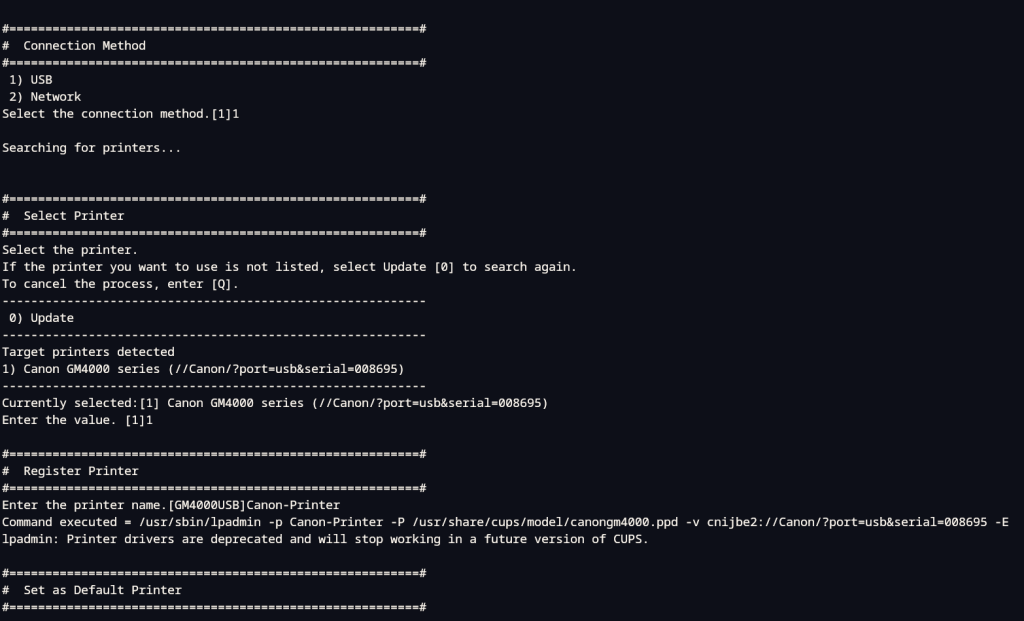
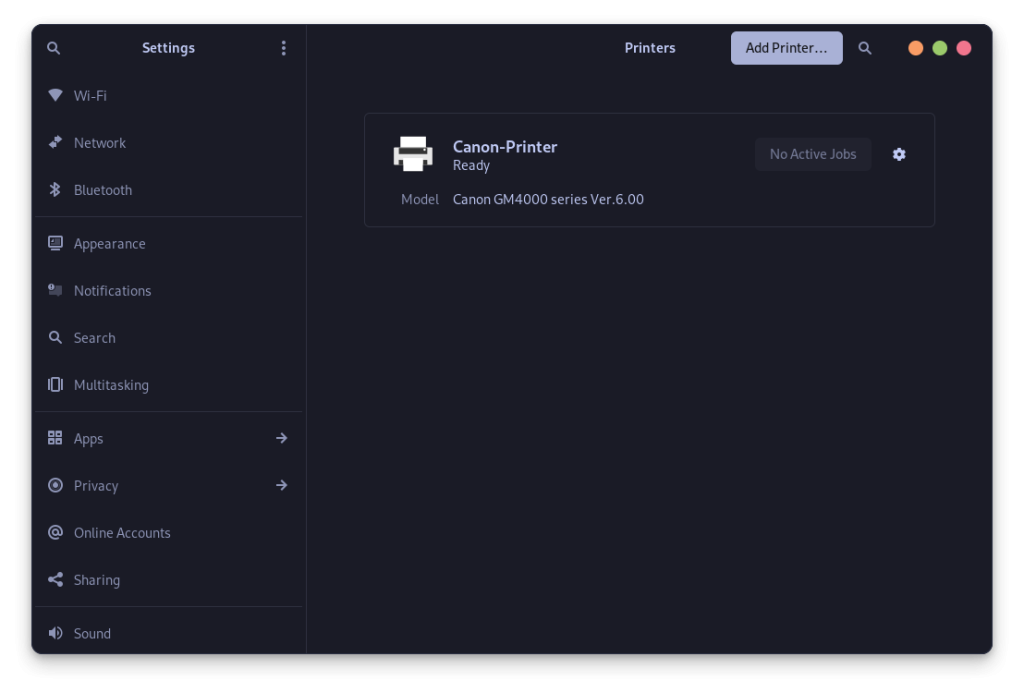
You can also rename the device, and set it as the default printer during the installation. Now, when you will check your Printer settings from the GNOME settings, you will see that the correct driver is selected for the Printer and you can now take out the hard copies of your documents.
Although, you should know that running a random script from the Internet with administrator privileges is dangerous and can affect your PC badly. Canon could improve their script so that it would run without admin privileges and only ask for passwords when necessary.
Conclusion
The Canon driver is listed under the GPL 2.0 license on their website, but still, it was not a plug-and-play experience for me. It could also be possible that not all the open-source drivers are installed on a Linux OS by default.
The process should be pretty much the same for any other brand, get the driver from their support page and run the script only if they support Linux at all.
The installation script needs to be improved as well so that it would ask for an admin password only when needed and not run with admin privileges.
However, Canon should be appreciated for providing drivers for Linux in the first place as it has a large user base in many countries, and this makes them more comfortable when switching from Windows to Linux.
Also Read
Lp command : The Line Print command in Linux