
Adwaita is the default light and dark theme of the GNOME desktop environment. This, along with the GTK4 library, attempts to provide a more ‘unified’ look across all the applications which are installed on the GNOME desktop. Which is very hard to do since the applications are very fragmented across many distributions and libraries. KDE desktops and applications use the QT library, and applications are written in many languages including Python, C, Flutter, etc.
Gradience enables effortless customization of the Adwaita theme for the GNOME desktop. The software application is simple to install across multiple Linux distributions with an easy user interface. The in-built Monet engine offers color customization by extracting colors from a wallpaper and transforming the GTK4 desktop theme.
GNOME also has a list of applications that are part of the GNOME circle and are verified to look exactly like the developers want the GNOME desktop to look. However, this transition from GTK3 to GTK4 has not been without controversy. Many people from the community have been complaining that GNOME is becoming less customizable with every update since customizability has been the pinnacle of the Linux desktop.
The default Adwaita theme might still be not for everyone since it might be too ‘boring’ one might say. It lacks accent colors and interesting folder Icons. We have already covered how can you can change the GTK4 theme on your desktop using a CSS file along with altering the Icon theme as well on the GNOME desktop environment.
Effortless Gradience Installation Guide
If you do not know to code in the CSS language, then Gradience has got your back. In this tutorial, we will discuss how can we install this application on different Linux distributions and also try to customize our default Adwaita theme a little bit.
On Fedora workstation
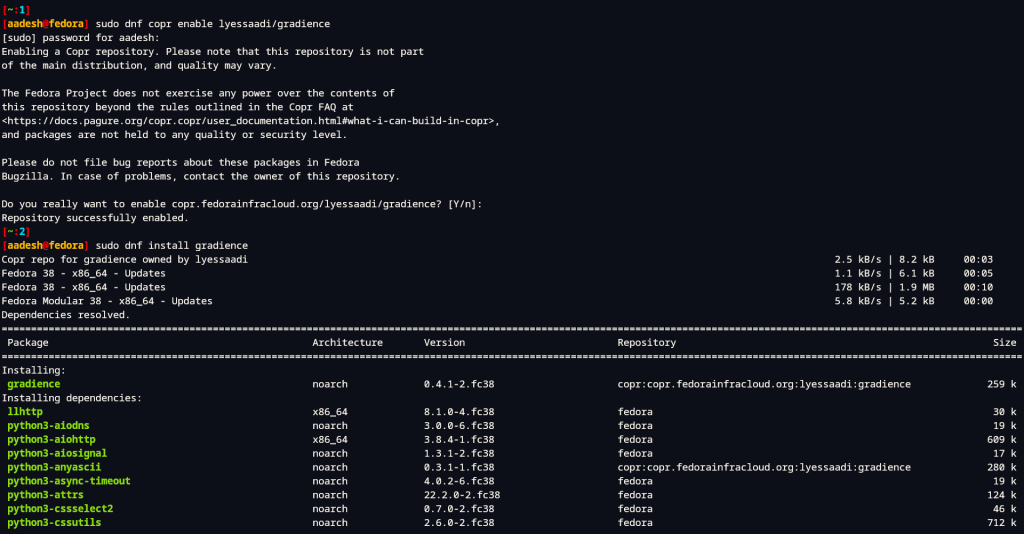
To install Gradience on a Fedora workstation, we first need to enable the Fedora COPR repository. You can do that easily by typing the following commands in your Terminal window:
sudo dnf copr enable lyessaadi/gradience
sudo dnf install gradience
On Arch Linux
On Arch Linux and any of its derivative Linux distributions, such as Endeavor OS or Manjaro, you can install this application from the Arch User Repository (AUR). Just open a Terminal window and install it using your favorite AUR helper:
paru -S gradience
If you do not want to use any AUR helper, then you can directly build the app by typing the following commands in your Terminal window:
git clone https://aur.archlinux.org/gradience.git
cd gradience
makepkg -sic
As a Flatpak
Gradience is not available in the official repository of Ubuntu or any of its derivative distribution such as Linux Mint or Pop OS. Still, you can take advantage of the Flatpak packaging system and install this application even if you are using a Linux OS from the Debian family. Just make sure that Flatpak is enabled on your distribution, and then type the following commands in your Terminal to install the application.
flatpak install flathub com.github.GradienceTeam.Gradience
Taking the First Leap: Launching and Customizing Gradience
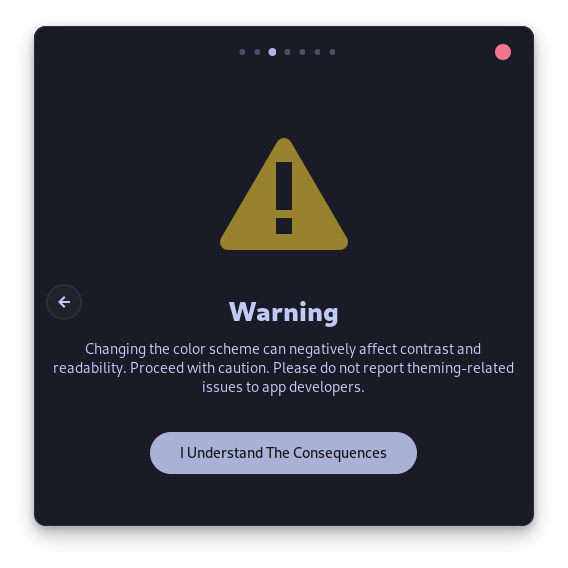
Once installed, Launch Gradience from the Application Grid/Menu, and then you will see the welcome screen. Just accept the risks and then proceed further.
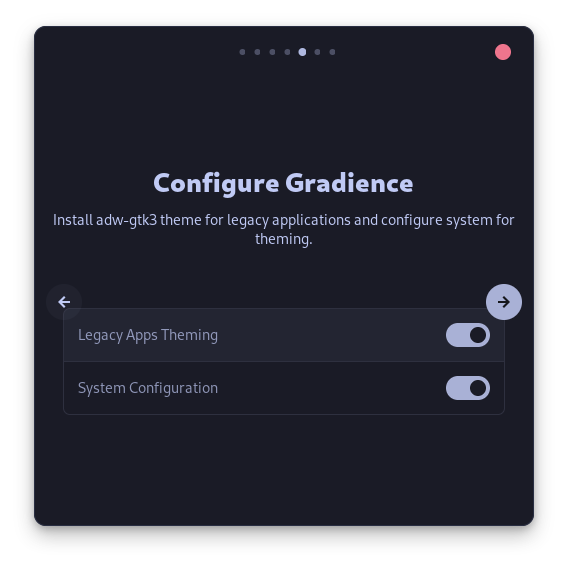
Now, in the next step, you will be asked to select the settings you want to customize, select both the options and proceed further.
Now, you will see the interface of this application. It is very easy to use and everything is properly labelled so that you do not get confused.

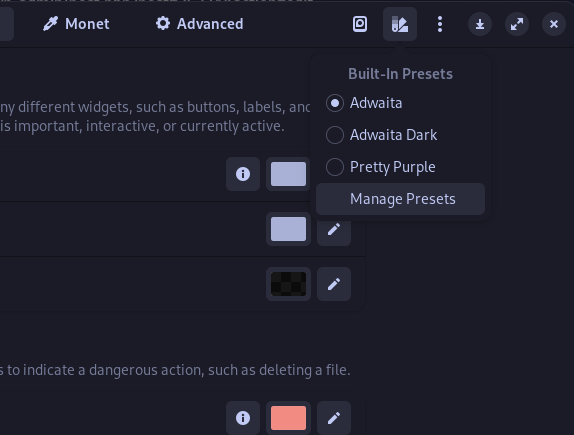
You can either select colors from the color palette, or simply type the hex value designated to the color if you want to customize anything. The most interesting thing about this application is the Monet engine (notice the second tab). It can extract colors from a photo (let’s say your Wallpaper) and then you can apply those colors along with the Material Design theme as your color palette directly from there.

After hitting Apply, just close every application and log out and log back into your desktop, and you will see your theme applied on the GTK4 applications. By default, Gradience also ships with a ‘Pretty Purple’ theme, which you can apply directly from the presets located on the top right.
There is a large list of community-generated presets as well on their GitHub page, which you can import to the application as well. There is a search feature, but it was broken at the time of writing this article.
Wrapping it up: Gradience for a Customized GNOME Experience
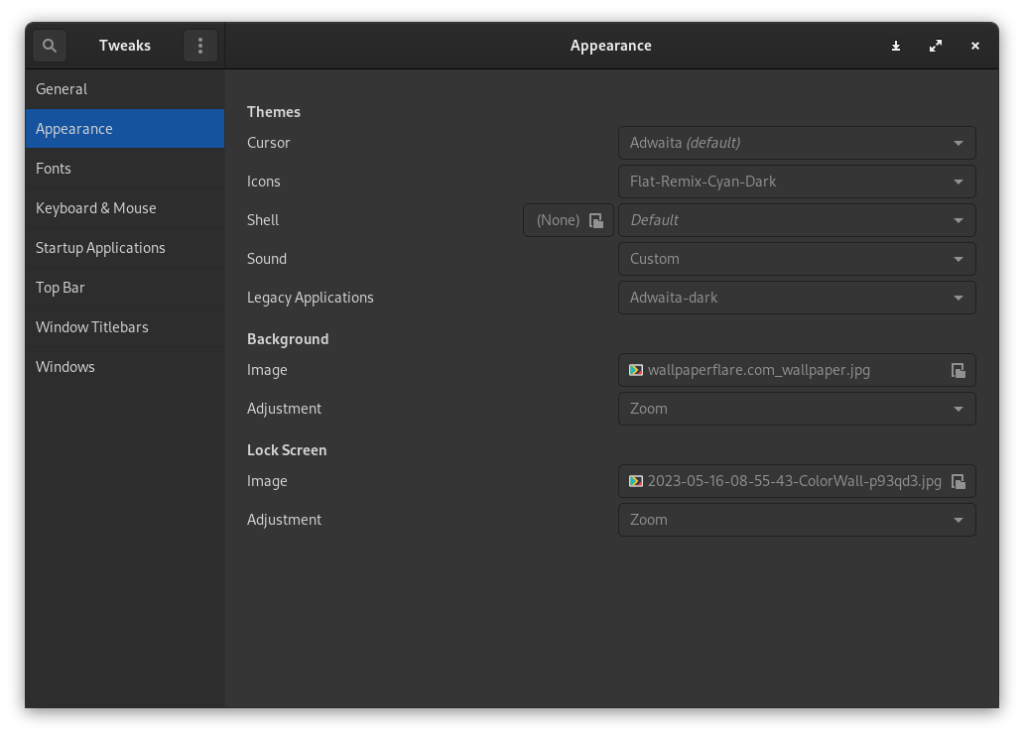
Even if you customize the Adwaita theme from this application, it will not change the shell theme and your desktop might look out of place because of this. So, make sure that you install the appropriate themes to your desktop by following this guide. The Monet engine is an extremely reliable feature and after applying palette from there, you only need to tweak a few things so that the text appear readable to your eyes.
Gradience creates a CSS file in your ~/.config/gtk4/ directory, from where the GNOME desktop environment gets the information about various colors and buttons it needs to put on an open Window. Let me know in the comments down below, what do you think of this application? Does it affect the ability to theme your desktop in any way, or do you just use the default Adwaita theme?