Hello folks, in this article, We will see how to install OpenVAS in Kali Linux. GVM or Greenbone Vulnerability Manager, earlier known as Open Vulnerability Assessment System (OpenVAS) is an open-source vulnerability scanner used to identify vulnerabilities in remote systems, servers, and applications.
OpenVAS was a fork of Nessus, a popular security scanner. Earlier, both were open-source but Nessus is paid now. This tool is used to find loopholes in security systems To install GVM in Kali Linux, Follow this article.
Installing OpenVAS on Kali Linux
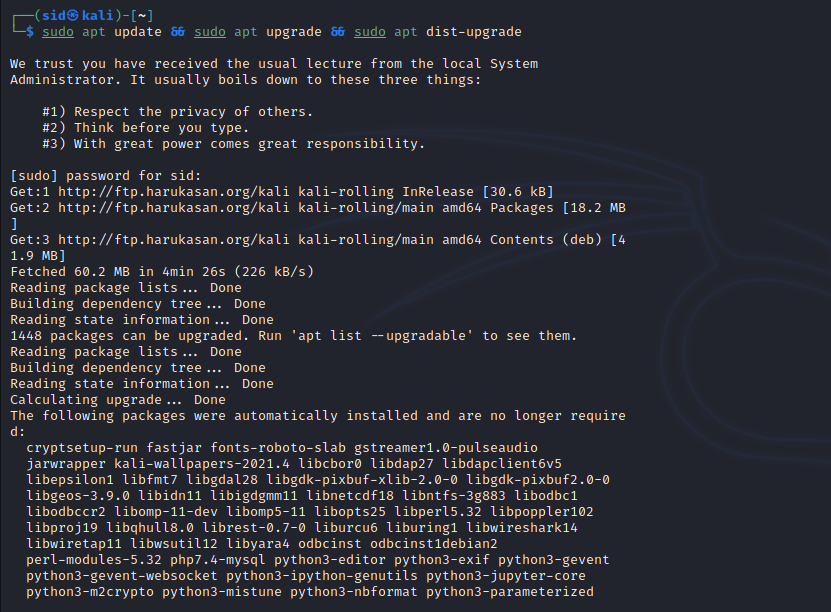
Open a terminal window by pressing Ctrl+Alt+T. Update your system completely by executing the following command:
sudo apt update && sudo apt upgrade && sudo apt dist-upgrade
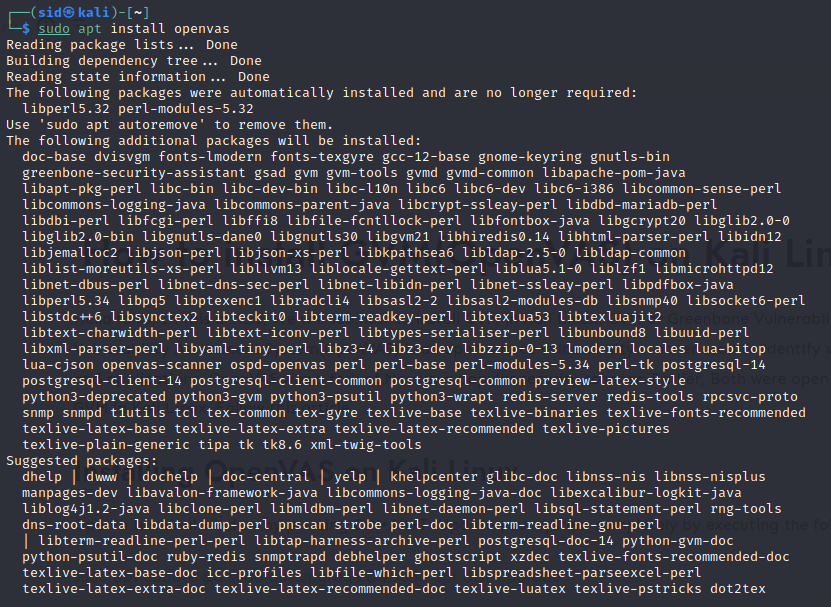
Now, execute the following command to install OpenVAS:
sudo apt install openvas
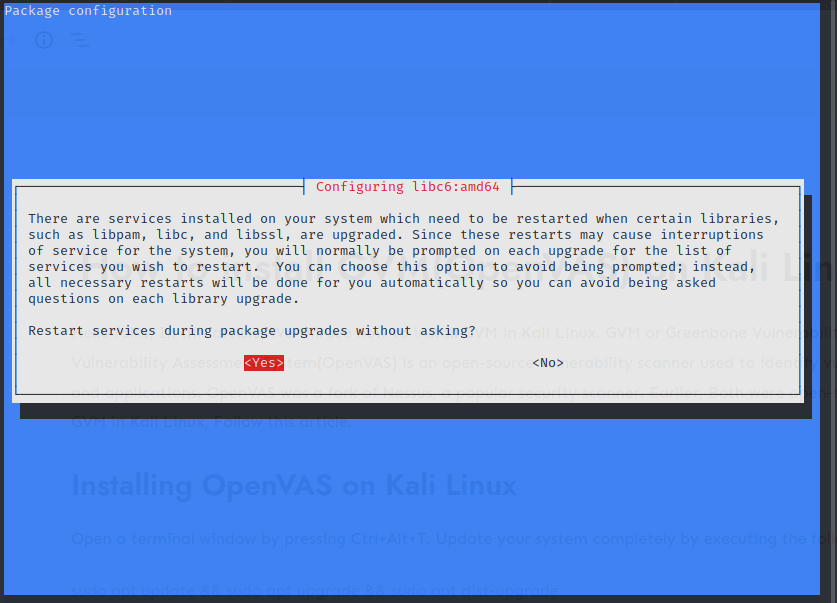
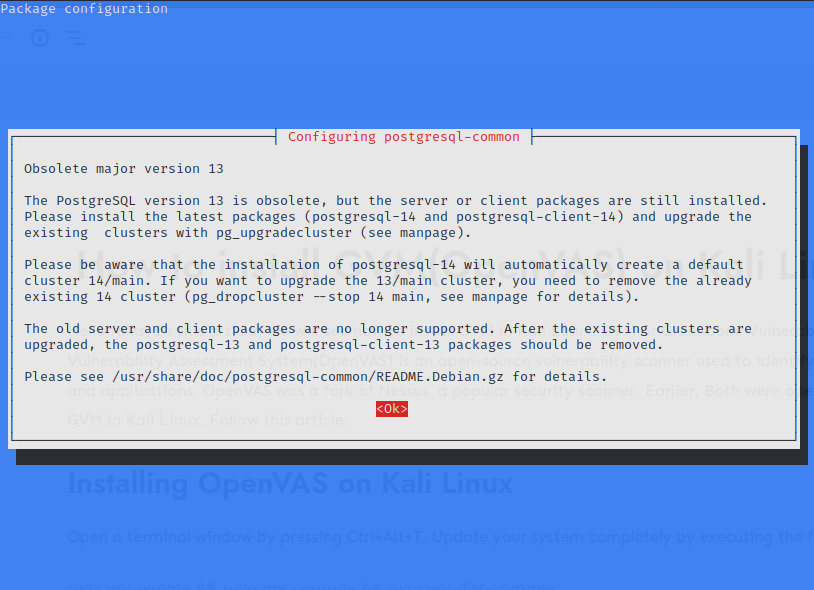
If you are using an older version of Kali Linux, you may get some error
Now, set up and configure the OpenVAS by downloading various network vulnerabilities tests. There will be more than 50,000 network vulnerability tests, so the process will take time to complete. Run the installer by executing the following command to start the setup:
sudo gvm-setup
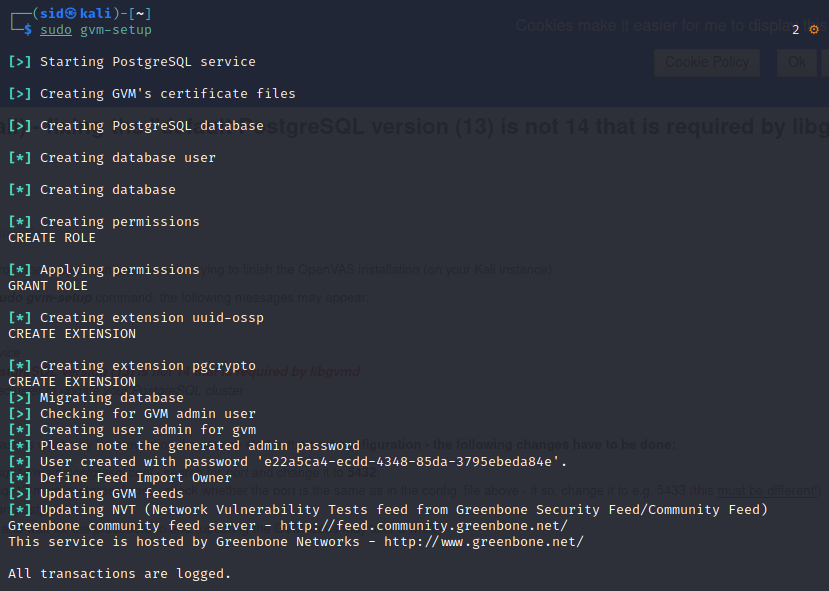
Once, the installation is complete, note down the password generated which is displayed in the terminal window.
Accessing web interface
After the setup process, All OpenVAS processes will start running and you can access the web interface by clicking on this link: https://localhost:9392. An admin account will be created by OpenVAS automatically.
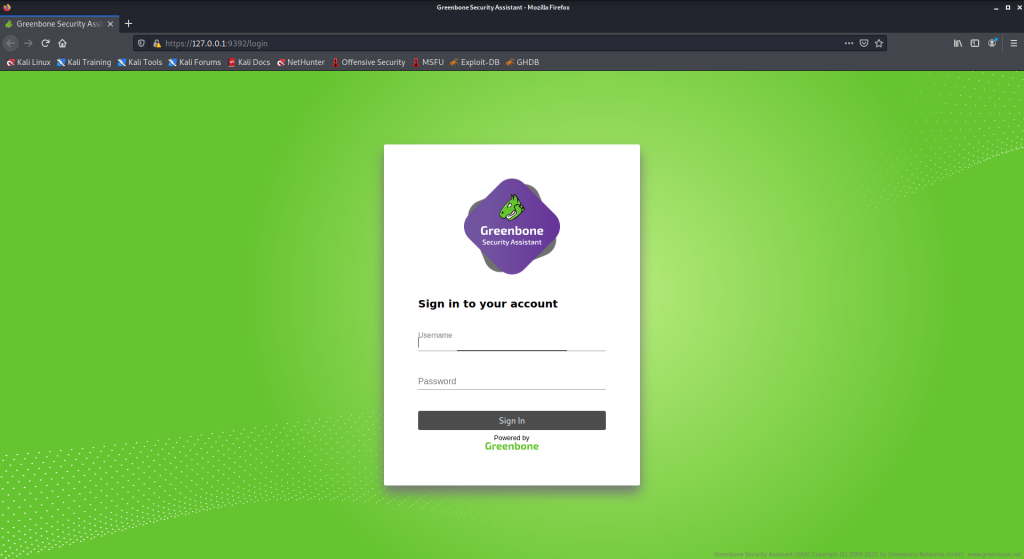
To verify the installation, execute the following command:
sudo gvm-check-setup
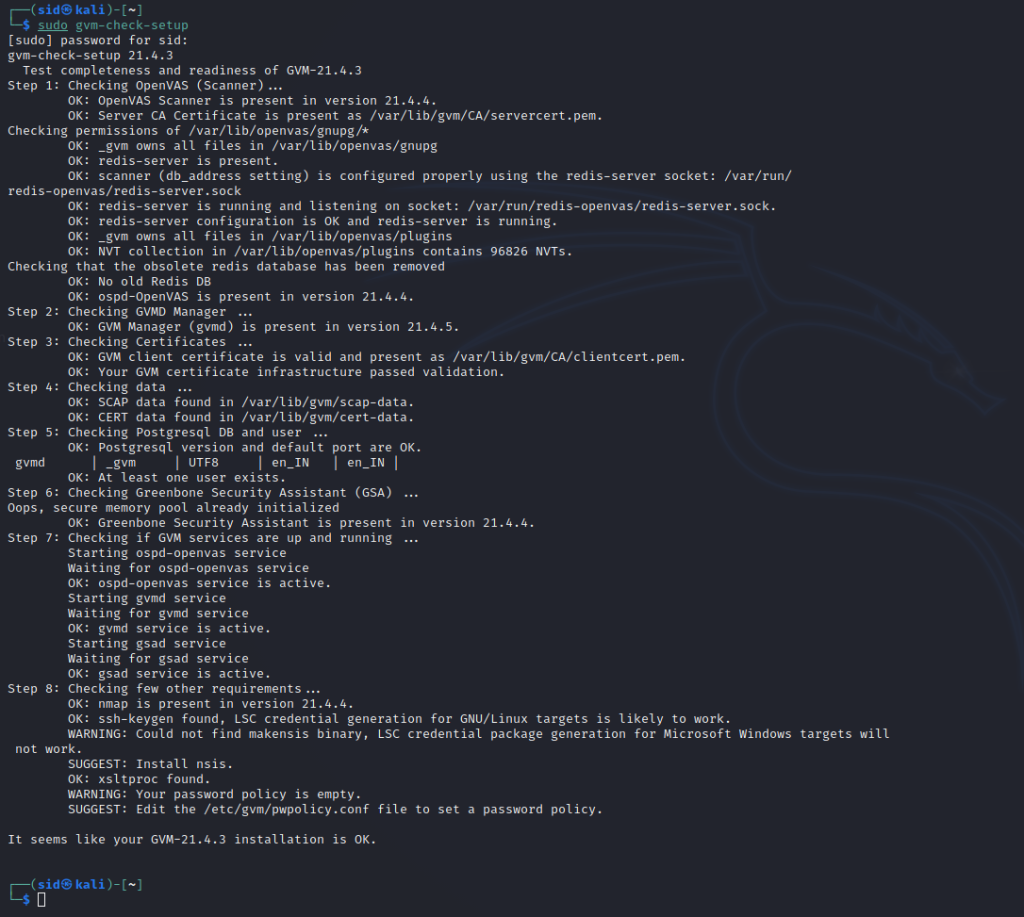
If you forgot the password, you can change the password by executing the following command:
gvmd --user=admin --new-password=passwd;
Start and Stop OpenVAS services
To start the OpenVAS services, execute the following command:
sudo gvm-start
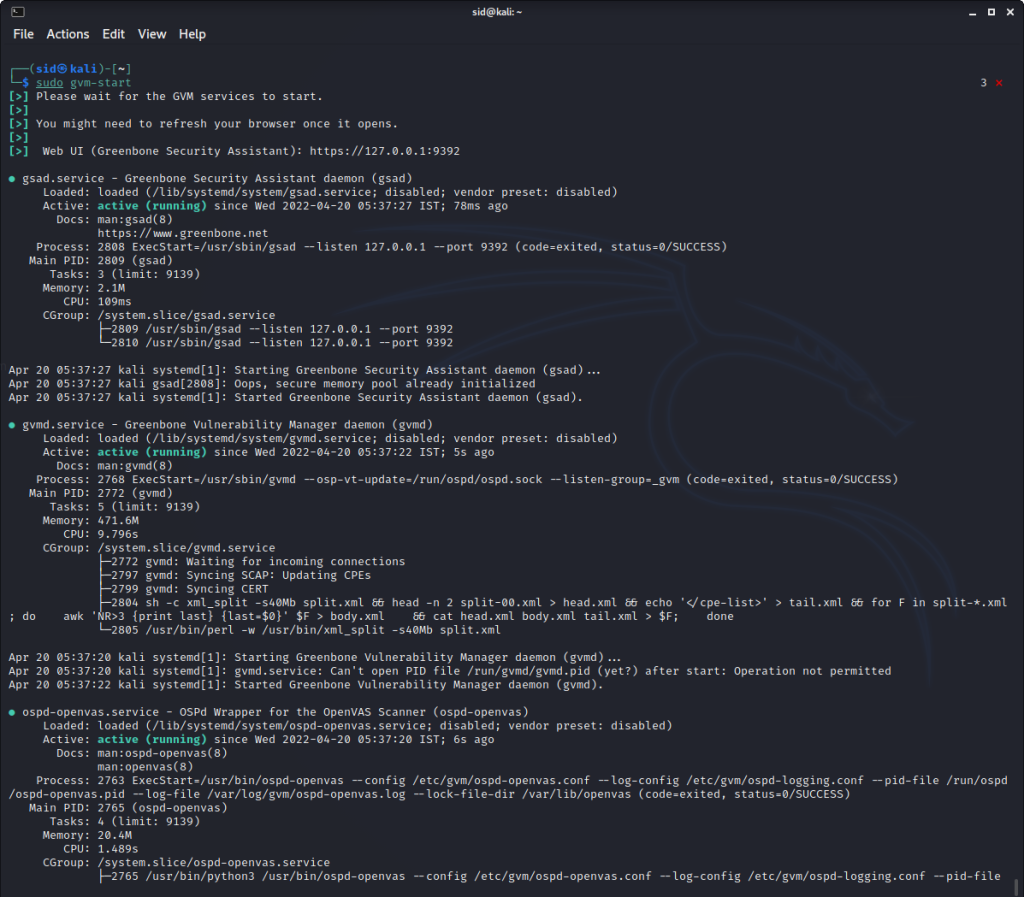
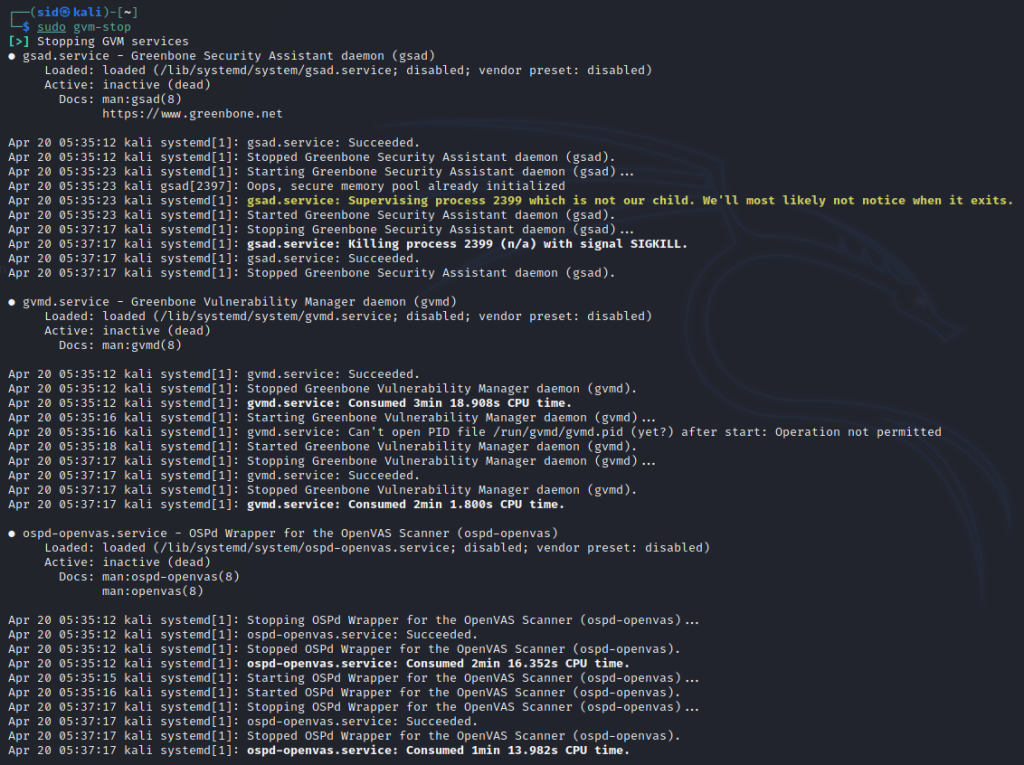
To stop the OpenVAS services, execute the following command:
sudo gvm-stop
Summary
So, We discussed how to install OpenVAS on Kali Linux. It is a very powerful tool for vulnerability scanning which can even be used on remote servers. Thank you for reading!
