
In this guide, we’ll go through the steps to create an encrypted persistent live Kali USB. Kali Linux is probably the most popular penetration testing Distro out there. However, due to it being a rolling release and unstable in nature, it is not advisable to run it as a daily driver.
Steps to Setup Encrypted Persistent Live Kali USB
It is advised to use a ‘Live’ installation, preferably on a USB stick when it comes to Kali Linux. Not only will this prevent your main system from crashing but also allows you to have a portable Kali Linux system that you can plug into any computer and boot from the USB to have it up and ready! We would also learn how we can encrypt our USB for added security all in this module!
1. Download The Live ISO
First you need to download the Kali Live ISO from here. Once you have downloaded the ISO image, you can verify it’s integrity with :
sha256sum -c kali-linux-2020.4-live-amd64.iso.txt.sha256sum
kali-linux-2020.4-live-amd64.iso: OK
The output states that we are good to go, thus we can now proceed to the next step !
2. Select USB Disk
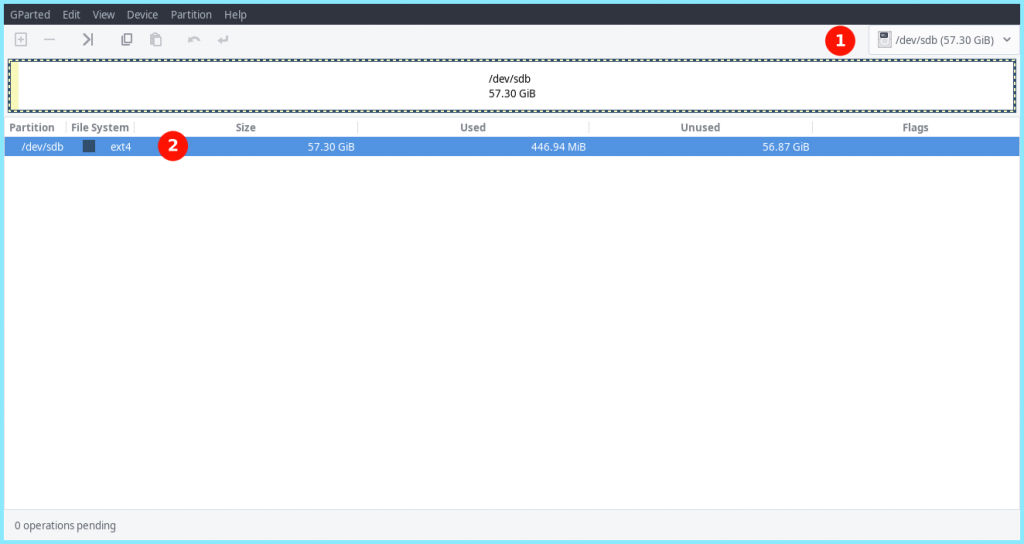
Next, we need to format our USB on which we are going to burn our ISO. For this, we are going to use gparted which lets us do this very easily using a GUI interface.
Go to Gparted and select your USB stick from the top right selection menu.
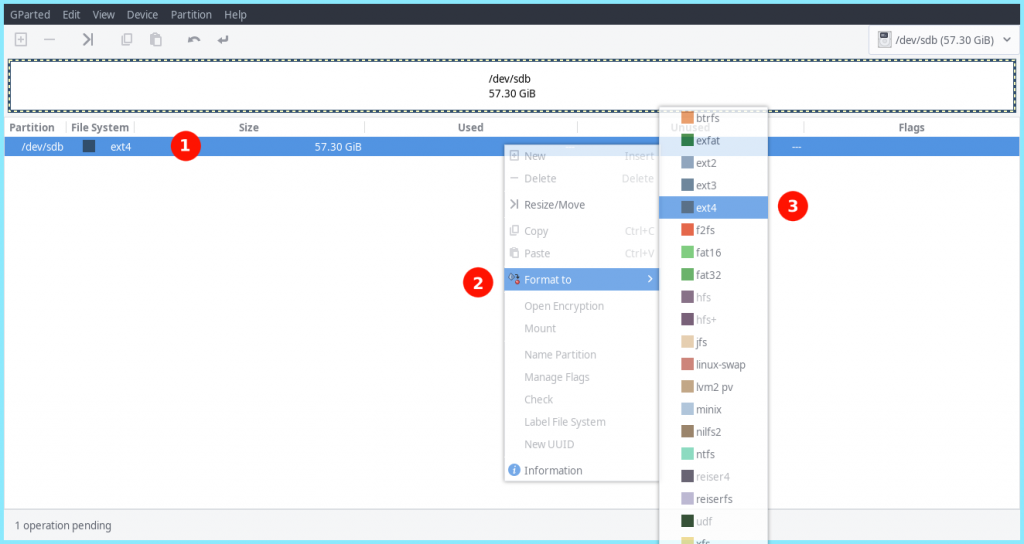
3. Format The USB To EXT4
Next, we need to format our USB stick to the standard Ext4 partion type. To do this, Right click on you existing File System >> Format >> Ext4
4. Applying Our Changes
Next up, we need to apply our changes with
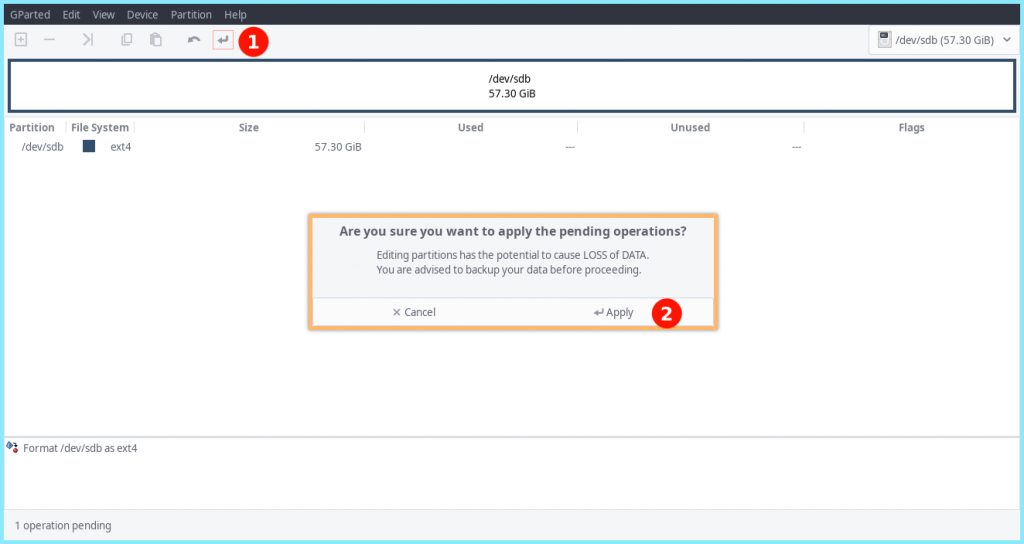
When done, we should get the following prompt :
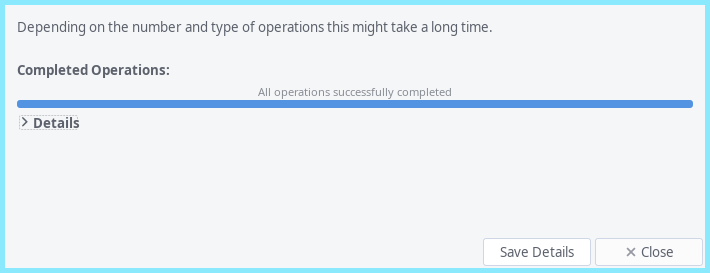
Once all our changes have been applied we can move onto the next step.
5. Burn Our ISO Onto The USB
Next, we will burn the ISO onto our USB device. First we need to locate our USB with with the lsblk command:
$ lsblk
NAME   MAJ:MIN RM          SIZE RO TYPE MOUNTPOINT
sda      8:0    0 1000204886016  0 disk
├─sda1   8:1    0    1073741824  0 part /boot/efi
├─sda2   8:2    0  994832285696  0 part /var/lib/lxd/storage-pools/default
└─sda3   8:3    0    4295180288  0 part [SWAP]
sdb      8:16   1   61530439680  0 disk
Here, our USB device is denoted by the block device : sdb (you can find the more details on how to locate your USB block device here)
Next we cd into the directory which has our ISO file and burn it onto our USB stick with the dd command:
$ sudo dd if=kali-linux-2020.4-live-amd64.iso of=/dev/sdb bs=4M oflag=sync status=progress
Here we have used the very dangerous dd command, aka the disk destroyer command. Let’s explain the parts of this command :
- dd – This is our disk destroyer command
- if – File to read from which in this case is our ISO file : kali-linux-2020.4-live-amd64.iso
- of – File to write to, which in this case is our block device /dev/sdb
- bs – Byte size, i.e, number of BYTES to read/write to at a time, which in our case is 4M
- oflag – Instruct the dd command on how to write to image based on passed flag values, in this case we have passed the value sync which effectively syncs after each output block
- status – It prints the transfer statistics, which in this case is directed by the progress flag
Once we have our USB device ready, we can now move onto the next step
6. Creating Partitions
Next, we need to create some partitions on our USB drive. For this we will be using GNU Parted! You can launch it with :
$ sudo parted
Next, we need to select our USB block device with :
(parted) select /dev/sdb
You can now print information about your USB with :
(parted) print
(parted) print
Model: SanDisk Ultra USB 3.0 (scsi)
Disk /dev/sdb: 61.5GB
Sector size (logical/physical): 512B/512B
Partition Table: msdos
Disk Flags:

Number  Start   End     Size    Type     File system  Flags
 1      32.8kB  3516MB  3516MB  primary               boot, hidden
 2      3516MB  3517MB  754kB   primary
As we can see, we have 2 disk flags. Now, we will create a new unalocated partition comprising from the entire available disk starting from the next free block element. Here, our last occupied block ends at 3517MB so we will start from there till the end of the disk which is at 61.5GB.
(parted) mkpart primary 3518 61.5GB
With this, we should have our new partition ready, which can be verifies with :
(parted) print
(parted) print
Model: SanDisk Ultra USB 3.0 (scsi)
Disk /dev/sdb: 61.5GB
Sector size (logical/physical): 512B/512B
Partition Table: msdos
Disk Flags:

Number  Start   End     Size    Type     File system  Flags
 1      32.8kB  3516MB  3516MB  primary               boot, hidden
 2      3516MB  3517MB  754kB   primary
 3      3518MB  61.5GB  58.0GB  primary               lba
Now to save and exit, you can just time in :
(parted) quit
With this we are ready to move onto our next step
7. Creating Encrypted Persistent Live Kali USB
At this point, our block devices should look something like :
$ lsblk
NAME   MAJ:MIN RM   SIZE RO TYPE MOUNTPOINT
sda      8:0    0 931.5G  0 disk
├─sda1   8:1    0     1G  0 part /boot/efi
├─sda2   8:2    0 926.5G  0 part /var/lib/lxd/storage-pools/default
└─sda3   8:3    0     4G  0 part [SWAP]
sdb      8:16   1  57.3G  0 disk
├─sdb1   8:17   1   3.3G  0 part
├─sdb2   8:18   1   736K  0 part
└─sdb3   8:19   1    54G  0 part
See how our USB block device now has 3 partitions? Now, we will encrypt the USB using LUKs Encryption :
$ sudo cryptsetup --verbose --verify-passphrase luksFormat /dev/sdb3
$ sudo cryptsetup luksOpen /dev/sdb3 my_usb
Here, you will be prompted to enter a password to encrypt your USB with. Once you are done with that, it will create a ‘crypto_LUKS’ superblock signature on our USB.
Next, we need to create a ext4 file system and a label it as ‘persistence’ with the following :
$ sudo mkfs.ext4 -L persistence /dev/mapper/my_usb
$ sudo e2label /dev/mapper/my_usb persistence
Next, we need to create a mount point to mount our encrypted partition and create our persistence.conf file and then unmount the same. To save us the pain of writing sudo again and again, we can switch to root with :
$ sudo su
Then, we need to type in the following commands :
# mkdir -p /mnt/my_usb/
# mount /dev/mapper/my_usb /mnt/my_usb
# echo "/ union" > /mnt/my_usb/persistence.conf
# umount /dev/mapper/my_usb
Finally we need to close the channel to our encrypted persistence partition with :
# cryptsetup luksClose /dev/mapper/my_usb
or
$ sudo cryptsetup luksClose /dev/mapper/my_usb
At this point, our USB should be ready and we can boot from it !
8. Booting Kali From USB
Once you boot into your USB, select Live USB Encrypted Persistence from the Boot menu.
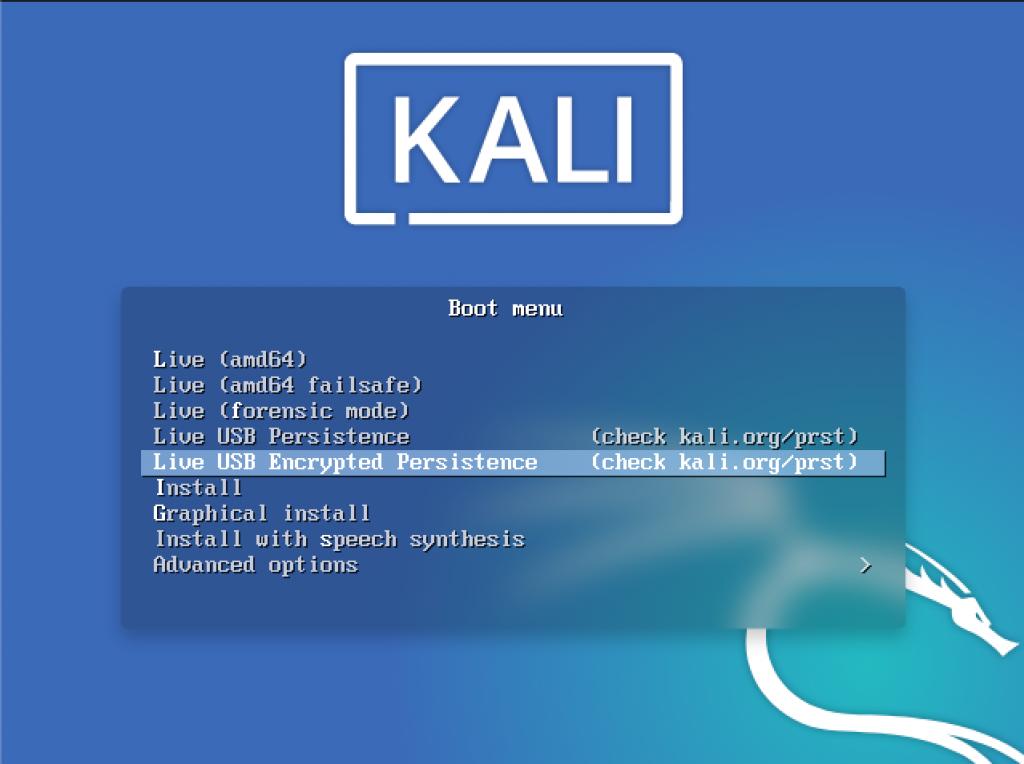
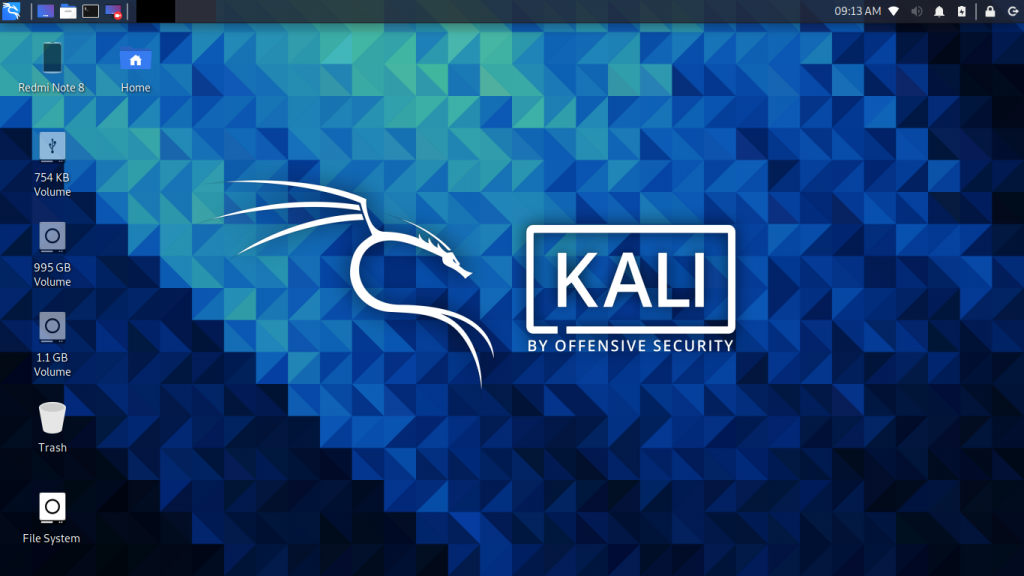
Next, you would be prompted to enter your password and once you enter it successfully you would have your Kali System up and running !
Conclusion
The USB we so created can be a bit slow due to the encryption. However, it is quite a handy toolkit which can be carried anywhere and you can have a hacking beast in your pocket without any one knowing !