

The average Linux user spends most of their time in the Terminal. As a result, a fast and responsive terminal is something that every user needs. Choosing a Terminal emulator might end up being the option that everyone needs, to deliver a smooth and responsive experience.
Alacritty is one of the best terminal emulators available on Linux as well as macOS, owing to its amazing performance, functionality and customization options. It’s also open-source, meaning that it’s constantly being updated with new and improved features.
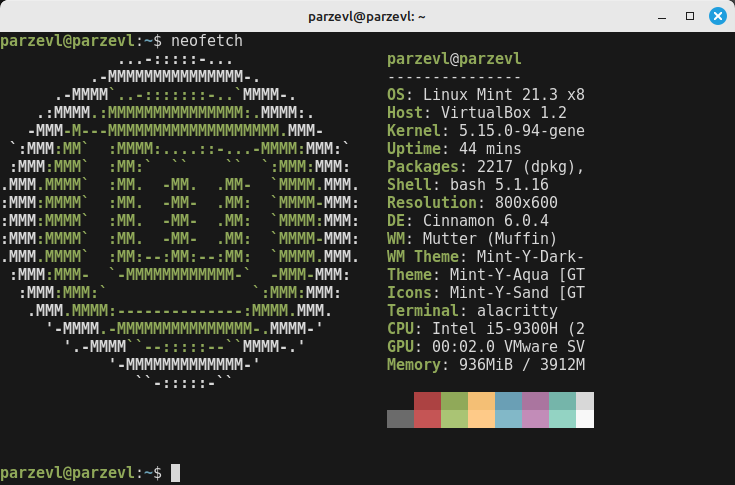
In this article, we are going to learn about how Alacritty can change and improve your terminal experience for the better, then we’re going to explore and go through the installation process.
How can Alacritty improve your Terminal experience?
- Blazingly Fast: Unlike other Terminal emulators, the secret to the speed behind Alacritty is that it leverages the power of the system’s GPU on every platform, resulting in blinding speed and responsiveness, while being incredibly smooth, even while working with complex text and huge volumes of data being displayed in the terminal.
- Lightweight Design: For the high degree of customizability, Alacritty actually uses minimal system resources, all the while maintaining impressive speed and responsiveness.
- Highly Customizable: It allows for extensive configuration, users can change the look and feel of the terminal experience to a high degree with the help of a config file. Alacritty offers and encourages users to customize the terminal to their own taste and needs, from font rendering and color palettes to custom key bindings and keyboard shortcuts.
- Open-Source: Being open-source, Alacritty is always going to receive updates, and that new features are always being worked on. Moreover, it’s free and transparent, a perfect choice for individuals and organizations.
- A Dedicated Vi Mode: This Terminal supports the VI mode, which allows you to quickly scroll using keyboard shortcuts, searching and opening URLs is also allowed. Just press Ctrl+ Shift + Space on your keyboard to activate this mode.
Pre-requisites
To install and use Alacritty on your Linux system, it is required that you have support for, at least:
1. OpenGL ES 2.0
2. Have the Rust compiler installed (For building from source)
In case you don’t already have the Rust compiler installed on your Linux system, you can go through this article here.
Installation
Alacritty is cross-platform, meaning it is able to run on any system, Windows, Linux or Mac. For the sake of this article, we’ll only be covering the installation process on Linux (Ubuntu/Linux Mint in our case).
Using the package Manager
Perhaps the easiest method to install this application on your Linux distribution would be to use the package manager shipped with your distribution. Type the following command in your Terminal window:
# On Debian and Ubunutu based distributions
sudo apt update && sudo apt install alacritty

# On Arch Linux based distributions:
sudo pacman -S alacritty

# On Fedora workstation:
sudo dnf install alacritty
Building from Source and Configuration (GitHub)
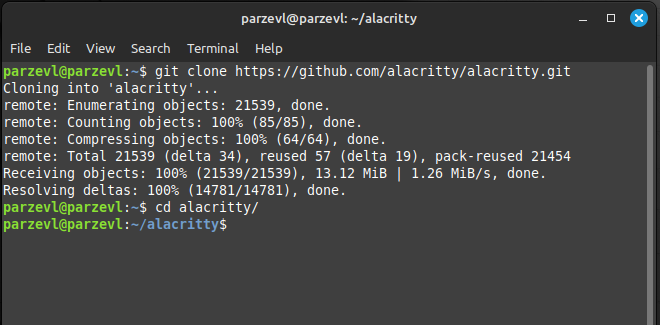
Step 1: Clone the GitHub repository.
You can find the link to the official GitHub repository of Alacritty here. You can clone the repository to your local file-system with the following command:
git clone https://github.com/alacritty/alacritty.git
cd alacritty
Step 2: Confirm you have the Rust Compiler installed
To make sure you have the correct Rust compiler installed (since Alacritty’s code is written in Rust), you can run the following command in the terminal:
rustup override set stable
rustup update stable
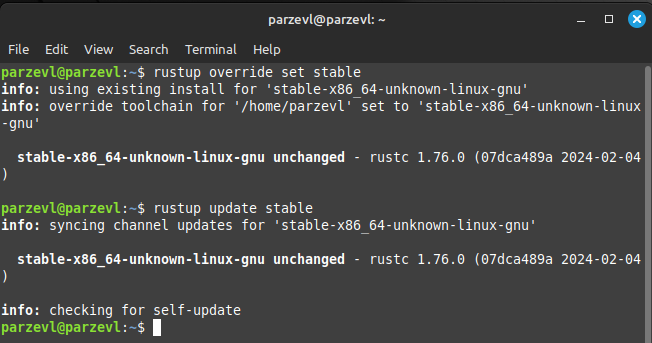
If you don’t have the Rust compiler installed, please refer to the prerequisites section in this article.
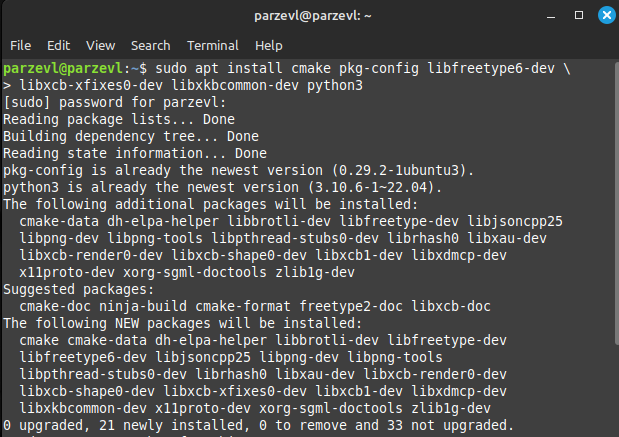
Step 3: Install Dependencies
Now we’ll proceed with installing the minimum dependencies required to build Alacritty. Run the following command:
sudo apt install cmake cmake-format freetype2-doc libxcb-doc pkg-config libfreetype6-dev libfontconfig1-dev libxcb-xfixes0-dev libxkbcommon-dev python3
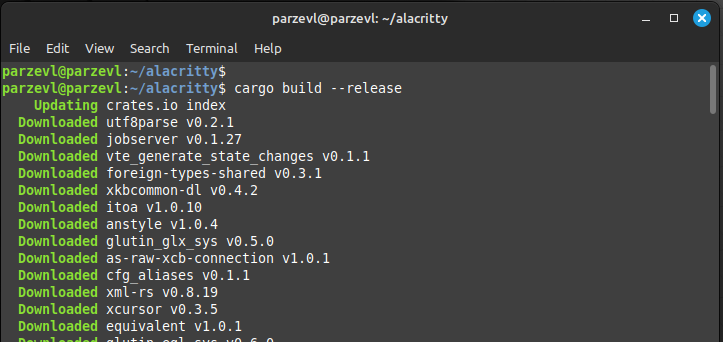
Step 4: Build Application
Now we can use the command provided below to build the application. If the build is successful, a binary file will be placed at target/release/alacritty.
cargo build --release
Using Snap Store
You can also use the command given below to install Alacritty on your Linux system if you are using Ubuntu. Just copy and paste the command in your Terminal window:
sudo snap install alacritty --classic
Conclusion
As we’ve seen so far, Alacritty is a solid option for those that want the best terminal emulation features but don’t want to slow down their system. Although Alacritty does not feature tab support because it leaves that upto the window manager, It packs a punch well above its own weight class because of its configuration file, no wonder it has recently become so popular with developers and Linux enthusiasts. If you want to try out different Terminal emulators on your system, then you can also check out TMux or Kitty.