
In this tutorial, we will discuss how to install tomcat on Debian/Ubuntu. Let’s first discuss what is Tomcat? Apache Tomcat is an HTTP server and a servlet container. Tomcat is free and open-source software written in Java. It is designed for hosting Java applications. It came into existence since 1998 and widely used in production for wide range applications including non-java applications written in languages that use the Java Virtual Machine like JRuby and Closure.
Basically, Tomcat is made up of three parts: Catalina, Jasper, and Coyote. Just a small introduction about all three components.
- Catalina is the piece that handles the interface between servlets and the rest of the tomcat. It handles URL’s routing to different servlets.
- Jasper is the component that compiles JSP files or Java pages into servlets. JSP is a kind of the java equivalent of PHP or ASP. It lets you create HTML content.
- Coyote is the part of the tomcat that handles the actual HTTP communication. It lets the rest of the system act like a regular web server serving static files. I hope it is clear.
Let’s look at the steps below to install Tomcat on Debian/Ubuntu.
Install Java
For starting the tomcat server, you first need to install Java on the system. Follow these steps to install the Java version.
Update the packages
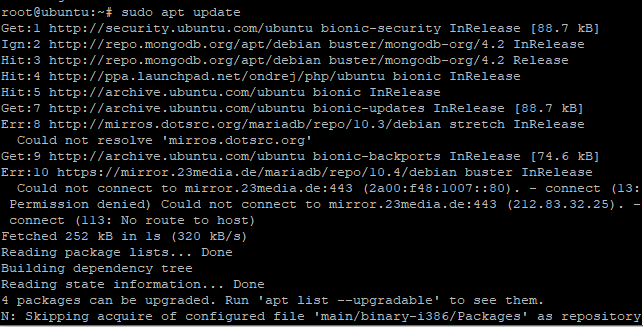
First, we need to update the packages installed in the system. This will be done using the apt command as it combines all the functionalities in one command.
The syntax is as follows:
# sudo apt update
Install Java Package
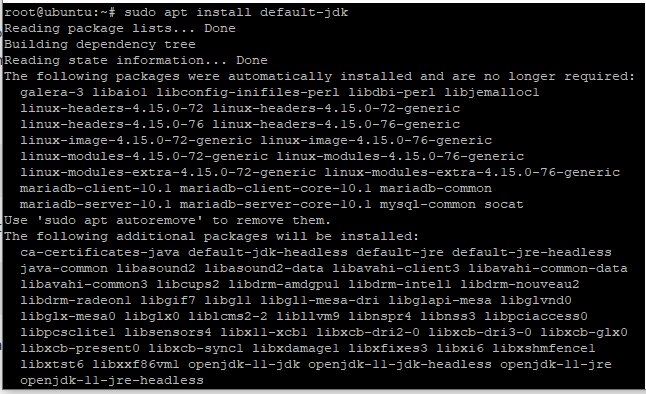
Here, you need to install the Java Development Kit package using the apt command. It is important to install Java as a tomcat is written in Java.
The syntax is as follows:
# sudo apt install default-jdk
Now, you have successfully installed Java on the system.
To check the Java version
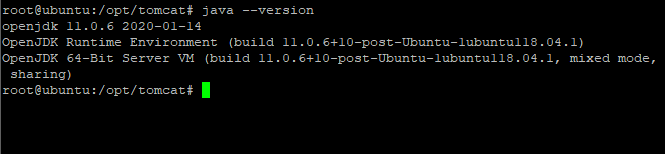
If you want to check the Java version, you can use the following command.
# java --version
Steps to Install Tomcat on Debian
After installing Java, the next step is to install Tomcat on Debian. For this, we need to create a tomcat user.
Create Tomcat Group
When you want to install tomcat on Debian, you need to create a Tomcat user using the following command. The command for this as follows:
# sudo groupadd tomcat

Using this command, a new tomcat group will be created.
Create Tomcat User
After creating the tomcat group, we need to create a tomcat user. We can use the following command.
# sudo useradd -s /bin/false -g tomcat -d /opt/tomcat tomcat

The user will be created in /opt/tomcat directory. The tomcat will be installed in /opt/tomcat directory.
Download and Install Tomcat on Debian Using The tar File
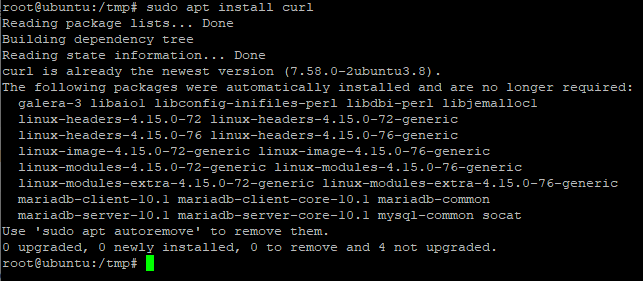
After creating the user, you need to install tomcat on Debian using the tar file by extracting it to /opt/tomcat directory. We will use the curl command-line tool to download the tomcat tar file. If the curl version isn’t installed, you can install it using the following command.
# sudo apt install curl
Use curl command to download the tar file. The link is given below in the command
# curl -O https://downloads.apache.org/tomcat/tomcat-10/v10.0.0-M1/bin/apache-tomcat-10.0.0-M1.tar.gz

Your tar file will be downloaded.
Extract the Tomcat Server archive file
The next step is to extract the archive in /opt/tomcat folder. Before this, make the /opt/tomcat directory.
The syntax is as follows:
# sudo mkdir /opt/tomcat

Extract the archive using the following command:
# sudo tar xvzf apache-tomcat-10.0.0-M1.tar.gz -C /opt/tomcat --strip-components=1
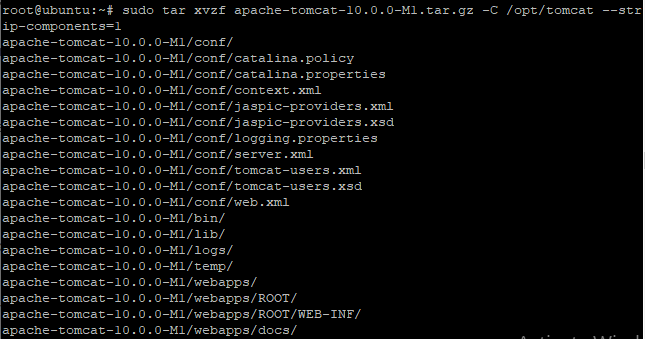
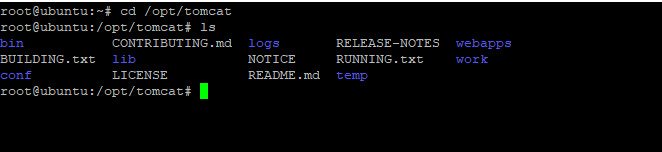
Don’t forget to mention the directory name in which you want to extract this archive. You can see the list of files listed in /opt/tomcat given below:
# cd /opt/tomacat
Update Permissions
After successfully extracting the archive, we will assign the permissions to the tomcat-users so that it could have access to the tomcat installation.
The command for this is as follows:
# sudo chgrp -R tomcat /opt/tomcat

Through this command, the ownership is given to the tomcat group over the entire installation directory.
Grant tomcat the read access using the following command:
# sudo chmod g+x conf/
# sudo chgrp -R tomcat /opt/tomcat
# sudo chmod -R g+r conf
#sudo chmod g+x conf
sudo chown -R tomcat webapps/ word/ temp/ logs
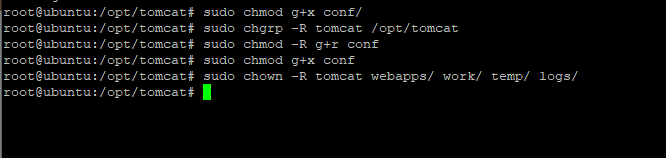
chown command is used to change the ownership of files. Here, we are making the tomcat user owner of web apps, work, temp and logs folder.
Create a tomcat systemd service file
To run the tomcat as a service, we need to create a tomcat service file. This file contains the environment variables. For this, we first need to know the address of JAVA_HOME stored. This can be done using the following command:
# sudo update-java-alternatives -l

This command will display the path of Java installed. The path shown will be used in tomcat. service file.
Create the tomcat.service file using the following command.
# sudo nano /etc/systemd/system/tomcat.service
After creating the file, paste the following content in the service file. But don’t forget to change the value of JAVA_HOME. In my system the value of JAVA_HOME is :
JAVA_HOME = /usr/lib/jvm/java-1.11.0-openjdk-amd64
Paste the following content given below:
[Unit]
Description=Apache Tomcat Web Application Container
After=network.target

[Service]
Type=forking

Environment=JAVA_HOME=/usr/lib/jvm/java-1.11.0-openjdk-amd64
Environment=CATALINA_PID=/opt/tomcat/temp/tomcat.pid
Environment=CATALINA_HOME=/opt/tomcat
Environment=CATALINA_BASE=/opt/tomcat
Environment='CATALINA_OPTS=-Xms512M -Xmx1024M -server -XX:+UseParallelGC'
Environment='JAVA_OPTS=-Djava.awt.headless=true -Djava.security.egd=file:/dev/./urandom'

ExecStart=/opt/tomcat/bin/startup.sh
ExecStop=/opt/tomcat/bin/shutdown.sh

User=tomcat
Group=tomcat
UMask=0007
RestartSec=10
Restart=always

[Install]
WantedBy=multi-user.target
Save the file and exit.
Reload the Server again
Whenever you make any changes in the configuration, you should always reload and start the server again. This can be using the following command:
# sudo systemctl daemon-reload

Start the Tomcat Server on Debian
After reloading the server, you need to start the server again.
The command is as follows:
# sudo systemctl start tomcat

To check the status of Tomcat Server
You need to verify the status of the tomcat server while it is active or inactive. This can be done using the following command:
# systemctl status tomcat
Creating Login for Tomcat Manager and Host Manager
Tomcat comes up with admin-GUI and manager-GUI web apps. For this, we need to enable the login to our Tomcat Server by editing the tomcat-users.xml.
Open the file named tomcat-users.xml by the following command:
# sudo nano /opt/tomcat/conf/tomcat-users.xml

After this, you need to the information given below in tomcat-users.xml
<role rolename="admin-gui,manager-gui"/>
<user username="admin" password="password" roles="admin-gui,manager-gui"/>
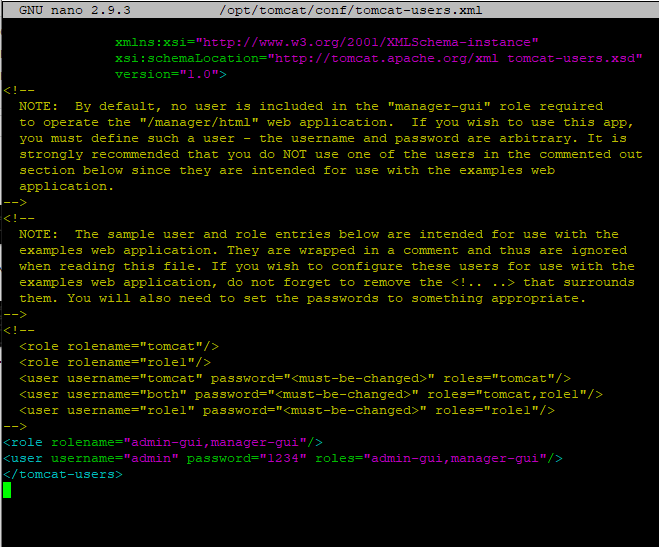
The following details are given above simply indicate that we have added two roles i.e. admin-GUI and manager-GUI to user admin having password 1234. You can use anything as a password.
Enable Remote Login to Tomcat Manager and Host Manager
Note that the newer versions of Tomcat have restricted access to the manager and host-manager apps. If we are installing it on a remote machine, to access those features we need to remove or alter the restrictions. For this, simply we need to comment on the IP address section in context.xml files.
Let’s first discuss the Manager app. Open the context.xml file of Manager app using the following command:
# sudo nano /opt/tomcat/webapps/manager/META-INF/context.xml

You just need to comment on a small portion consisting of IP addresses in the following context.xml file.
<Context antiResourceLocking="false" privileged="true" >
  <!--<Valve className="org.apache.catalina.valves.RemoteAddrValve"
         allow="127\.\d+\.\d+\.\d+|::1|0:0:0:0:0:0:0:1" />-->
</Context>
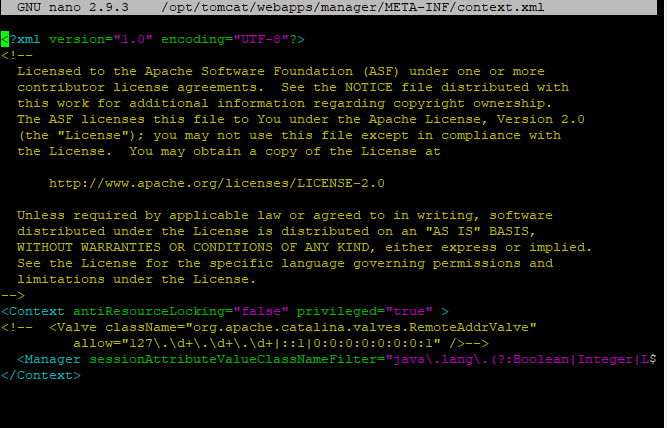
Comment the following section as shown in the figure above. This same needs to be done in the Host-Manager app context. XML file.
Similarly, open the file using the following command:
# sudo nano /opt/tomcat/webapps/host-manager/META-INF/context.xml

As you did comment on the IP address section in the manger context.xml file. Do the same in host-manager context.xml file too.
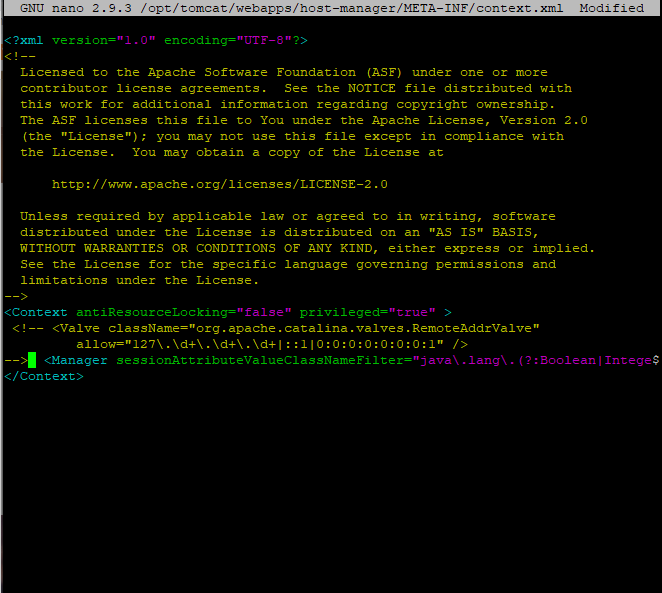
Save the changes and close the files.
Restart the server
After saving the changes, it’s important to restart the server. For this, use the following command:
# sudo systemctl restart tomcat

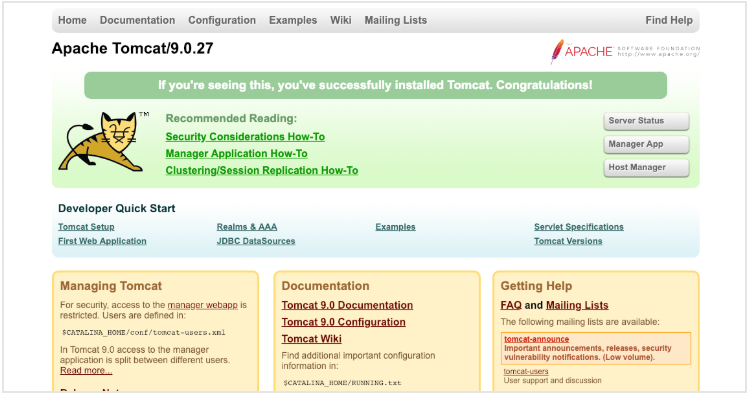
Access the Web Interface
The last step is to access the web interface. Through the user, which you created in previous steps we can access the web management interface again in the browser. What you need to do is just to insert the domain name or the IP address with the port number.
The syntax for the following is :
http://server_domain_or_IP:8080
HTTP protocol works on an 8080 port number. That’s why we have used an 8080 port number. After executing the following command you will see the interface given below:
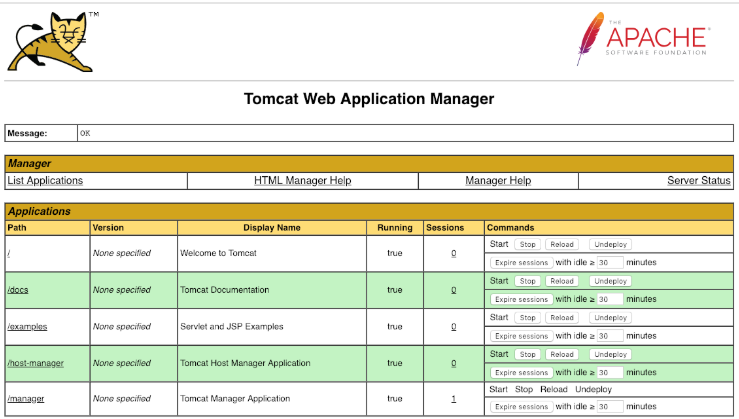
Access Manager Interface
To access manager interface following command is used:
http://server_domain_or_IP:8080/manager/html
Access Host-Manager Interface
Earlier we have accessed the web interface, Let’s see how to access the host-manager interface. The command used is as follows:
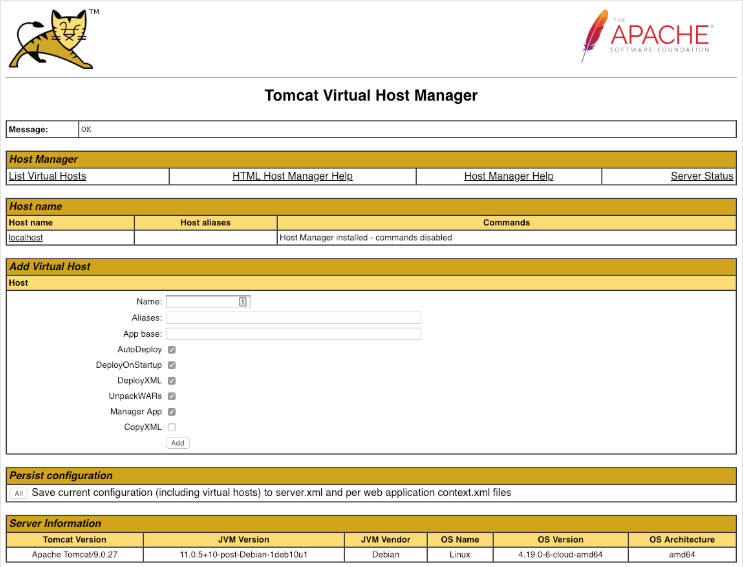
Conclusion
That’s it. You have successfully completed your installation. Now, you can deploy your own web applications. If face any problem, then do let us know in the comments.