

What is Apache Hive?
Apache Hive is a distributed, fault-tolerant data warehousing system that supports large-scale analytics. Hive Metastore (HMS) provides a central repository of metadata that can be quickly evaluated to make informed, data-driven decisions, and is thus an essential component of many data lake architectures.
Hive enables users to access, write, and manage petabytes of data using SQL. A petabyte is a memory or data storage capacity unit equivalent to 250 billion bytes. A petabyte is equal to 1,024 terabytes (TB), and an exabyte is about 1,024 PB.
Hive is built on Apache Hadoop, an open-source system for storing and analyzing large amounts of data. As a result, Hive is tightly integrated with Hadoop and is designed to manage petabytes of data in a timely manner.
So After reviewing what you read, it’s clear that the work of Hive is as a Data Manager.
Installation of Apache Hive
For the installation of Hive, you can follow the mentioned steps: –
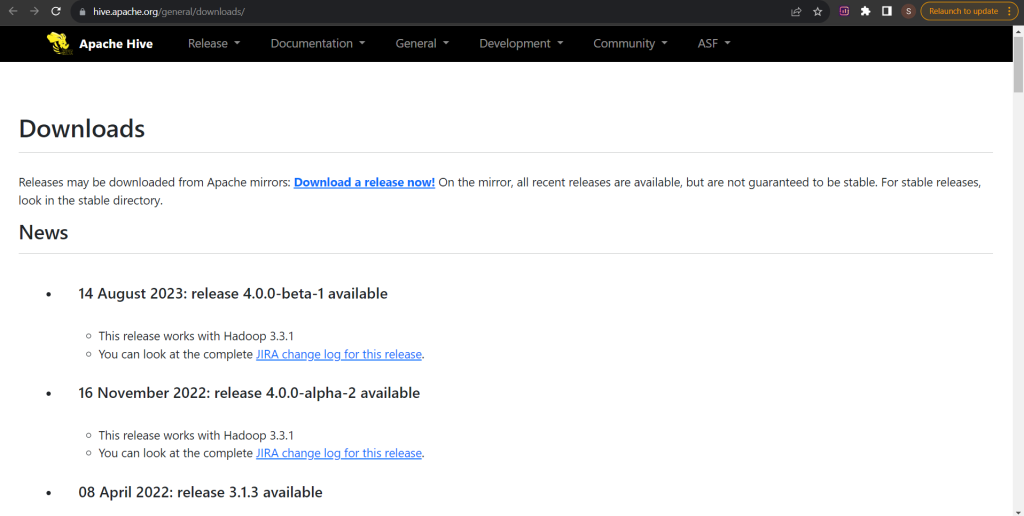
Step-1: Downloading Hive
Hive can be downloaded from the Apache Hive website. You can select the best-suited version for yourself, or one of the most recently published versions can be quickly obtained by clicking on the ‘Download a Release Now!’ option.
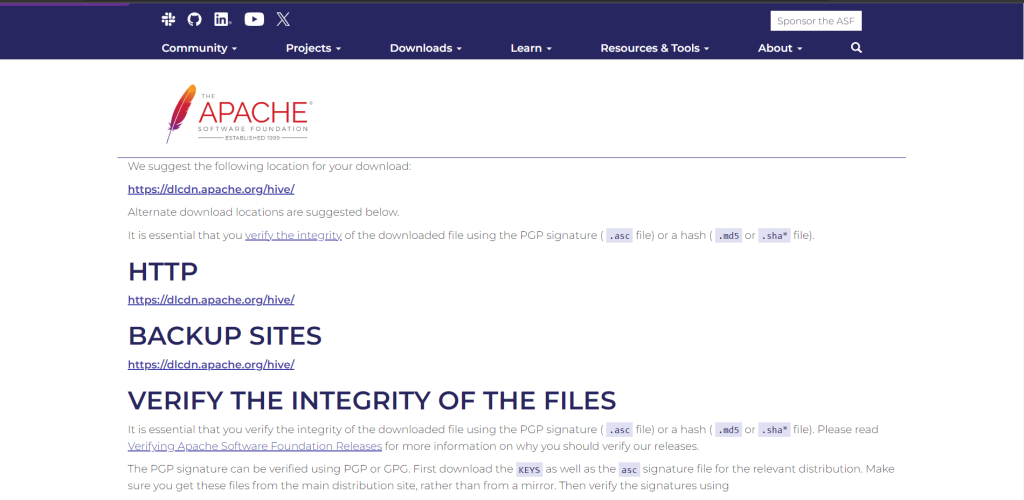
After clicking, follow the three steps:-
- Select the Apache hive mirror link on the subsequent page.
- Select the download version.
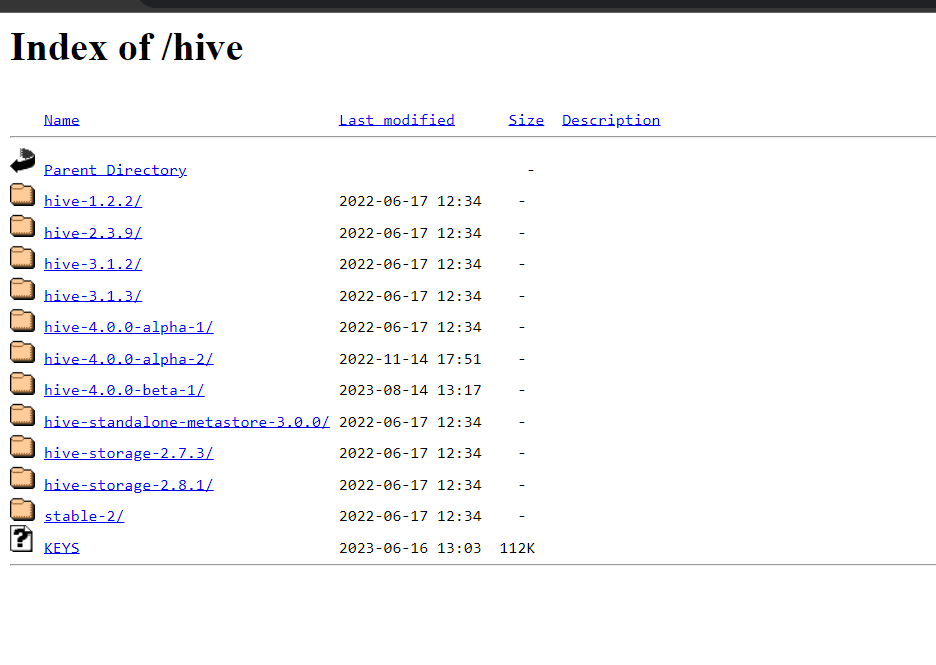
- Click on the bin file and installation will start.
Step-2: Unzip the Compressed File
To install Hive Ubuntu on your machine, navigate to the downloaded Tar (or compressed) file location and run the following command to extract the tar (or compressed) file.
tar xzf apache-hive-3.1.2-bin.tar.gz

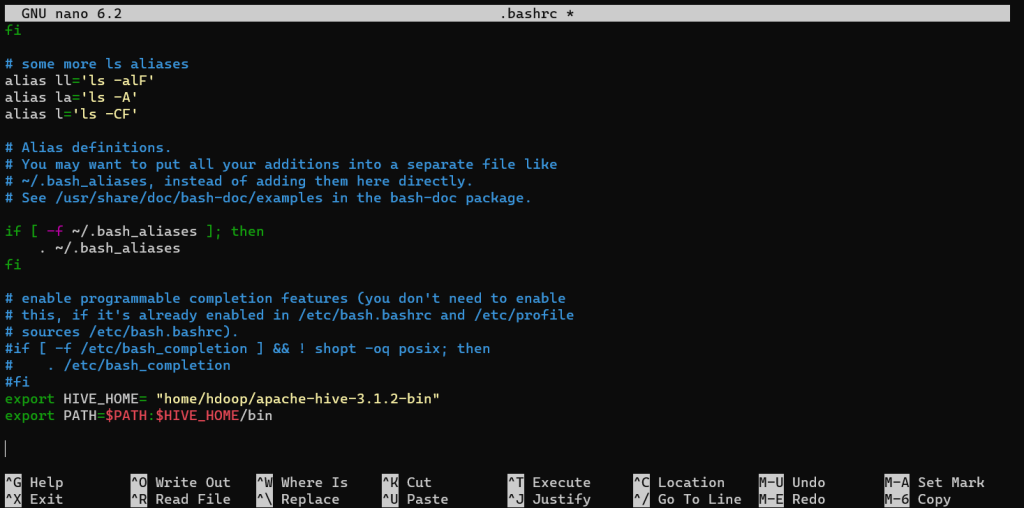
Step 3: Set Up The Environment Variables
The $HIVE_HOME environment variable must point the client shell to the apache-hive-3.1.2-bin directory. Edit the .bashrc shell configuration file (.bashrc is the file extension) with your preferred text editor (I’ll be using nano), but you can use whatever editor you’re comfortable with, such as vi editor
sudo nano .bashrc
Now we will be adding the Hive Home directory to the bashrc file by using the,
export HIVE_HOME= "home/hdoop/apache-hive-3.1.2-bin"

export PATH=$PATH:$HIVE_HOME/bin
Export Hadoop path in Hive-config.sh (To connect with the Hadoop ecosystem, we define the Hadoop Home path in the hive config field)
Open the hive-config.sh file, as shown below.
sudo nano $HIVE_HOME/bin/hive-config.sh
Now we will be adding the HADOOP_HOME Path in the hive-config.sh, file by using,
export HADOOP_HOME=/home/Download/hadoop/hadoop-3.1.2

Step 4: Creation of Hive directories in the HDFS folder of Hadoop
To interface with Hadoop, we must first construct directories in Hadoop.
To store data in the HDFS folder, create two distinct directories:
- The interim results of Hive processes will be saved in the temporary(tmp directory).
- The Hive-related tables will be saved in the warehouse directory.
Now let’s set the HDFS folders for Hive for storing temporary outputs that Hive sends to HDFS by creating tmp directory
hdfs fs -mkdir /tmp
Add write and execute rights to members of the tmp group:
hdfs fs -chmod g+w /tmp
Create the warehouse directory within the /user/hive/ parent directory as follows:
hdfs fs -mkdir -p /user/hive/warehouse
Add write and execute rights to members of the warehouse group:
hadoop fs -chmod g+w /user/hive/warehouse
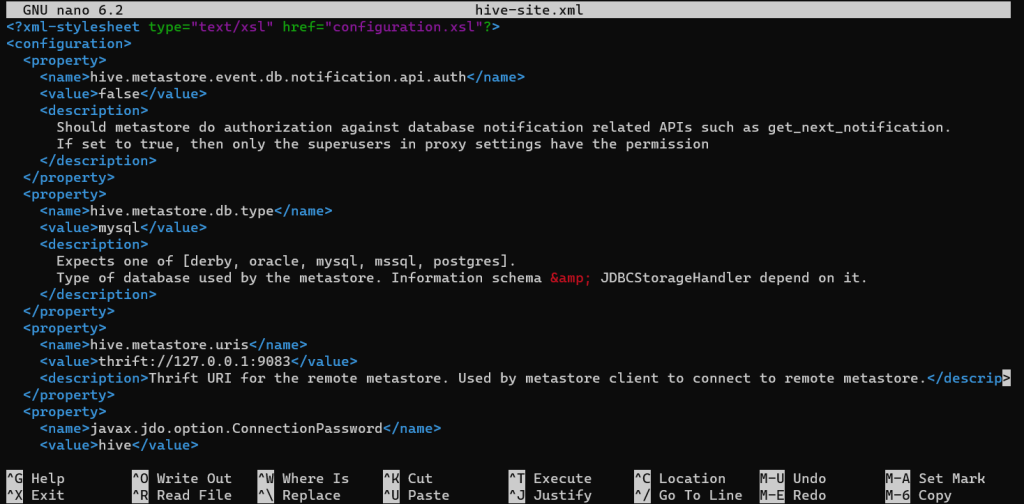
Step 5: Set up the hive-site.xml file [Optional]
By default, Apache Hive deployments provide template configuration files. The template files, which may be found in the Hive conf directory, outline the default Hive settings.
To find the relevant file, run the following command:
cd $HIVE_HOME/conf
Using the ls command, list the files in the folder.

Now, edit the hive-default.xml file (or create one if it does not exist) in the $HIVE_HOME/conf folder.
You can construct the configuration file by using the template file, hive-default.xml.template
cp hive-default.xml.template hive-site.xml
You can open the hive-site.xml file using the nano or any of the editors of your own choice by using
sudo nano hive-site.xml
Step 6: Launch the Derby Database
To store metadata, Apache Hive makes use of the Derby database. Start the Derby database from the Hive bin directory with the schematool command:
$HIVE_HOME/bin/schematool -dbType derby -initSchema

Wait for the process to execute as this might take some time
Note:-
If the Derby database fails to start, you may see the following error:
“Exception in thread “main” java.lang.NoSuchMethodError: com.google.common.base.Preconditions.checkArgument(ZLjava/lang/String;Ljava/lang/Object;)V”

This message shows that the Hadoop and Hive guava versions are incompatible. Now, extract the guava.jar file in the Hive lib directory:
ls $HIVE_HOME/lib
Also, look for the guava jar file in the Hadoop lib directory:
ls $HADOOP_HOME/share/hadoop/hdfs/lib
The problem is caused by incompatibility between the two mentioned versions. Remove the existing guava file from the Hive lib directory by following these steps:
rm $HIVE_HOME/lib/guava-19.0.jar

Move the guava file from the Hadoop lib directory to the Hive lib directory as follows:
cp $HADOOP_HOME/share/hadoop/hdfs/lib/guava-27.0-jre.jar $HIVE_HOME/lib/

Now let’s once again start the Derby database and this error must be resolved.
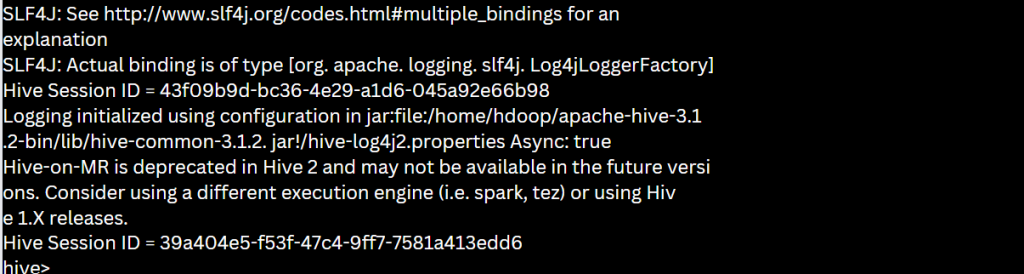
Step 7: On Ubuntu, Open the Hive Client Shell
The use of the following commands will initiate the Hive command-line interface:
cd $HIVE_HOME/bin
Using the above command you will be entering the bin directory, and now you will be launching hive by using,
hive
Conclusion
Hive has now been installed and configured on your Ubuntu system. HiveQL can be used to query and administer Hadoop distributed storage, as well as conduct SQL-like activities. You can now connect to a database using Ubuntu (a Linux distribution). Your Hadoop cluster now has a simple interface for accessing previously unavailable RDBMS. If you still have any doubts related to this particular topic, do let me know in the comments below.