
A game file on Linux still needs software that can run the system it came from. RetroArch provides menus and shared settings for emulator modules called cores, and each core runs content for a particular system.
This guide shows how to install RetroArch from Flathub and use a core to load game content.
TL;DR
Install RetroArch from Flathub with Flatpak, install a core that supports your console, then open a compatible game file from its folder.
- Flatpak is a distro-neutral option. Its app ID is org.libretro.RetroArch.
- A core is the emulator module that runs a particular system. Choose one before loading content.
- Ubuntu PPA builds disable the in-app Core Downloader, so use the package-manager core route there.
What is RetroArch on Linux?
RetroArch is a frontend for libretro cores, which provide the system-specific emulation. RetroArch supplies the menus and shared settings, while a compatible core runs the selected game content.
That separation matters when a game file appears in the browser but will not start. The frontend can see a file without having a core that can read its format, and some cores also need firmware files in the configured System/BIOS directory. Choose the core before browsing content because RetroArch needs that module to run the file.
| Part | What it does | Where to check |
|---|---|---|
| RetroArch | Menus, input and shared configuration | Application window |
| Core | Emulates a console or runs compatible content | Online Updater or package manager |
| Content | Game file opened by the core | Your chosen ROM folder |
| System files | Firmware required by some cores | Settings, Directory, System/BIOS |
How to install and set up RetroArch on Linux
Use Flatpak when you want the same package across distributions because the Flathub build is available across supported Linux systems. Libretro documents this route directly, so it is a useful starting point. The Flathub application ID is unambiguous.
Step 1: Install RetroArch from Flathub
First confirm Flatpak is installed and Flathub is configured. The command below installs the official RetroArch application ID from that remote. Approve the dependencies Flatpak lists before continuing.
flatpak install flathub org.libretro.RetroArch
If Flatpak cannot find the remote, add Flathub using its official setup instructions, then repeat the install.
You can use your distribution’s package manager too. Arch lists the package as retroarch. Our guide to the pacman package manager covers its install syntax.
RetroArch also publishes an Ubuntu PPA route, with a different core installation method.
Step 2: Install a core for the console
Open RetroArch and look for Online Updater, then Select Core Downloader. Pick a core for the system that produced your game file. The core list can offer multiple choices, so check the core’s supported systems and requirements rather than choosing by name alone.
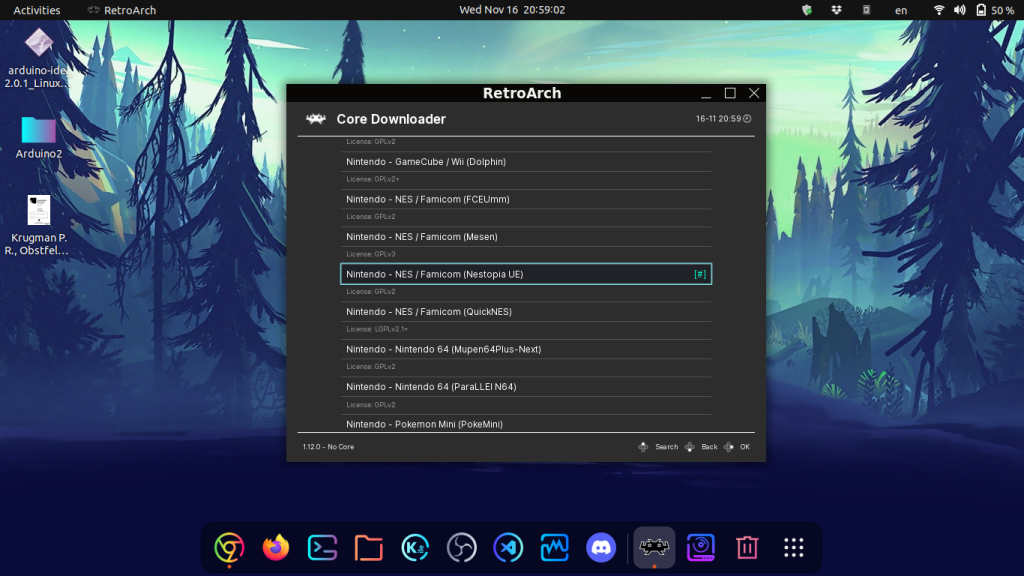
If Core Downloader is absent, check Settings, User Interface, Menu Item Visibility, then enable Show Core Downloader. If you installed through Ubuntu’s Libretro PPA, its documented route is to install available cores through apt instead. Avoid mixing package-managed cores with downloaded cores unless you have configured the core directory to match.
Step 3: Put your game files in a folder
Keep your legally obtained game files in a folder such as ~/Games/ROMs. Organize subfolders by console if you have several systems. The file must use a format the chosen core supports.
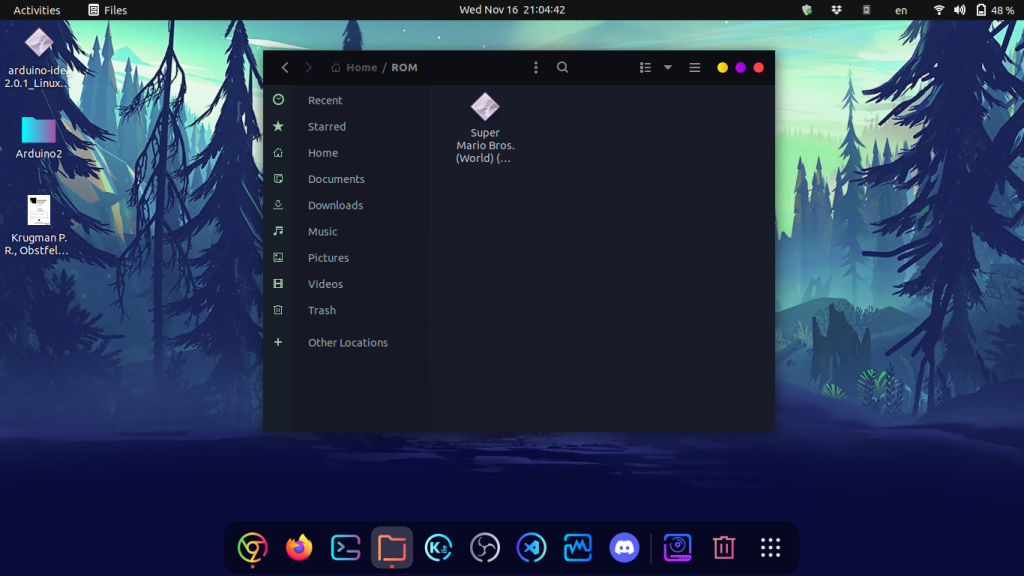
Flatpak apps run with sandbox limits, which can keep RetroArch from browsing a folder or removable drive outside its granted access. Choose a folder the app can open, or grant access through your desktop’s Flatpak permission settings.
For a separate USB library, first mount the drive in Linux. Our USB mounting guide explains how Linux exposes its files.
Step 4: Load the game content
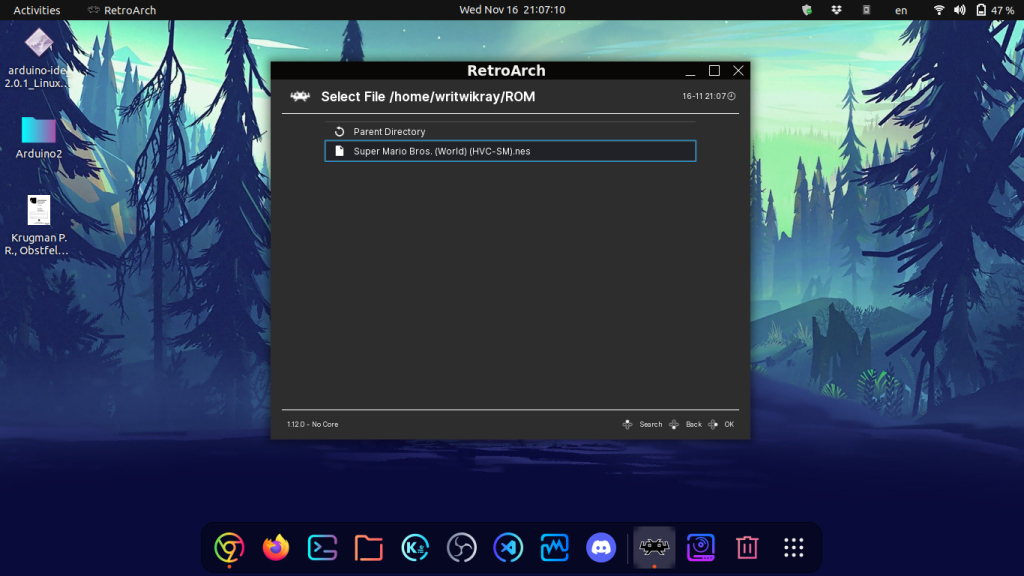
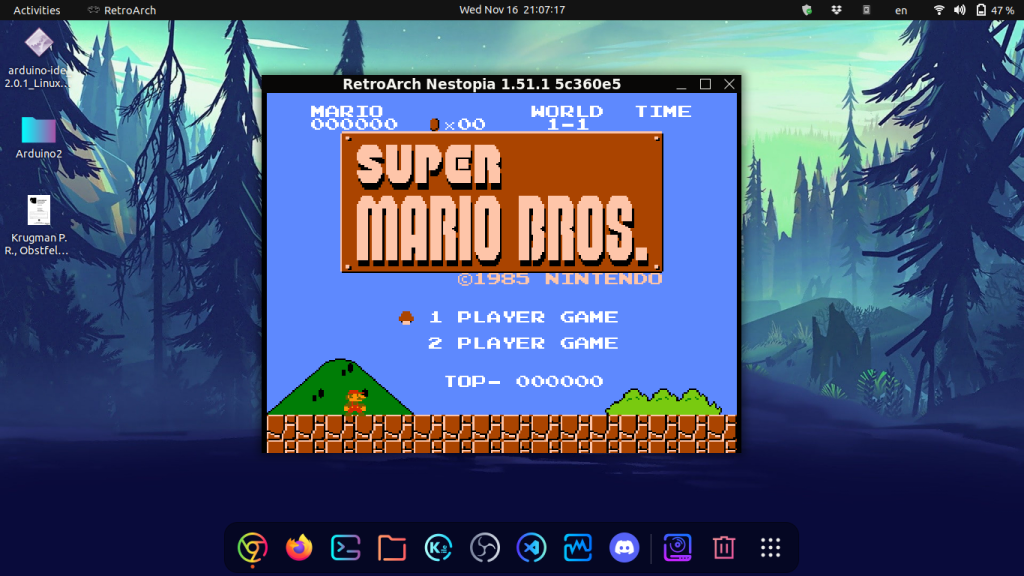
In RetroArch, open Load Content and browse to the folder. Select a game file, then choose the matching core if RetroArch prompts for one. A successful launch opens the game rather than returning to the file browser.
Step 5: Scan a folder for a library view
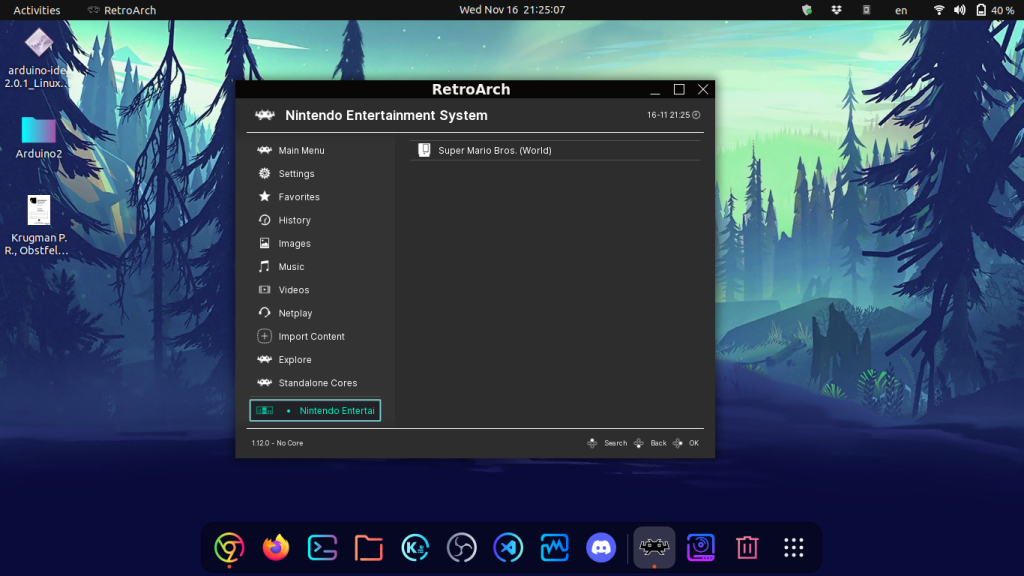
To browse a collection as playlists, use Import Content, then Scan Directory, and choose the folder. A playlist organizes discovered titles by system, while a compatible core still runs each game. Manual Load Content remains useful when a scan misses a file.
Common errors with RetroArch
When a game does not start, check each part of the setup separately because the cause can be the core, file access or required firmware. These checks distinguish seeing a file from being able to run it.
| Symptom | Check | Next step |
|---|---|---|
| Core Downloader is missing | Package type and menu visibility | Enable the menu item, or use the package-manager core route for Ubuntu PPA |
| No core is available | Core directory and core information files | Use one core installation method and confirm its directory is writable |
| Game does not appear or launch | Folder access, file format and selected core | Try Load Content directly and select a compatible core |
| CD-based system asks for firmware | Core information and System/BIOS path | Supply the required files from hardware you own |
Some cores require BIOS files, while others do not. The core’s information page lists the required firmware and any expected file names. Set the System/BIOS directory in Settings, Directory, and use only firmware you are entitled to use.
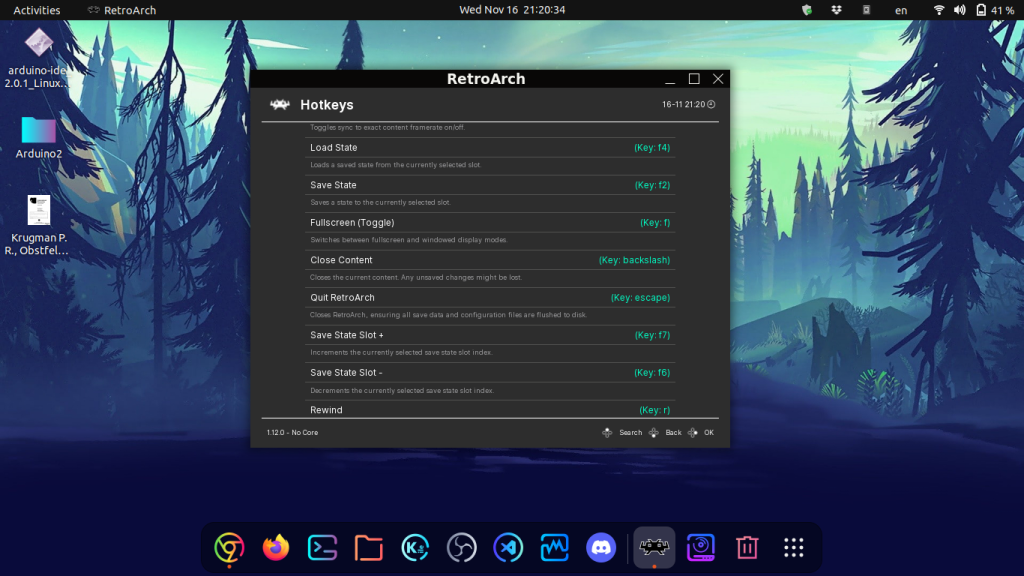
RetroArch separates in-game controls from menu navigation and hotkeys. Open Settings, Input to inspect the current bindings and change the controls for the active port. The older hotkey screenshot above shows one Close Content assignment, but its key should not be assumed on another setup.
Save states capture an emulator’s current state and can depend on core compatibility. Use the game’s own save feature for a durable save where available, then treat save states as convenient checkpoints rather than the only copy.
If you are comparing other Linux gaming approaches, our guides cover Steam on Linux for its game library and compatibility tools, Xemu for original Xbox games, and running AppImages on Linux when you are evaluating another software packaging format.
Conclusion: keep the core and content paths clear
RetroArch’s setup becomes clearer when you treat the frontend, core and game file as separate parts. Install the package, choose a compatible core, and then open content from a directory RetroArch can access because the core must be able to read the selected file.
For current install and core details, use the Libretro Linux installation guide and its core installation guide.
FAQ
These answers cover package and setup questions that change how RetroArch finds a core or game.
How do I install RetroArch on Linux?
Install RetroArch from a distribution package or from Flathub with Flatpak. For Flathub, use the app ID org.libretro.RetroArch.
Why is Core Downloader missing in RetroArch?
The menu item may be hidden, or your distribution package may disable it. Enable Show Core Downloader in menu visibility settings, or use the package-manager core route documented for Ubuntu PPA builds.
Where does RetroArch store BIOS files on Linux?
RetroArch reads firmware from the System/BIOS directory configured under Settings, Directory. Check the selected core’s information for its exact required files and paths.
Why can RetroArch see a game but not launch it?
The selected core may not support the file, the Flatpak sandbox may not have access to its folder, or the core may require firmware. Check those conditions separately.