
Most Linux desktops ship with a default terminal emulator chosen by the desktop environment, such as GNOME Terminal or XFCE Terminal. Kitty is a GPU-accelerated alternative that renders text on your graphics card instead of the CPU. It supports true color, ligatures, tiling windows and tabs inside one process, and a graphics protocol that can display images directly in the terminal.
Three installation routes cover every major distribution: the package manager, the official binary installer for the newest release, and building from source. You will also set up a basic kitty.conf, change the theme with kitty’s built-in theme switcher, and verify everything works with command output captured on Ubuntu 24.04. If you are searching for how to arch install kitty specifically, pacman handles it in one command as shown below.
What makes kitty different
Kitty is written in C and Python and offloads rendering to OpenGL, which keeps scrolling and redraws fast even with large scrollback buffers. Configuration happens entirely through a single plain-text file at ~/.config/kitty/kitty.conf, and small helper programs called kittens extend it with features like image display and side-by-side diffs.
Installing kitty with your package manager
Kitty is packaged in the official repositories of every major distribution. Open a terminal and run the command for your distribution:
# On Ubuntu and Debian-based distributions
sudo apt update && sudo apt install kitty

# On Arch Linux based distributions
sudo pacman -S kitty

# On Fedora Workstation
sudo dnf install kitty

# On openSUSE
sudo zypper install kitty

# On Gentoo
sudo emerge --ask x11-terms/kitty
Distribution packages occasionally lag behind the newest upstream release because packagers test each version first. On this Ubuntu 24.04 machine the repository package installed cleanly:
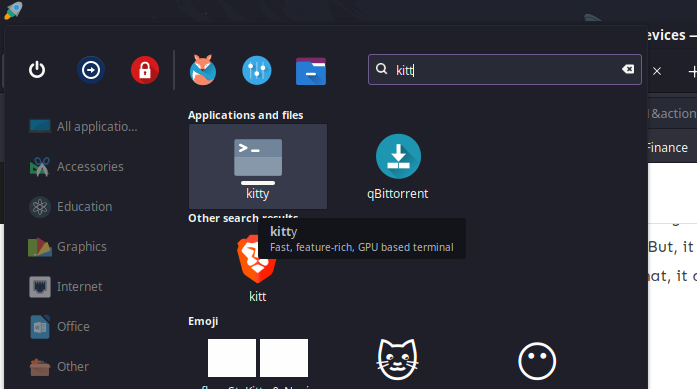
Once installation finishes, check that the binary works before launching anything:
kitty --version
The version number tells you which kitty release you have, useful when a config option behaves differently across releases. You can also launch kitty from your applications menu. Most desktop environments list it as “kitty” once installed.
Making kitty your default terminal
Setting a default terminal differs per desktop environment. On Cinnamon use Preferred Applications, on GNOME install a terminal-switcher extension or use update-alternatives, and newer setups honor the freedesktop xdg-terminal-exec spec. The simplest portable method is creating ~/.config/xdg-terminals.list containing kitty.desktop, which desktops using xdg-terminal-exec will respect:
echo 'kitty.desktop' > ~/.config/xdg-terminals.list
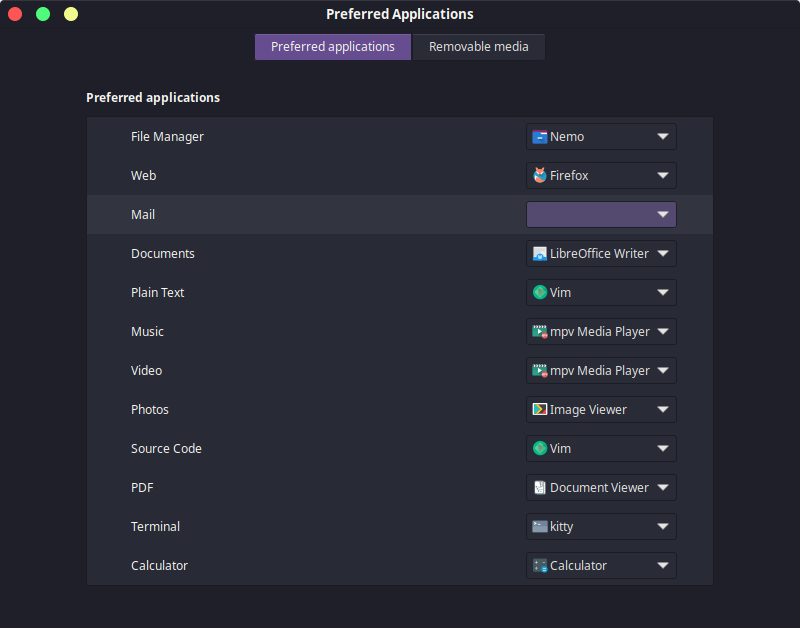
If your desktop lacks a default-terminal picker, launching kitty manually from its menu entry works fine until you configure one.
Installing kitty with the official binary installer
The kitty developer publishes pre-built binaries for Linux and macOS that install into ~/.local/kitty.app without touching system directories. The current upstream release is v0.48.2, so this route matters when your distro package is older. Run:
curl -L https://sw.kovidgoyal.net/kitty/installer.sh | sh /dev/stdin
To upgrade later, re-run the same command. The installer replaces the files in place. Because the binary lives outside your PATH, create symlinks so both kitty and its kitten helper resolve from anywhere:
ln -sf ~/.local/kitty.app/bin/kitty ~/.local/kitty.app/bin/kitten ~/.local/bin/

# Desktop entry so kitty shows up in your application menu
cp ~/.local/kitty.app/share/applications/kitty.desktop ~/.local/share/applications/
sed -i "s|Icon=kitty|Icon=$(readlink -f ~)/.local/kitty.app/share/icons/hicolor/256x256/apps/kitty.png|g" ~/.local/share/applications/kitty.desktop
sed -i "s|Exec=kitty|Exec=$(readlink -f ~)/.local/kitty.app/bin/kitty|g" ~/.local/share/applications/kitty.desktop
Do not copy the kitty binary out of ~/.local/kitty.app. The official docs warn against this because kitty locates support files relative to the install directory, so symlink instead.
Customizing kitty with kitty.conf
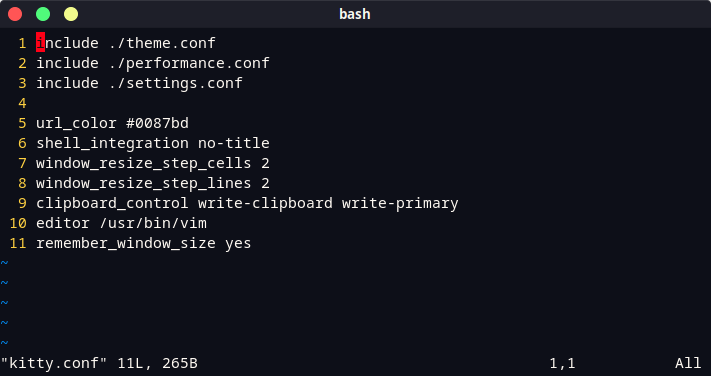
Kitty reads configuration from ~/.config/kitty/kitty.conf and ships a fully commented sample config you can borrow options from. Open yours with any editor:
# Vim users
vim ~/.config/kitty/kitty.conf

# Nano users
nano ~/.config/kitty/kitty.conf
Start with a small config rather than pasting dozens of lines you cannot explain later. Font, size, and colors cover 90 percent of what most people want:
# Font: any font installed on your system; monospace uses the system default
font_family      monospace
italic_font      auto
bold_font        auto
bold_italic_font auto

# Font size in points
font_size        12.0

# Colors
foreground       #c0b18b
background       #202020

# Keep the window size between sessions
remember_window_size yes
This config loaded cleanly through kitty 0.32.2’s own config parser when I tested it for this guide: font_size parsed as 12.0 with foreground rgb(192,177,139) and background rgb(32,32,32). One warning worth knowing: older configs often contain a font_size_delta option, and current kitty versions ignore it as an unknown key. If your old config silently drops settings, check the terminal output when kitty starts.
Save and exit vim with Escape then :wq. In Nano press Ctrl+O then Ctrl+X. Changes apply when you restart kitty, or press Ctrl+Shift+F5 in a running instance to reload the config live.
Changing themes with the built-in theme switcher
You do not need to hunt for theme files on GitHub anymore. Current kitty ships a themes kitten with hundreds of community color schemes, and it writes your choice straight into kitty.conf:
# Interactive picker, arrow keys to browse, Enter to apply
kitty +kitten themes

# Apply a specific theme non-interactively
kitty +kitten themes --reload-in=all Catppuccin-Mocha
The interactive browser previews each scheme before you commit, and the –reload-in flag applies it to already-open windows too. If you prefer browsing collections manually, the dexpota kitty-themes repository on GitHub remains a good catalogue of user-made schemes compatible with older versions.
Kittens worth trying first
Kittens are kitty’s built-in extension programs, all invoked through the kitty +kitten prefix. Three cover the most common requests:
- icat displays images, including animated GIFs, directly in the terminal. Needs ImageMagick installed alongside kitty. Works over SSH too.
- diff shows side-by-side file comparisons with syntax highlighting and image diff support. Requires git or diffutils.
- clipboard reads and writes the system clipboard from scripts, including over SSH sessions.
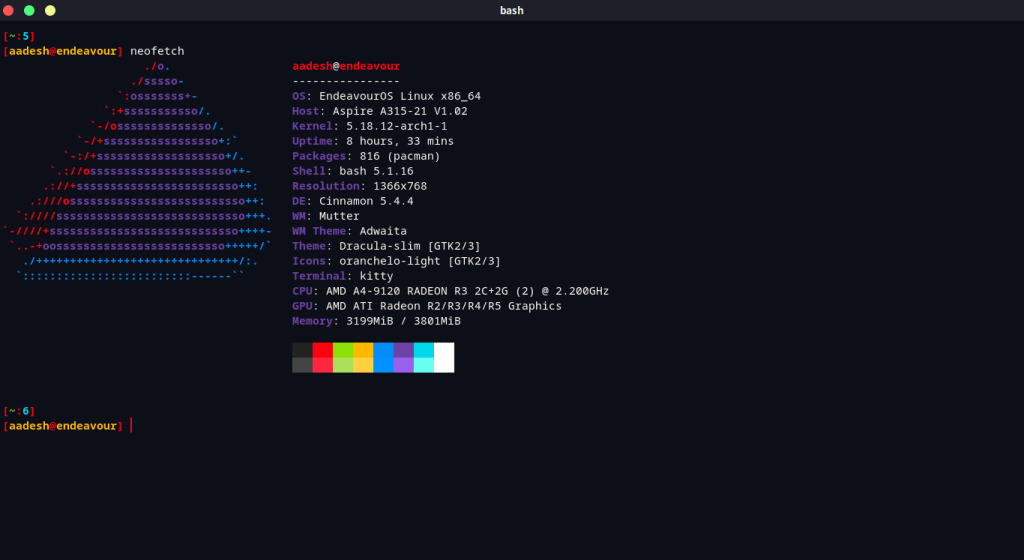
Run kitty +kitten icat image.jpg after installing ImageMagick to see the graphics protocol in action. Applications like ranger and Neofetch derivatives detect kitty’s protocol automatically and render images inline. Our guide to Fastfetch, a more customizable Neofetch alternative, pairs well with a kitty setup for exactly this reason.
Troubleshooting common kitty issues
Two problems come up repeatedly. SSH sessions sometimes render garbled output because remote hosts lack kitty’s terminfo entry.
Fix it by copying the terminfo file over, or run kitty +kitten ssh instead of plain ssh and kitty bootstraps the remote host for you.
The other is unknown-config-key warnings on startup, which mean an option was renamed or removed between versions. Kitty prints the exact key it skipped, and the official docs list the current replacement.
For deeper customization beyond colors and fonts, editing config files by hand is the standard workflow on Linux. Our walkthrough on how to edit config files in Linux covers the editors and safety habits involved. And if you run Arch, our guide to making your Arch Linux terminal awesome builds on kitty with prompt and utility tweaks.
Summary
Kitty installs from the official repos of Ubuntu, Arch, Fedora, openSUSE, and Gentoo with one package-manager command, or via the official installer script for the latest release. A minimal kitty.conf controls fonts and colors, the built-in kitten themes switcher handles theming, and kittens like icat add image display inside the terminal. Verify your setup with kitty –version, reload changes with Ctrl+Shift+F5, and remove your previous terminal only after confirming kitty handles your daily workflow.