

Let’s learn how to install Ruby on Ubuntu today. Ruby is a high-level interpreted programming language much like Python. Being an open-source language, there are a lot of libraries available for use.
What is Ruby?
Ruby is the scripting language used for backend and frontend development. It is also used for Data analysis, prototyping, and proof of concepts. The language is considered very easy to learn as compared to Java, PHP, or Perl.
Ruby on Rails is the web framework designed to build web applications. This framework is designed in Ruby language. You can read more about the language on their official website. Now let’s get right into the steps for installing the language on Ubuntu.
Steps to Install Ruby on Ubuntu
Ubuntu being a mainstream OS, offers a lot of pre-built binaries that are ready for installation. We’ll be using the ruby-full package to get our installation up and running.
1. Update APT Repositories
Let’s begin with updating the APT repositories to ensure we have the latest database meta. Once that’s done, we’ll run a quick system upgrade so all the old packages are updated to the latest versions and don’t cause any conflict with our Ruby installation.
sudo apt update && sudo apt upgrade
2. Download and Install the Ruby package using APT
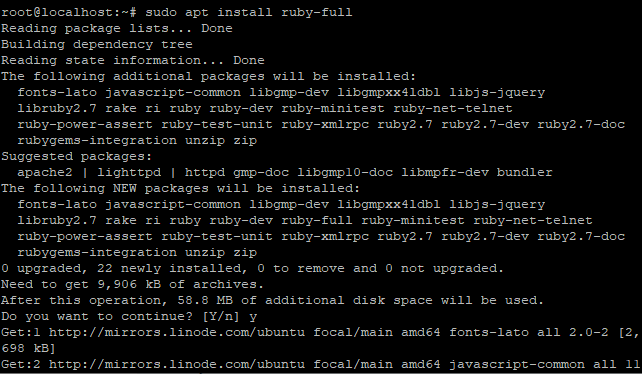
Once the update and upgrade are done, we can proceed to install the ruby-full package on our system. The APT package manager takes care of dependencies so we don’t have to worry about those here.
sudo apt install ruby-full
3. Verify the Installation
That’s about all it takes to get a ruby interpreter up and running on your system. We can verify the installation by running the command below.
ruby -version
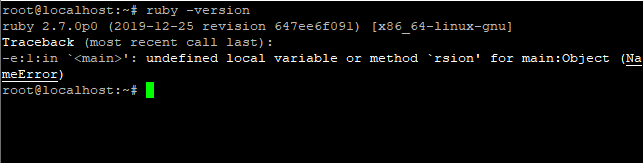
As you may see, the latest available version within the Ubuntu repositories is now installed on our system.
Using the Ruby Version Manager (RVM) to Install Ruby on Ubuntu
The RVM is a version management tool for handling multiple Ruby versions on the same system. This is a use-case based requirement as most hobby coders would be happy with the latest version. For core Ruby developers, having multiple versions of Ruby up and running on your system could be a requirement.
1. Downloading the Dependencies
Since we don’t want to depend on the Ubuntu APT package manager for installing Ruby, we have to handle the dependencies ourselves. So let’s download all the required packages for compiling, and building packages.
sudo apt install curl g++, gcc, autoconf, automake, bison, libc6-dev, libffi-dev, libgdbm-dev, libncurses5-dev, libsqlite3-dev, libtool, libyaml-dev, make, pkg-config, sqlite3, zlib1g-dev, libgmp-dev, libreadline-dev, libssl-dev
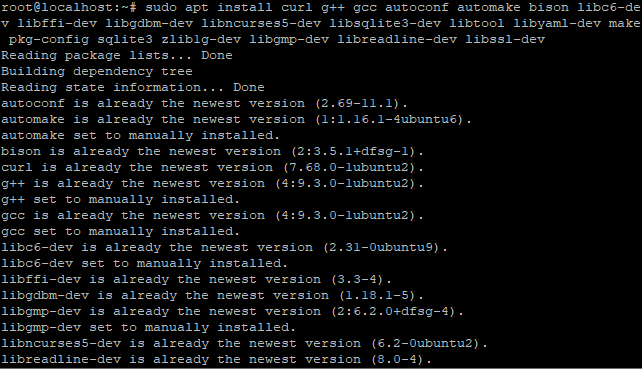
Make sure that the dependencies are installed before moving ahead.
2. Install the Stable Version of RVM
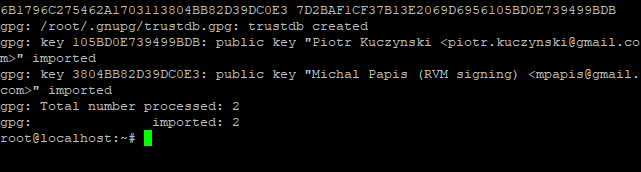
The next step is to add the RVM gpg keys to our system so we can download the package. Check the RVM Official website for more details.
To do so, type the following in the terminal:
gpg2 --recv-keys 409B6B1796C275462A1703113804BB82D39DC0E3 7D2BAF1CF37B13E2069D6956105BD0E739499BDB
Now, let’s install the stable version of RVM from their official website. If you wish to install a different version, you can check this page on the different installable pacakges here.
\curl -sSL https://get.rvm.io | bash -s stable
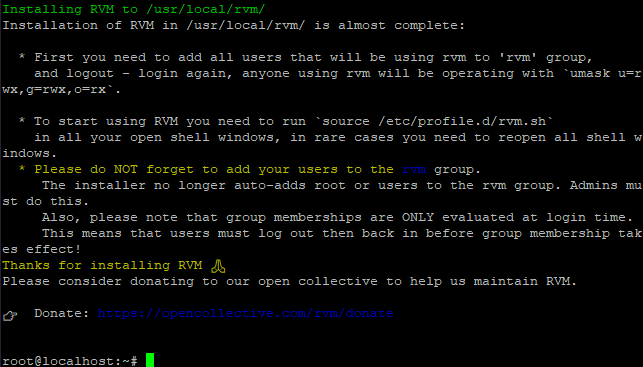
Now we need to include the RVM configuration files in the current environment. We can do so with the use of the source command.
source /etc/profile.d/rvm.sh
3. Install Ruby package
After successfully installing RVM package, the next step is to install the Ruby package. You can install the package using rvm install command. You can mention the package version that you need to install. In this case, I’ve installed the latest version 2.7.0.
rvm install 2.7.0
You can set this package version as the default by specifying the –default tag as I’ve shown in the screenshot below.

Once that’s completed, you now have a working Ruby installed!
4. Verify the installation
Just like we did before, we can verify the installation of Ruby on our system with the use of the -version or -v tag as demonstrated below.
ruby -v

If you see an output like the one shown above, you have successfully installed Ruby on your Ubuntu system.
Conclusion
That’s it for today. We’ve successfully completed the steps to install Ruby on Ubuntu using the apt package manager as well as learned how we can install multiple versions on our system using the Ruby Version Manager. I hope this tutorial has been helpful to you. Stay tuned for more tutorials on Linux!
References: