
Pycharm is an IDE that is used and recommended by experts for Python development. It comes in two editions, the Professional edition which is the paid version, and the Community edition which is based upon open-source code. For Python development, the community edition will be good enough for you.
Note that students can get access to the professional edition for free using their academic email. Developers working on non-commercial open-source projects can also apply for the Professional edition. Read more about this here.
Through this article, we are going to learn how to Install Pycharm in Ubuntu Linux with the help of two methods, one using the snap package manage and the second method using the official installer.
Install Pycharm Using the Snap Package Manager
Ubuntu by default has snaps enabled, so you just have to type the following commands in the terminal to install Pycharm:
sudo snap install pycharm-community --classic
Uninstall
And in the case you have to remove the snap package, run the following commands :
sudo snap remove pycharm-community
Install Pycharm From the Official Installer
You can also install Pycharm from the official installer from JetBrains, head over to their official download page and download the tar.gz file of the community edition. Once downloaded, we need to extract the file, you can do this either by double-clicking on it in the file manager or, typing the following commands in the terminal :
tar -xvzf ~/Downloads/pycharm-community-2021.3.2.tar.gz
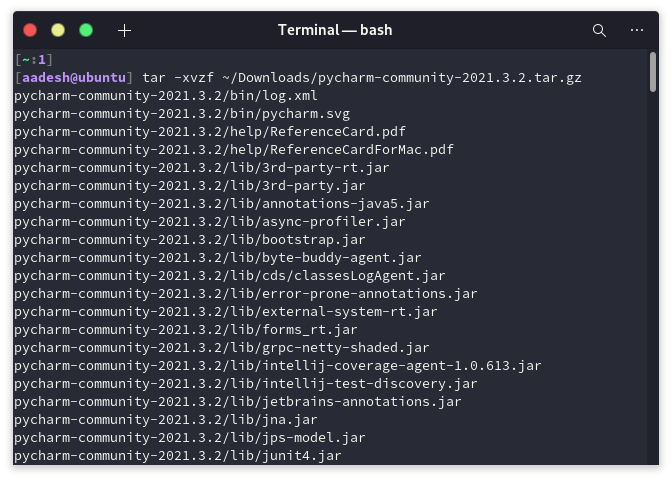
Note that the latest version of Pycharm is 3.2 when the article is written, however, this can change in the future, in that case, use the name of the downloaded tar.gz file instead of the version mentioned in the above command.
Once extracted, navigate to the extracted directory and then navigate to the bin folder using the GUI or by typing the following commands in the terminal:
cd pycharm-community-2021.3.2/
cd bin/
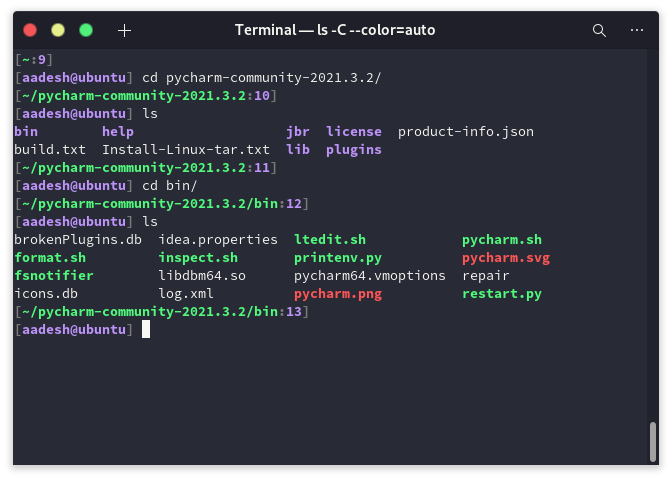
Or, if the extracted directory is in the Downloads folder.
cd ~/Downloads/pycharm-community-2021.3.2/
cd bin/
If you’re following the GUI steps, then right-click and open a terminal in this bin directory. Now, we have to make the Pycharm script executable, to do this type the following commands in the terminal :
chmod u+x pycharm.sh
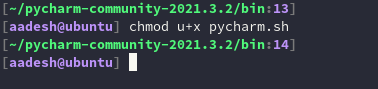
Now, we finally have to execute the sh file. To do this, type this command from the terminal :
./pycharm.sh
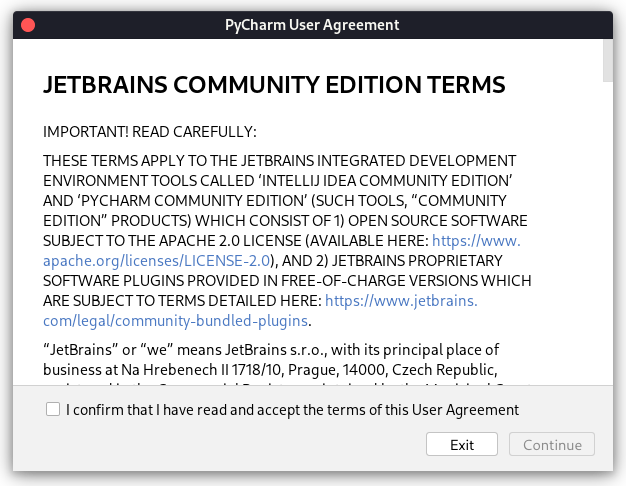
You will now be greeted with the Pycharm window, accept the terms and conditions and hit continue. You can now choose to share anonymous data with JetBrains if you like to.
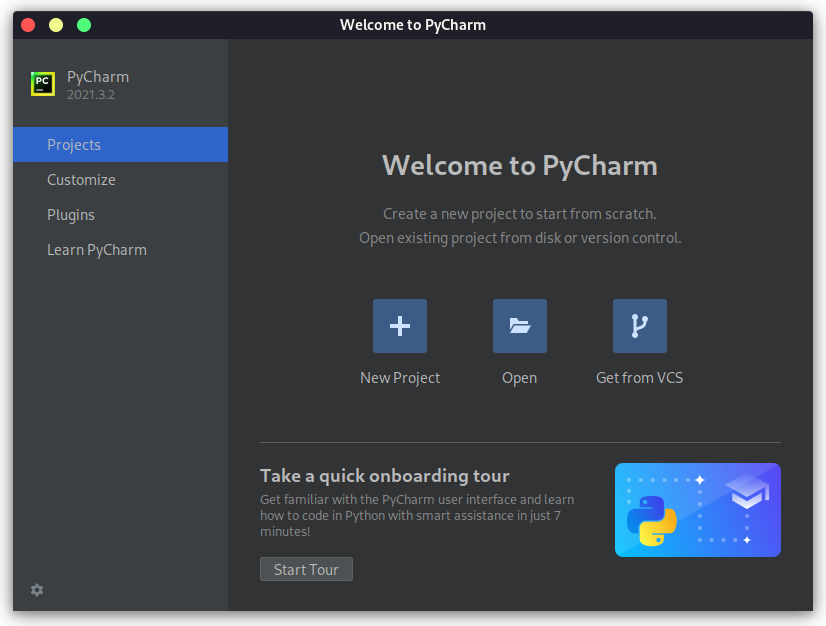
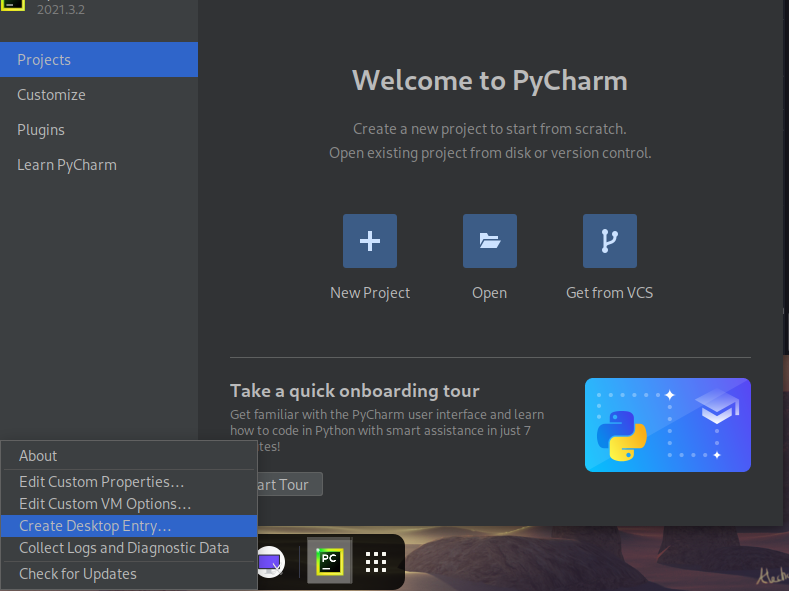
After this menu, finally, you will be greeted with the Pycharm dashboard, now create a desktop shortcut by clicking on the settings icon in the bottom left corner so that we can directly launch Pycharm from the Application menu. Type your admin password when prompted and then press enter.
Uninstall
To Uninstall Pycharm, simply delete the pycharm-community-2021.3.2 folder. To do this via command line, open a terminal where the directory is located and then type the following command :
rm -r pycharm-community-2021.3.2
Summary
We hope you were able to successfully install and use JetBrains Pycharm using this tutorial. Add more plugins to the IDE to make it smoother to use for you.