
In this tutorial, we will learn to install Eclipse IDE on Ubuntu. Eclipse is a famous open-source integrated development environment (IDE) popular for Java applications development. It can be used as IDE for several other programming languages with the help of its plugins. Eclipse is written in Java and requires JRE installed.
Also read: How to install Java on Debian?
Steps to Install Eclipse IDE on Ubuntu
Follow the steps given below to install Eclipse IDE on Ubuntu.
Step 1: Launch Terminal
To launch a new terminal session, press CTRL + ALT + T on your keyboard.
Alternatively, you can launch a new terminal session from Activities on the top-left of your screen.
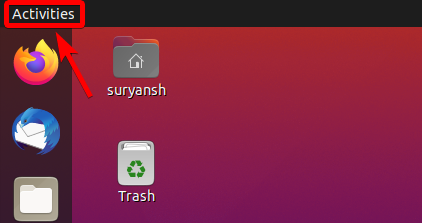
And then enter terminal in the search box.
Click on its icon to launch a new terminal session.
Step 2: Install JRE
Since Eclipse is primarily written in Java and hence it requires JRE. We’ll start by installing JRE.
To install, execute the following apt command:
sudo apt install default-jre -y
Once we have JRE installed on our system, we can now proceed further.
Step 3: Download the Eclipse Installer
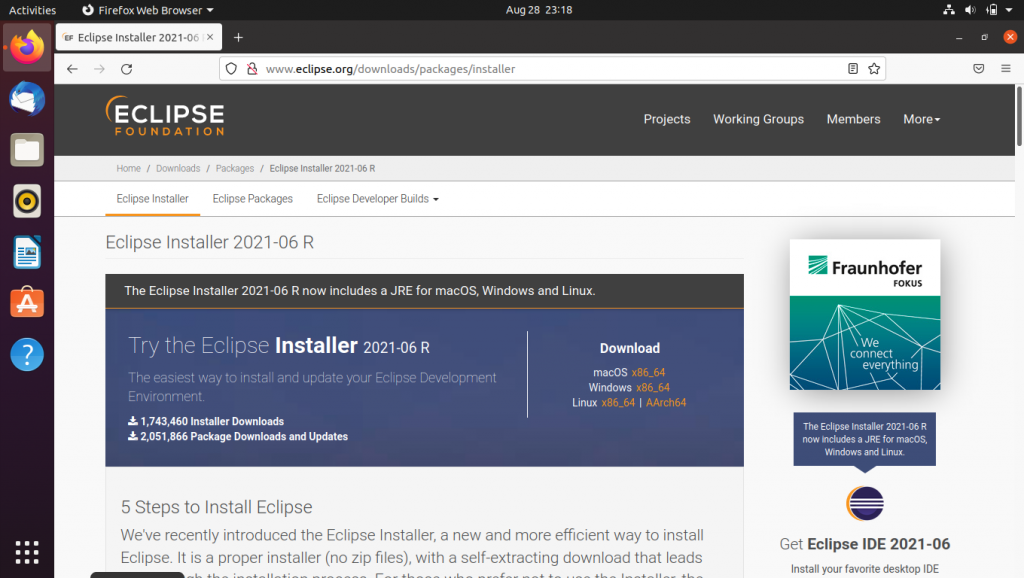
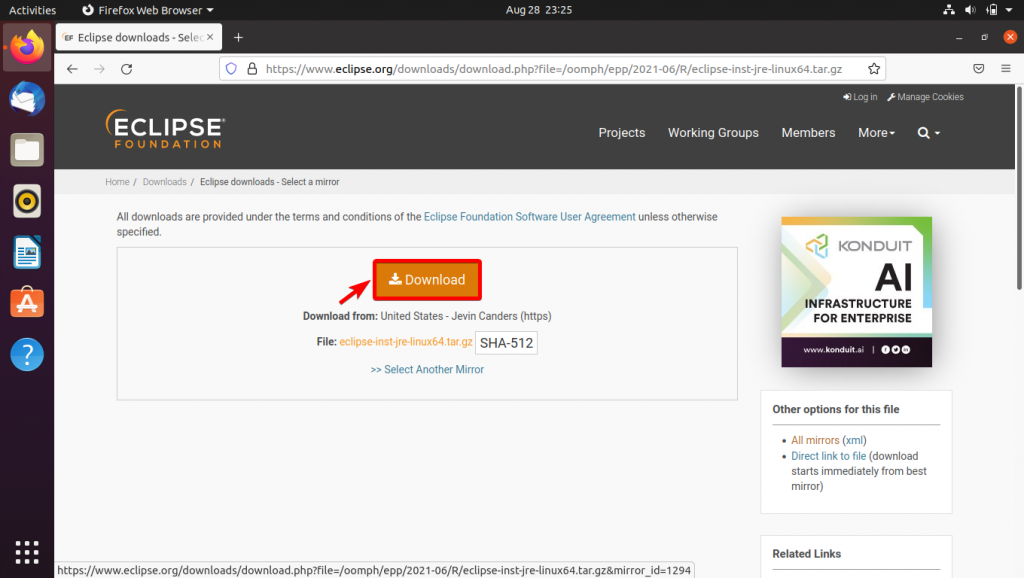
To get the Eclipse installer, visit https://www.eclipse.org/downloads/packages/installer in your web browser.
Then, download the Eclipse Installer for Linux by clicking x86_64 beside Linux.
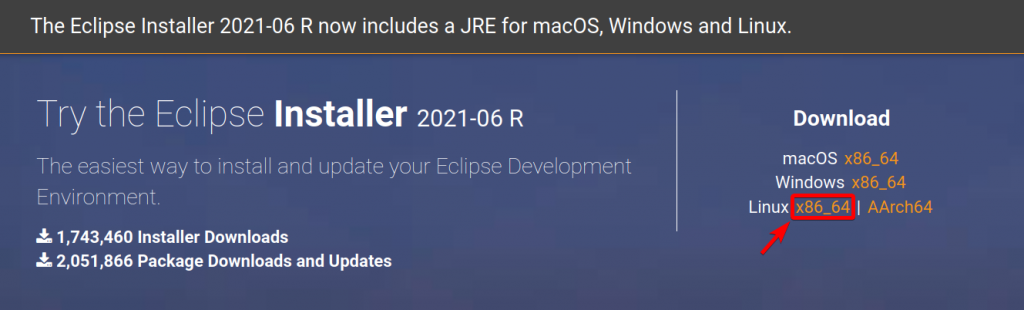
Now click download to start downloading.
Step 3: Extract the Eclipse Installer
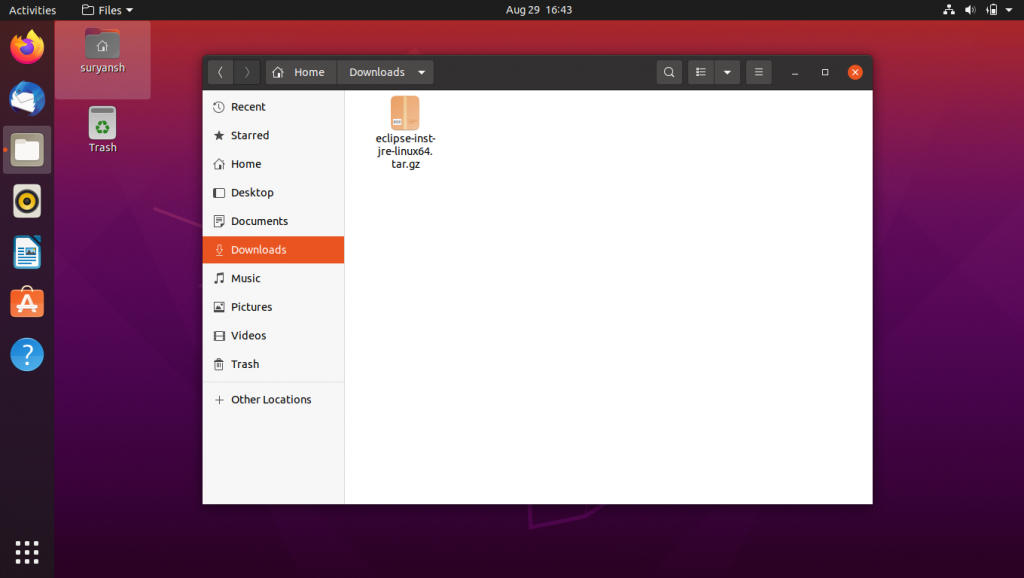
Now we need to extract the Eclipse Installer from the archive we’ve just downloaded.
Go to the download location of the compressed file.
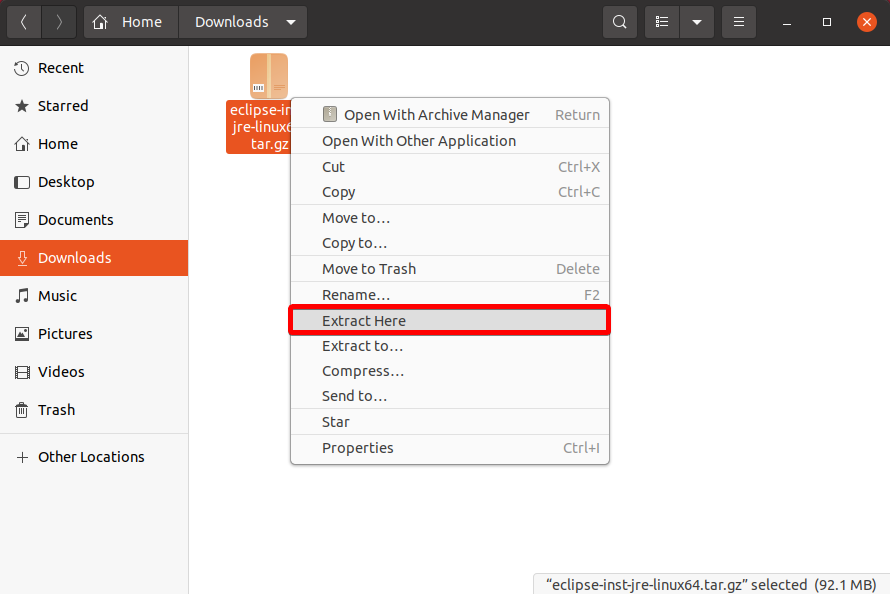
Now to extract the Eclipse Installer from the compressed file, right-click on the compressed file you’ve just downloaded and click “Extract Here”.
Step 4: Launch the Eclipse Installer
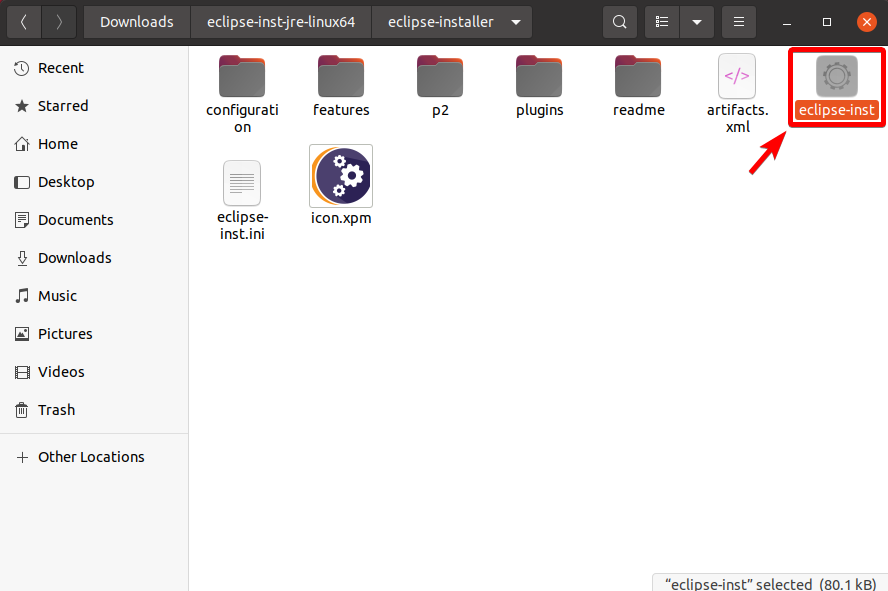
To launch the Eclipse Installer, change the directory to the extracted folder and double left-click eclipse-inst
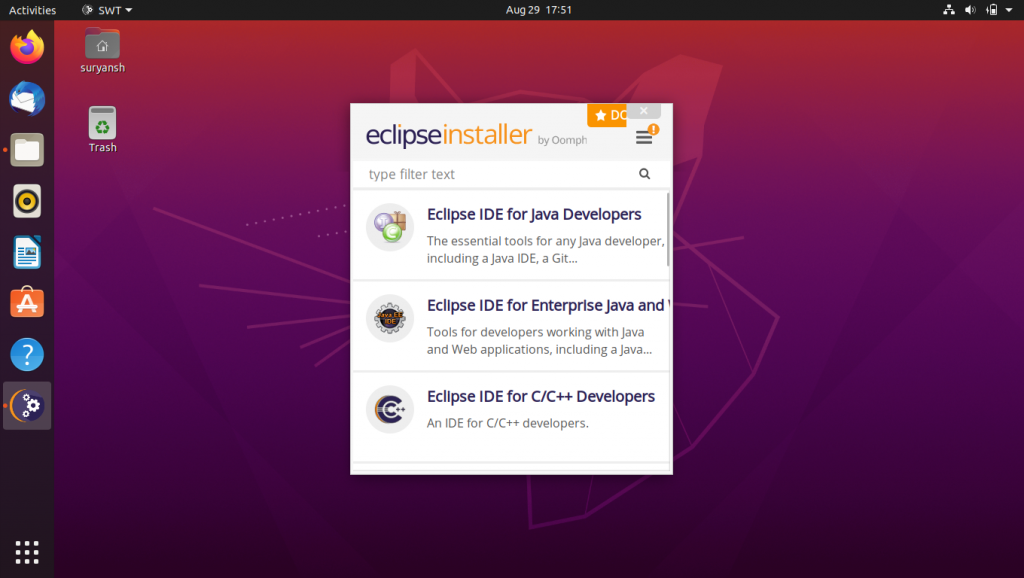
eclipse-instChoose the Eclipse IDE you want to install by left-clicking the chosen Eclipse IDE in the Eclipse Installer menu.
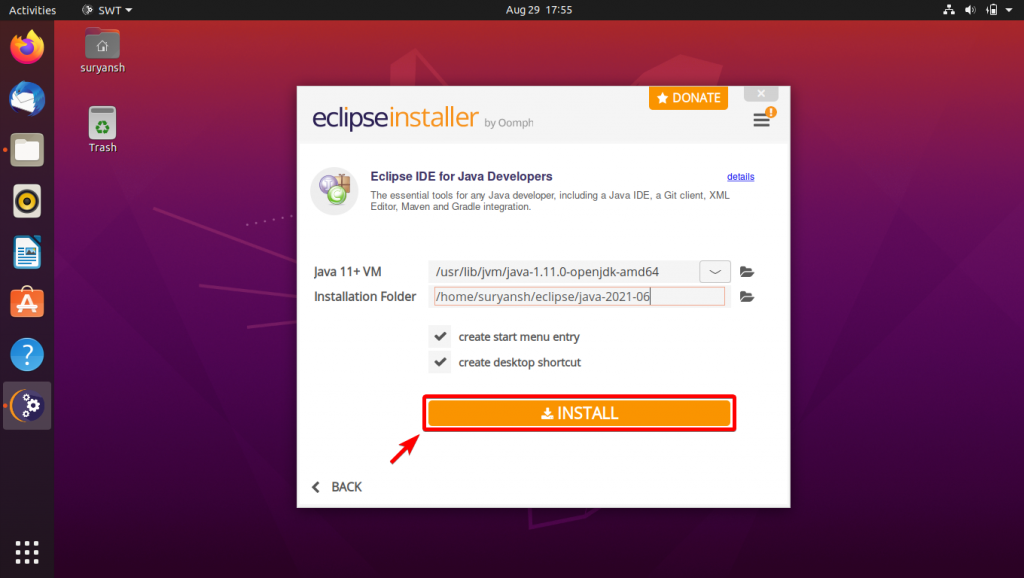
Then, click INSTALL and accept the license to install the chosen Eclipse IDE.
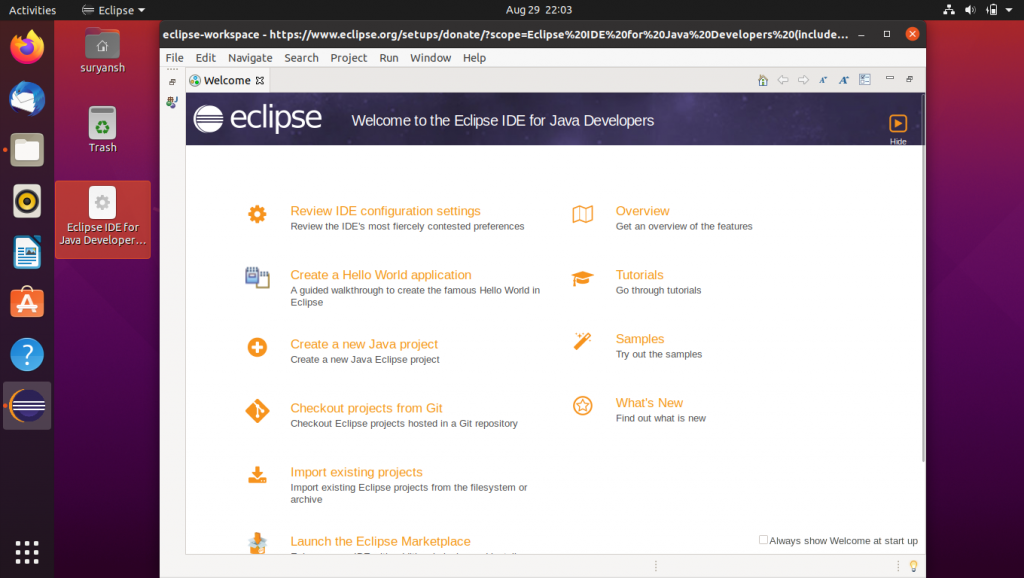
Step 5: Launch the Eclipse IDE
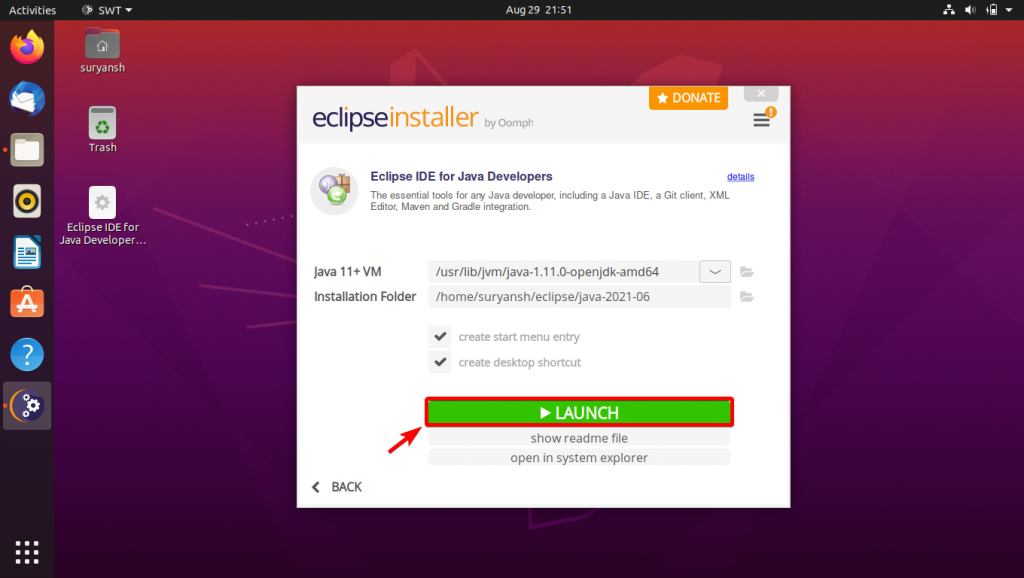
Once the installation is completed. You can directly launch Eclipse IDE by clicking LAUNCH at the end of the installation.
Alternatively, you can also launch Eclipse IDE from the “Activities” on the top left of your screen.

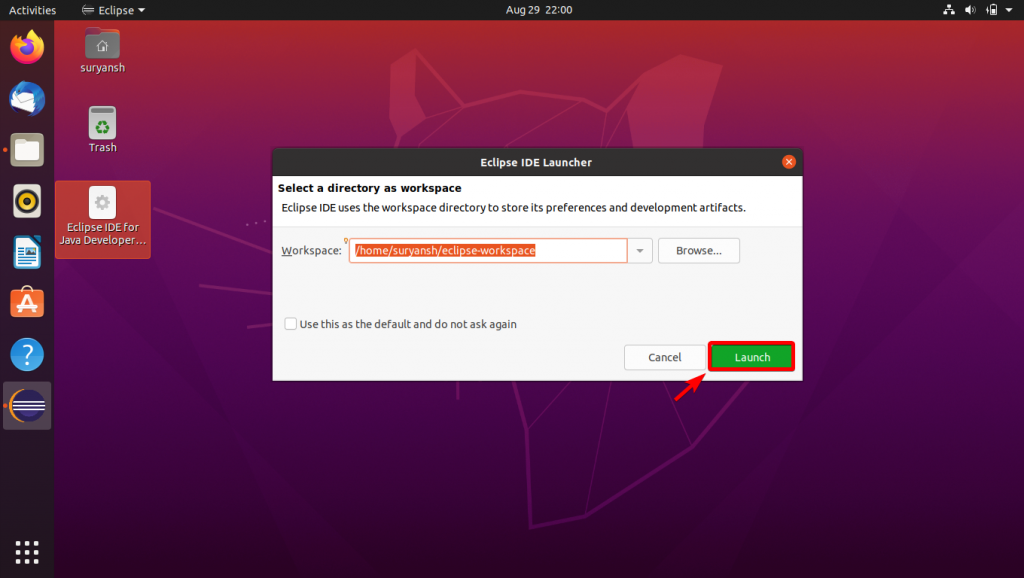
Now, click Launch to go with the default workspace.
Congratulations! We’ve successfully installed Eclipse IDE on Ubuntu.
Conclusion
Eclipse is a popular open-source integrated development environment for various programming languages.
Follow the steps given in the tutorial to install Eclipse IDE on your Ubuntu Desktop.
Thank you for reading! 😀