
Today, we will set up Eclipse IDE with the CDT package which will help us run, build and compile C and C++ programs. The EciplseIDE is most known for its Java IDE but other languages can be implemented with special packages. It is the second-most popular IDE for Java development.
Download and Install EclipseIDE
The prerequisite for downloading the Eclipse IDE is that you need to have Java installed on your system. To check whether you have Java installed, copy-paste the following code and press enter in the terminal:
java --version
If you have Java installed it should return some information. If however, you do not have Java installed proceed as follows. Open up the terminal and run the apt commands:
sudo apt update
sudo apt upgrade
If you do not have java installed you will get a return when running the “java –version” command, you can choose and install a version of java, in this tutorial we will install the latest version Java18:
sudo apt install openjdk-18-jre-headless
Once enter is pressed Java 18 will be installed onto your system. Once you have Java installed on your system go ahead and open up a browser and search for EclipseIDE, or alternatively go to this link.
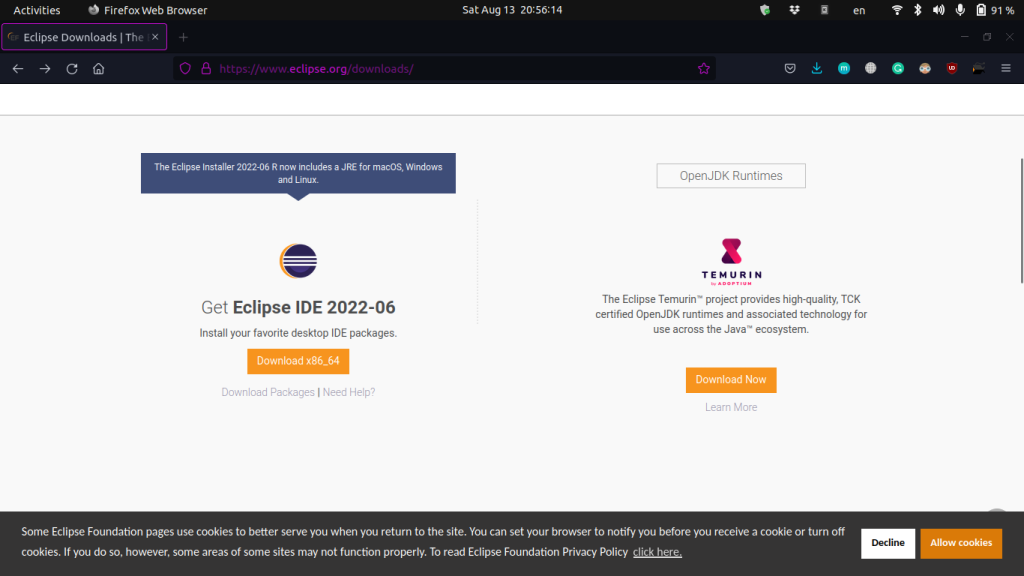
After visiting the link click on the yellow download button and you will reach the mirror link, again click on download. Now, wait for the download to finish.
When the download has finished we need to extract the contents of the tar.gz file we have downloaded. To do this, open up a terminal and cd into the folder that you have downloaded the file to, then use the tar command to extract the file:
tar -xvzf [filename].tar.gz
After the command has finished its job you will be able to see a new folder named “eclipse-installer”. Go to that folder and locate the “eclipse-inst” file, cd into the folder and run the following command to run that binary file:
./eclipse-inst
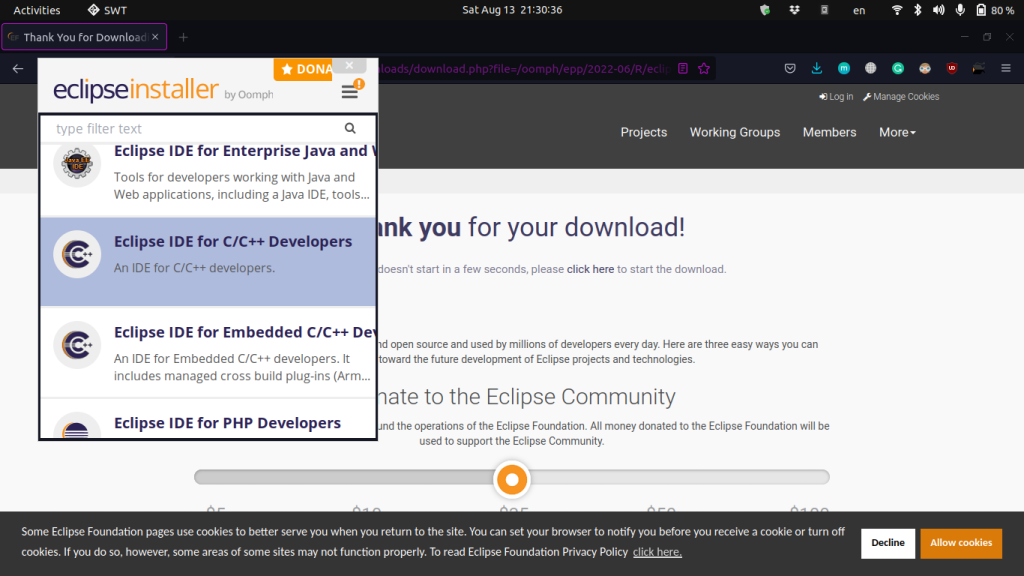
A new window will pop up and ask you to choose the type of IDE for Installation, since we want to code in C/C++, we will choose that option.
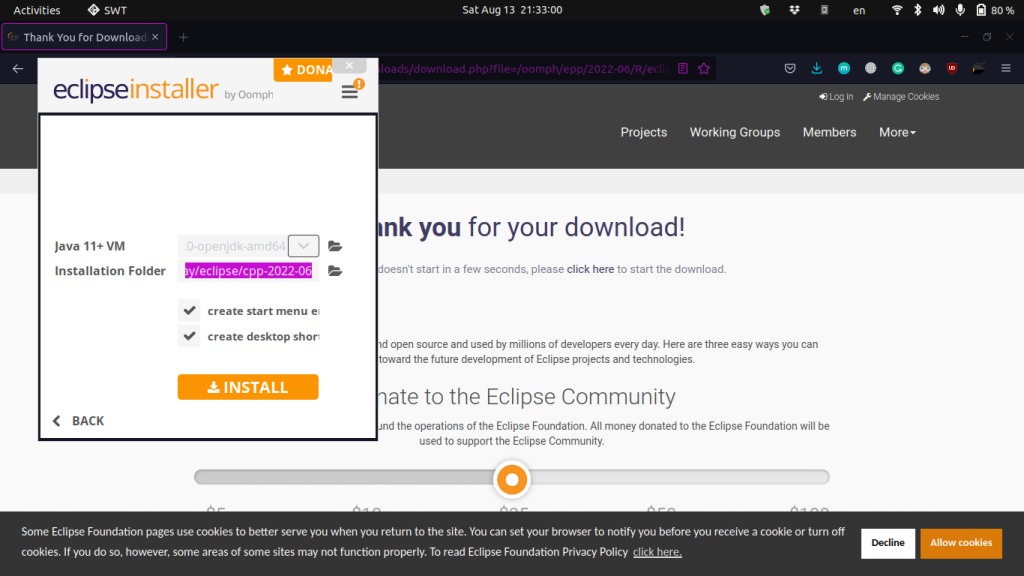
Next, the popup will ask you for the location which should be used for the installation. We will go with the default one and then accept the next pop-up.
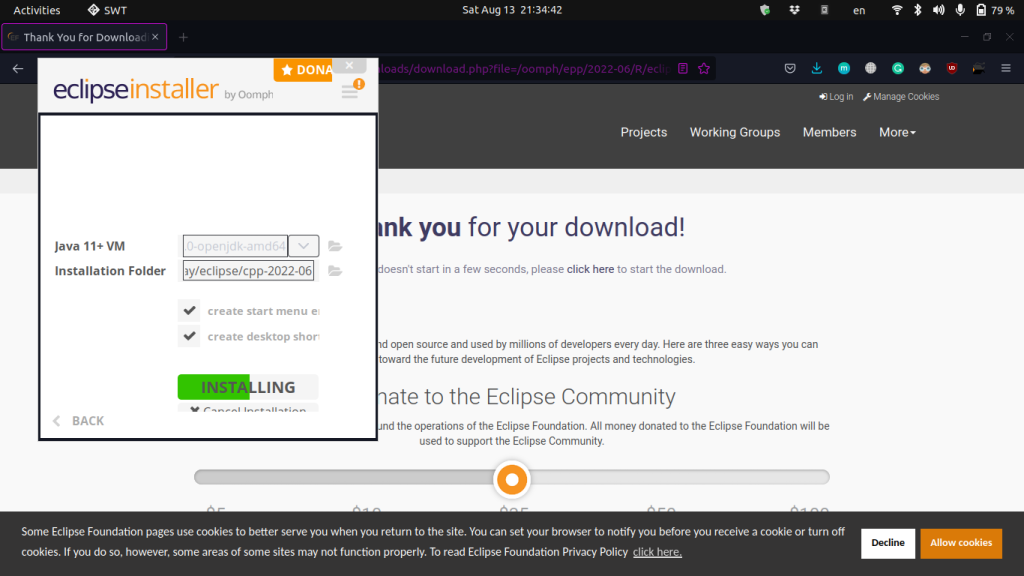
Now your installation should be progressing, time to wait again for a few minutes. Now launch the app.
Creating a C++ Program in the Eclipse IDE
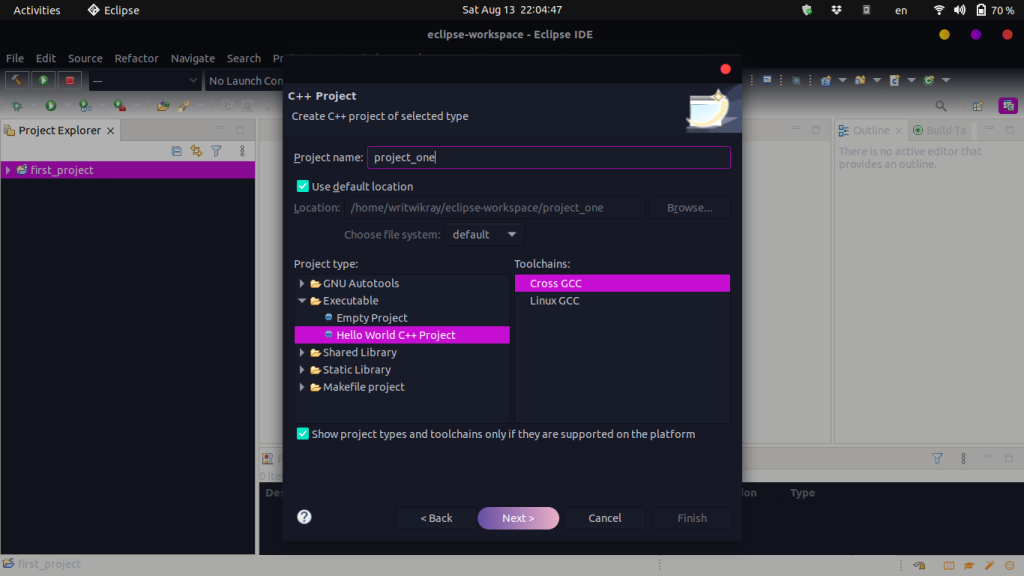
Go to File, then New, and finally Project. Choose the C/C++ category and click on C++ project and click on Next. Save the Project with any suitable name you like. Now choose the Hello World C++ Project and click again on Next.
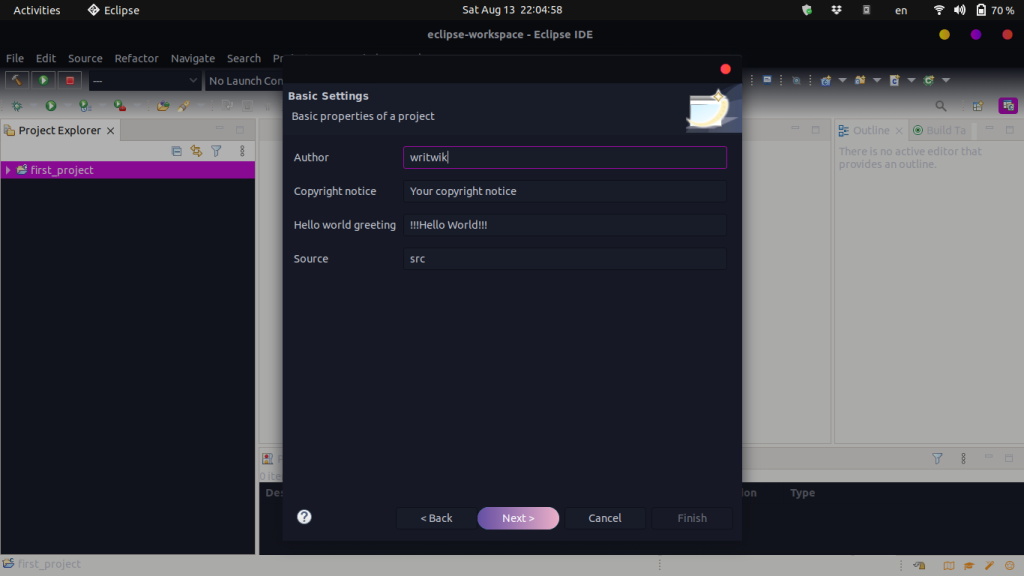
In the Next prompt if you want, you can give the author’s name here.
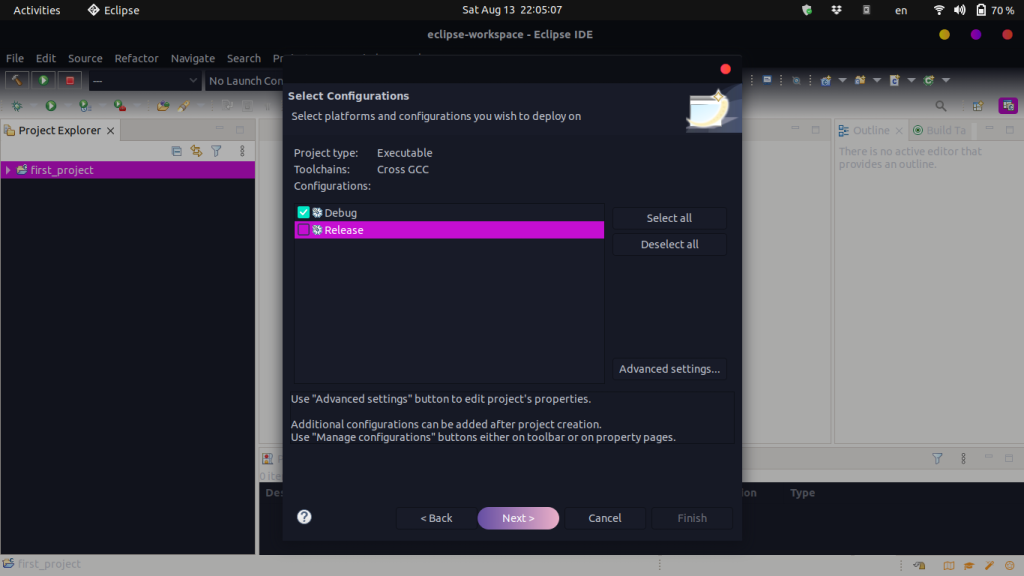
Now, untick the release option as we will only debug the program. Finally, in the next prompt click on Finish.
Great your first ever C++ Project is ready now! Go ahead and build the code and then run it to see it print Hello World!
Conclusion
We hope that you have found this article useful, gaining knowledge about the Eclipse IDE and how it can be used to code C/C++ programs! C is a language that can control hardware at a much more loser level even with its high-level syntax and code formatting.
C++ is an extension of the C language and both can be very powerful in creating applications as well as controlling robots, motors and other actuators.
The famous Arduino line of microcontrollers runs in C language. So, you can even build C code in Eclipse IDE and hence code several Arduino projects. Thanks for reading, and happy coding!