

VLC is the most popular and widely used media player on Linux distributions as well as in the Windows ecosystem. It supports a large number of media codecs, and therefore it can play pretty much whatever media file you want. It can already automate a lot of things for you without having to interact, such as automatic subtitle download, which we have already covered in detail.
But did you know that you can also capture your screen using this player? VLC has a built-in recorder feature that allows you to record whatever you are watching. VLC also has a feature to allows you to stream media, either from a Web URL or directly from your screen.
By combining these two functionalities, we can essentially use a VLC media player as a makeshift screen recorder, and in this tutorial, I will show you how to do it.
Want to use VLC Media Player for screen recording on Linux or Windows? Open VLC and go to ‘Media’ -> ‘Convert/Save’. In the dialog that appears, switch to the ‘Capture Device’ tab and select ‘Desktop’ from ‘Capture Mode’. Set the frame rate, and click ‘Convert/Save’. Choose your video profile, customize it, and specify an output location. Click ‘Start’ to begin recording. To stop, simply click the ‘Stop’ button in VLC.
Step-by-Step Guide to Screen Recording with VLC
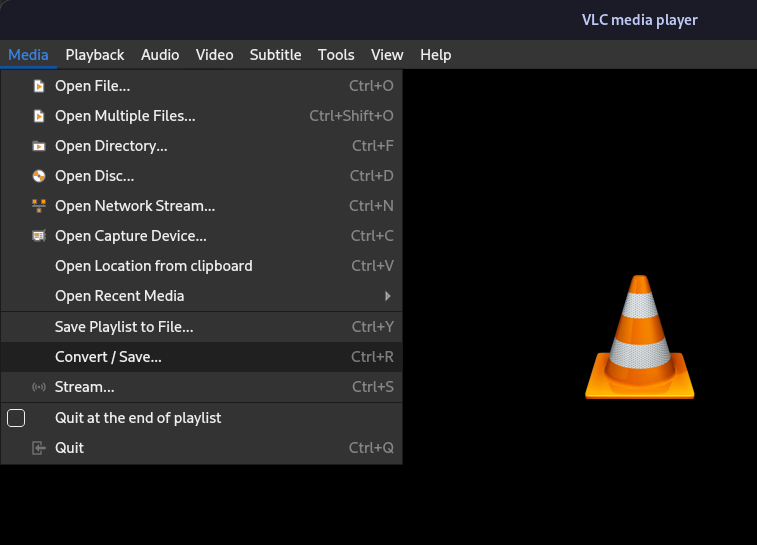
Open the VLC media player from your Application Grid/Menu and then from the ‘Media’ option present on the toolbar on the top, select and open the ‘Convert/Save’ option, or simply, press Ctrl+R on your keyboard
In the dialog box that appears, navigate to the ‘Capture Device’ tab. From the ‘Capture Mode’ dropdown, select ‘Desktop’.
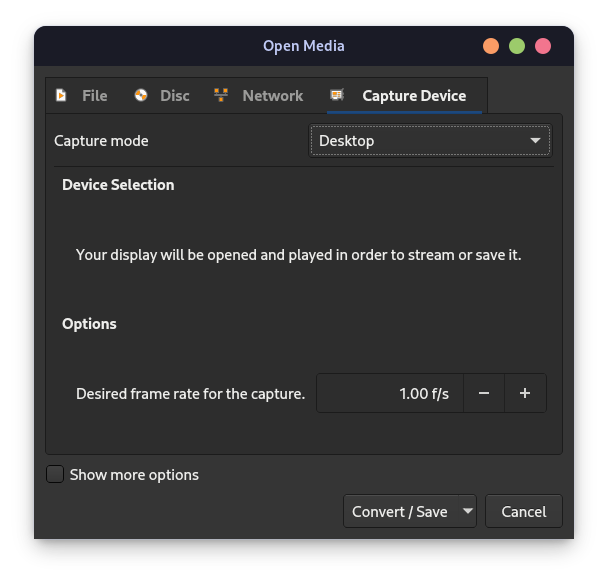
At the bottom, you will see that you can also specify the desired Frame Rate for the video capture, it is recommended that you keep it either 30 or 60fps depending upon your hardware. If you further want to customize other options such as caching and start and finish times, then you can also do that from here. Once you’re done, just click on the Convert/Save button.

Configuring Video Profile and Output Settings
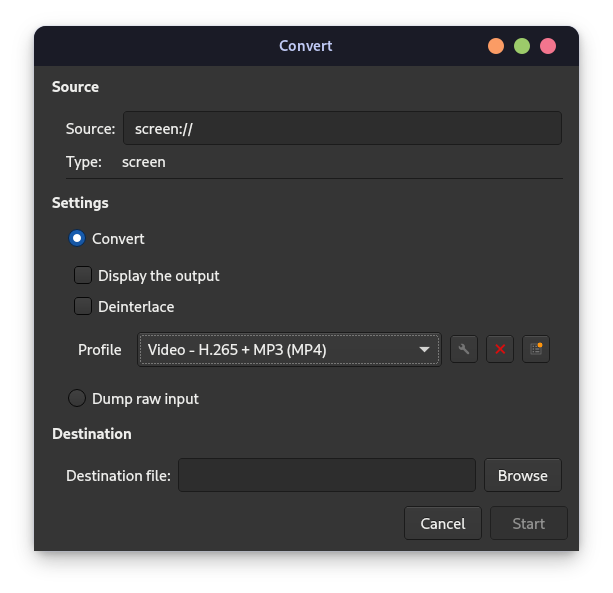
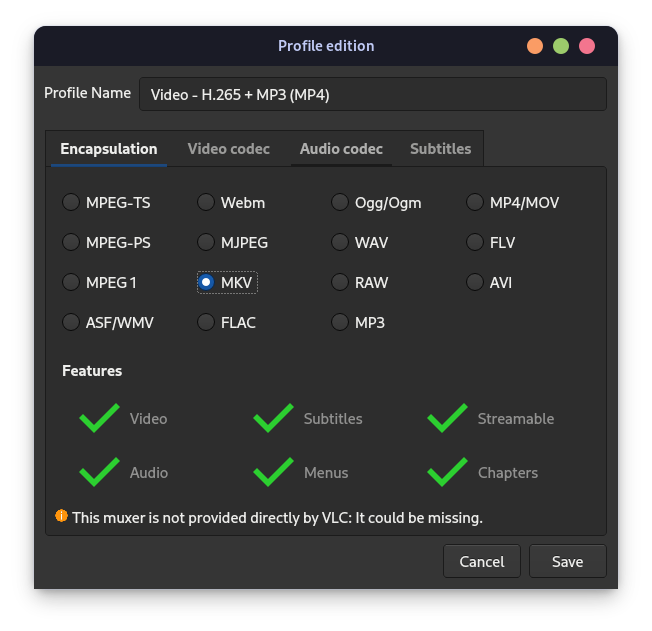
A new dialog box will appear, and it will ask you for the Video profile and the location where you want to save the video. Select the appropriate profile and codec in which you want to save the video, and then click on the ‘Configure’ icon beside it to further customize it.
From here, select the appropriate file format, video and audio codecs and then finally hit the save button.
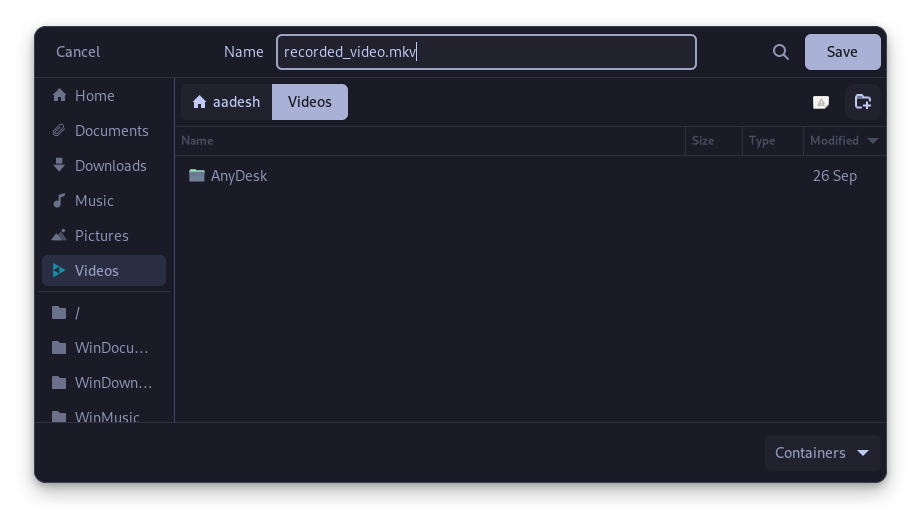
After customizing, save the profile. Next, specify the output location and filename for your video by clicking ‘Browse’.
Before hitting start, the dialog box should look something like this:
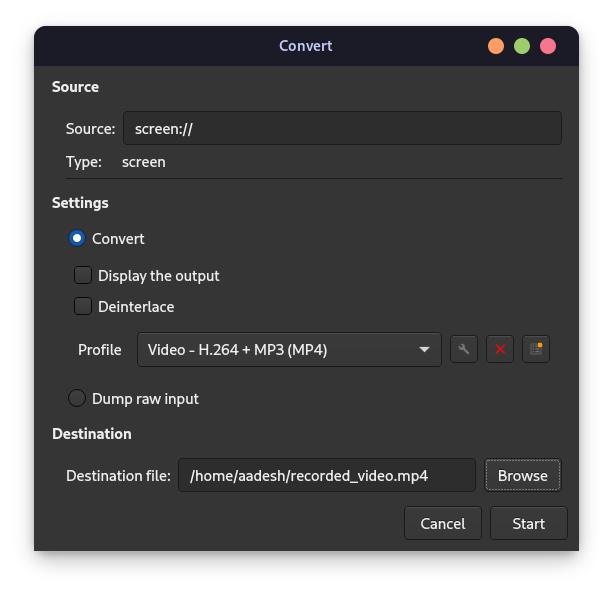
To stop the recording, you can click on the ‘Stop’ button present in the VLC media player, and the file will be saved at your desired location.
Wrapping Up
If you are in the Wayland session, it’s possible that the screen recording output from VLC player will be entirely black, so make sure that you verify the current session of your desktop if it’s running Wayland or X11. Since the GNOME desktop environment, have plans to drop X11 support entirely from the DE, it is therefore recommended that you use a screen recorder or even OBS Studio for recording purposes.
VLC is an extraordinary media player, and the libVLC Video framework backend allows anyone to take the backend and implement it in the software. Using this media player as a make-shift screen recorder, although works, is not recommended because it cannot record sound as well the mouse pointer, which are usually important if you are trying to demonstrate something.