A virtual private network (VPN) is a great way to keep your online activity private and secure. But if you want to take advantage of all the benefits of a VPN, you’ll need to set up your own server. Don’t worry – it’s not as difficult as it sounds. In this article, we’ll show you how to set up a VPN server on your Linux PC.
What is a VPN?
A VPN is a private network that uses a public network (usually the Internet) to connect remote sites or users together. The VPN allows users to send and receive data as if they were directly connected to the private network, making it a secure and convenient way to communicate over the internet.
There are many benefits of using a VPN, including increased security and privacy, as well as the ability to bypass geo-restrictions. Here are a few Linux VPN companies for you to check out.
- Surfshark
- Mullvad
- VyprVPN
- ExpressVPN
- IPVanish
If you’re looking to set up your own VPN server, here’s how you can do it on a Linux PC.
How to Setup Surfshark VPN on Linux – Step-By-Step
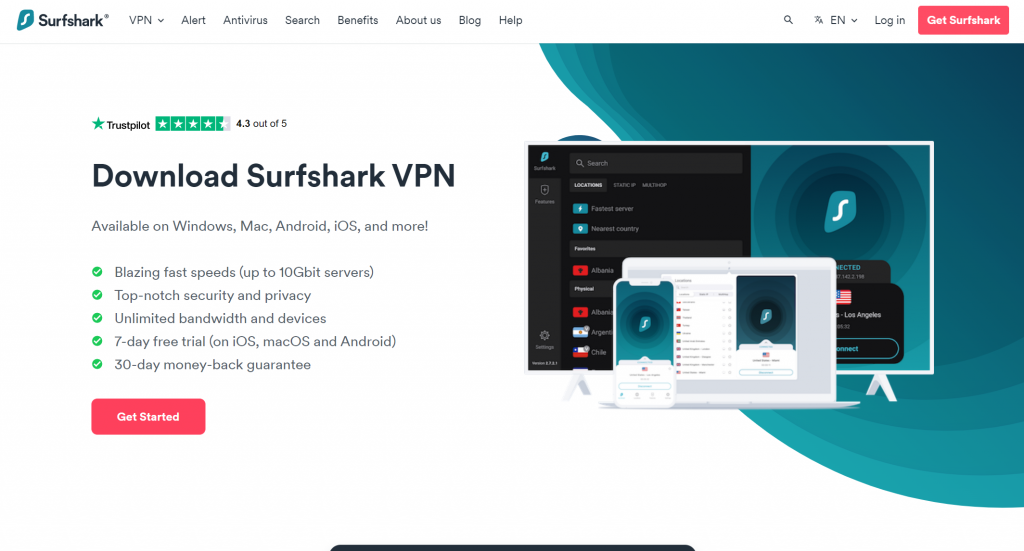
Surfshark is one of the few VPN providers that offer a native app for Linux. In this guide, we’ll show you how to set up a Surfshark VPN on your Linux PC in just a few minutes.
Step 1 – Sign up for Surfshark

The first step is to sign up for a Surfshark account. You can do this by visiting the Surfshark website and clicking on the “Get Surfshark VPN” tab. Once you’re on the pricing page, select the plan that you want and enter your email address. Then, click on the “Start Now” button.
On the next page, you’ll be asked to enter your payment information. Surfshark accepts all major credit cards and PayPal.
Once you’ve entered your payment information, click on the “Start My Subscription” button. You should now see a confirmation message that says “Your account has been created.” Click on the “Continue” button to proceed.
Step 2 – Download and install the Surfshark app

Now that you’ve created a Surfshark account, it’s time to download and install the Surfshark app. To do this, visit the Surfshark website and click on the “My Account” tab. On the “My Account” page, scroll down to the “Download Surfshark” section and click on the “Linux” button.
A pop-up window will appear asking you if you want to open or save the file. Click on the “Save File” button. The Surfshark app will now download to your computer.
Step 3 – Launch the Surfshark app
Once the download is complete, open the file and install the app. Once you’ve installed the Surfshark app, launch it by clicking on the “Surfshark” icon in your applications menu.
When the app opens, you’ll be asked to enter your Surfshark login credentials. Enter the email address and password that you used when you created your account. Then, click on the “Login” button.
Step 4 – Connect to a Surfshark server
Now that you’re logged in, it’s time to connect to a Surfshark server. To do this, click on the “Connect” button in the main window of the app. A list of Surfshark servers will appear. Select the server that you want to connect to and click on the “Connect” button. Once you’re connected, you’ll see a message that says “You are now protected by Surfshark.”
You can now browse the web safely and securely. If you need to disconnect from the Surfshark server, simply click on the “Disconnect” button in the app.
Step 5 – Configure Surfshark settings [Optional]
Surfshark offers a number of different settings that you can configure. To access these settings, click on the “Settings” button in the main window of the app.
On the “Settings” page, you can change things like your VPN protocol, DNS settings, and more. Make any changes that you want and then click on the “Save” button.
And that’s it! You’ve now successfully set up a Surfshark VPN on your Linux PC.
Conclusion
Surfshark is one of the few VPN providers that offer a native app for Linux. In this guide, we’ve shown you how to set up a Surfshark VPN on your Linux PC in just a few minutes. With Surfshark, you can browse the web safely and securely.
We hope this guide will be helpful for you. If you have any questions, feel free to leave a comment below.
Thank you for reading!
