
When you care about security, it is necessary to password protect files in Linux. In this module, we’ll learn how to use the GnuPG command to password protect files for improved privacy and security.
What is GnuPG?
GnuPG , aka The GNU Privacy Guard, is a set of programs for public key encryption and digital signatures. It is a complete and free implementation of the OpenPGP standard as defined by PGP. GnuPG allows you to encrypt and sign your data and communications; it features a versatile key management system, along with access modules for all kinds of public key directories. GnuPG, also known as GPG, is a command line tool with features for easy integration with other applications.
Installing GnuPG to Password Protect Files
You can install GnuPG using your distro’s package manager. For example to install GnuPG on Debian/Ubuntu, you can type in the apt command:
$ sudo apt-get install gnupg
Once we have GnuPG installed, we can move onto the next step.
Steps to Password Protect Files in Linux With GnuPG
In order to protect our files, we need to encrypt them with a password. For this we would use gpg, which is the OpenPGP part of the GNU Privacy Guard (GnuPG).
First lets’s create a random text file for demonstration purposes with the echo command:
$ echo "This Is A Test File" > test.txt
Now we can encrypt our file with a symmetric cipher using a passphrase. The syntax to do the same is:
$ gpg -c [FILE]
For example, with respect to our example it would translate to:
$ gpg -c ./test.txt
The default symmetric cipher used is AES-128, but it can be chosen with the –cipher-algo option like such:
$ gpg -c --cipher-algo [ALGORITHM] [FILE]
For example, to encrypt our file with AES-256 cipher with our text file, we can use the following:
$ gpg -c --cipher-algo AES256 ./test.txt
This should give you a prompt asking for your passphrase as such:
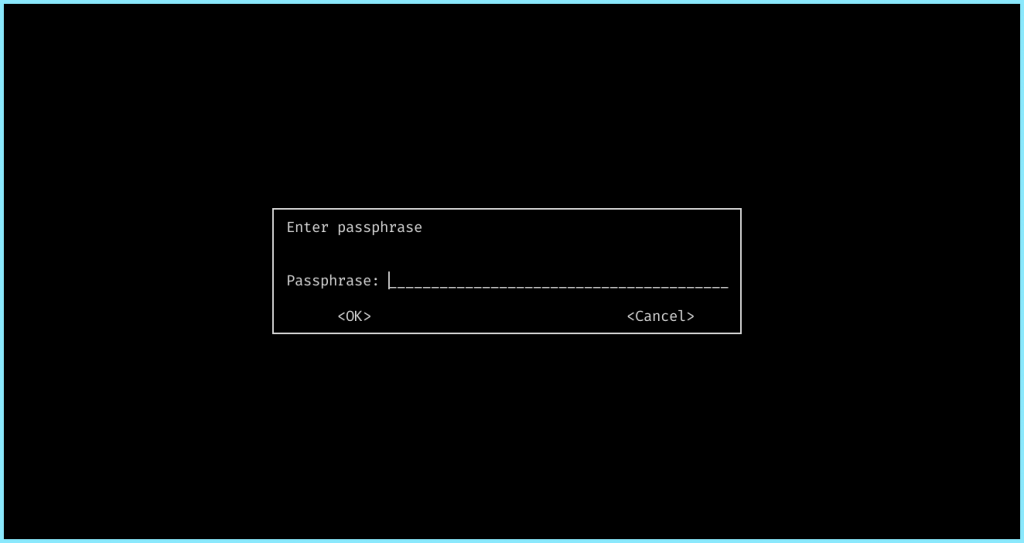
Once you have entered your password, you’ll be asked to re-enter the same for verification. Once done, you’ll find a file with the “.gpg” extension
$ ls
test.txt test.txt.gpg
If you try to print out the contents of this file, all you’ll get is gibberish
$ cat test.txt.gpg
	w"+P7M}n?,@uh\_"R8n0ւ@U) F@όrF=|n{}yo$
Thus, we have successfully encrypted our file!
Decrypting GPG Password Protected Files
Before we proceed, we’ll delete the original file we created for demonstration, keeping only the encrypted file.
$ rm test.txt
$ ls
test.txt.gpg
So now we only have our previously encrypted file which we shall now decrypt!
The syntax for decrypting a file is as simple as:
$ gpg [FILE]
This should again ask you for a passphrase like before upon entering which we should have our original file back. In our case, the command would look like:
$ gpg test.txt.gpg
gpg: WARNING: no command supplied.  Trying to guess what you mean ...
gpg: AES256.CFB encrypted data
gpg: encrypted with 1 passphrase
$ ls
test.txt  test.txt.gpg
As we can see, gpg auto-detects the encryption type. Once you submit a successful password, you will get your original file back!
You can view the contents of the file!
$ cat test.txt
This Is A Test File
Thus we got our original file back!
Conclusion
Thus in this way, we can encrypt important files. This includes any sort of sensitive information you might want to send securely as well ! GnuPG is one of the most trusted tools in this field. GnuPG is one of the tools that Snowden used to uncover the secrets of the NSA ! So one can safely say that this can be trusted