

Building a node.js app is easy. So today, let’s learn to build a node.js app in Docker. Now, Docker is one of the most popular container management tools out there. These containers package up everything that you need for a software project to run including code, all the dependencies, runtime environment, and all the underlying system tools and libraries. It has made the jobs of both DevOps engineers and developers easier over the years.
In this tutorial we will be creating a docker image of the container which will be then running our app.
Steps to Build a Node.js App in Docker.
You can check these quick tutorial on how to install Node.js and Docker if you have not installed them yet.
1. Check if you have the required packages
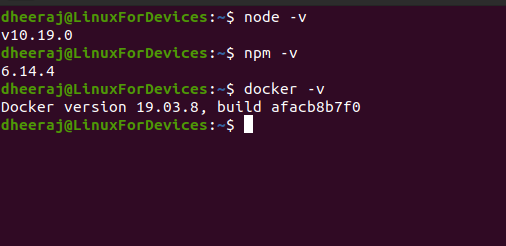
To check if you have already installed Node.js and Docker run the following commands in your terminal:
node -v
npm -v
docker -v
2. Write the Code for the Node.js App
I will be running a simple “Hello World” app on docker. However, if your app is complex, don’t worry as the steps will remain the same. So here we have our package.json file for our project:
{
  "name": "node_app",
  "version": "1.0.0",
  "description": "Node.js app on Docker",
  "author": "LinuxForDevices",
  "main": "app.js",
  "scripts": {
	"start": "node app.js"
  },
  "license": "LFD"
}
A package.json file should have all the necessary details about your node app including project name, author, dependency details etc. You can read more about package.json file at npm documentation. And our node app.js will be having this code:
const http = require('http');

const hostname = '127.0.0.1';
const port = 3000;

const server = http.createServer((req, res) => {
  res.statusCode = 200;
  res.setHeader('Content-Type', 'text/plain');
  res.end('Welcome to LinuxForDevices');
});

server.listen(port, hostname, () => {
  console.log(`Server running at http://${hostname}:${port}/`);
});
Alright! Let’s get started!
3. Creating a Docker Image
A Docker image can be considered as a blueprint of a container. A docker image has all the essential details like the base image, environment details including the executable code and all its dependencies. And when you build and run this image, it becomes a container.
Setting up the Dockerfile
In order to build a docker image, we have to create a file called the “Dockerfile”. This file will have all the essential details of a docker image. So to create this file, simply create a file using the touch command in your project directory:
touch Dockerfile
Editing the Dockefile
We will be editing this file now, so open this file with any text editor. We will add a series of instructions in this file which will be executed whenever we build the image.
The first instructions that we have to put in this file are the details of the base image. A base image is an image on which your container image extends on. A base image would help to set the environment you want for your project, for instance, it could be a Debian or a Centos image. There are plenty of docker images available on the Docker website which you can search here.
There is an official node image which makes our job a lot easier. To include the latest node image as your base image add in the following line in your Dockerfile:
FROM node:latest
Also note that there a multiple variant of the node images that you can choose from. They could vary on the node version or the underlying OS which it is built on, selecting them would depend on your project needs. For simplicity, we will be using the latest tag to pull the latest node image.
At the end, your docker file should look like this:
FROM node:latest

# Alright now the next instruction we will be adding will create a directory for our project.
RUN mkdir -p /app/src

# Now we have to set this directory as our working directory:
WORKDIR /app/src

# Copy the file package.json to the working directory with the following command:
COPY package.json .

# After this we have to run npm install so that we can set up our node environment:
RUN npm install

# Copy the source code inside your working directory to the docker image by running:
COPY . .

# The app that I am running uses the port 3000, we will be using EXPOSE instruction so that it can be mapped by the docker daemon:
EXPOSE 3000

# And then the final command to start our project with npm start:
CMD ["npm","start"]
Note that there are various instructions that you can put in your Dockerfile which will give you more control over your docker image, you can read more them about them in the Dockerfile reference. We are almost through now. All we have to do is now build and run the docker image.
4. Building and running the Image
We have our Dockerfile ready, all we have to do is now build our docker image. While building we will also be adding a tag that will help us find the docker image later on. Open up a terminal, go to your project directory and run the following command:
docker build . -t nodeapp
And you should be seeing something like this:
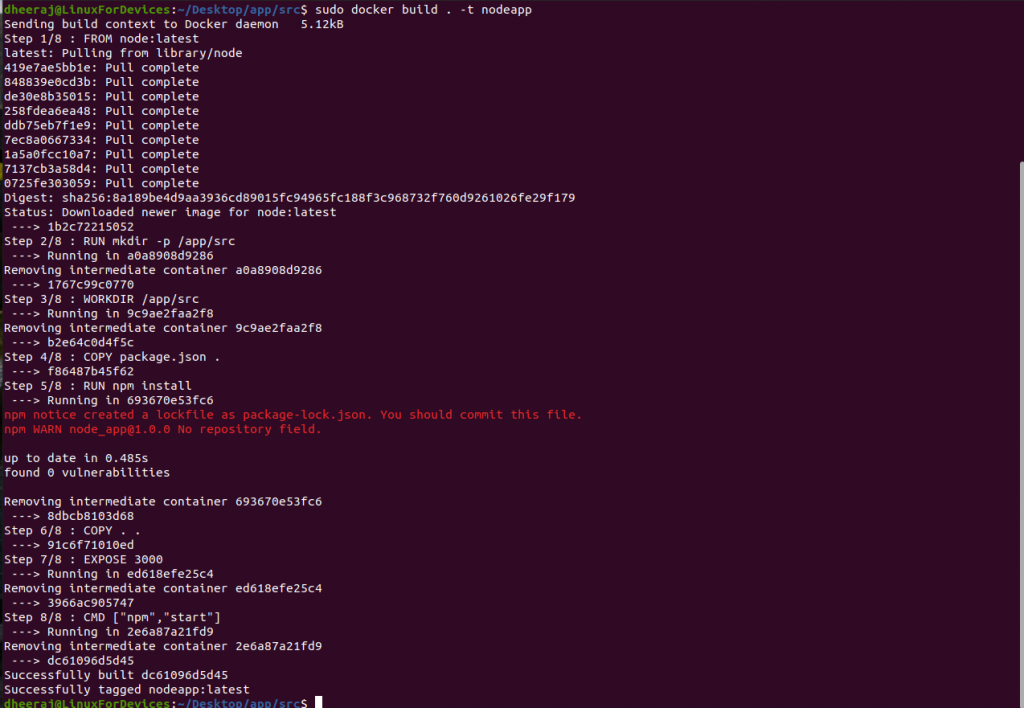
And our image is ready! You can check the image by running:
docker images

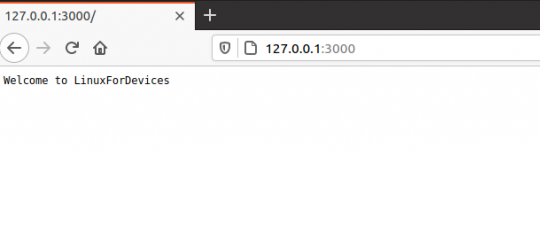
And to run our image, use the docker run command with your image name. Here we will be using the p tag to map the ports that we are using outside the docker container to that of inside the container.
docker run -p 3000:3000 nodeapp
And our container is up and running. And in the container we have our little app running.
And we are all set! Soon you might be running multiple containers. To check all the containers you are running, you can run:
docker ps
And to stop a container running:
docker stop <container-name>
Conclusion
We learned how to build a node.js app in docker. In the process we learned about Docker container, images and how to create a Dockerfile. I hope you got out something useful from this tutorial.
Cheers!