
In this tutorial, we’ll look at how we can install Node.JS on Ubuntu 18.04 machine, in just a few steps! Node.JS is one of the most popular Javascript frameworks used in web development – whether it be front end or back end; this provides the complete package, and is the most used Javascript library today.
There are multiple ways by which we can install this library. We’ll take a look at some of them here
Option 1: Install Node.JS on Ubuntu via APT
We can use Ubuntu’s apt package manager to install Node.JS on Ubuntu. This process will install a stable and tested version.
To do that, let’s first update our system.
sudo apt update
sudo apt upgrade
Now, the package name is nodejs. We’ll again fetch it using apt. Keep in mind, though, that this may not be the most recent NodeJS version.
sudo apt install nodejs
In case you want to work with more features of NodeJS, and use other external packages, you may also require the npm (Node Package Manager). Fortunately, this is also available in our system repositories.
sudo apt install npm
Now, we can use other modules as well, along with our vanilla version of nodejs.
NOTE: In Ubuntu, there is already another package called node, which is different from the nodejs package (we’ll look into that in the coming section). Therefore, in some other systems, the package name may be called node, instead of nodejs. But in Ubuntu, it is nodejs only.
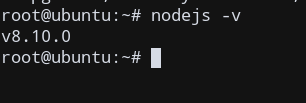
Now, let’s check if our installation went correctly. Let’s try checking the version of our newly installed nodejs library.
nodejs -v
Now, you’re ready to start working on your Javascript application!
But, if you are looking to use the latest version of nodejs, keep reading. We’ll show you this in the coming section.
Option 2 (Recommended): Install a custom version using nvm
If you want to use another version (latest version) of NodeJS, it’s better to use another package called nvm(Node Version Manager).
This not only has the advantage of installing a custom version but can also have multiple versions of NodeJS on the same system! You can simply switch between versions, depending on your use case. Let’s now install nvm first, and then configure versions of NodeJS to install node.js on ubuntu.
Install nvm
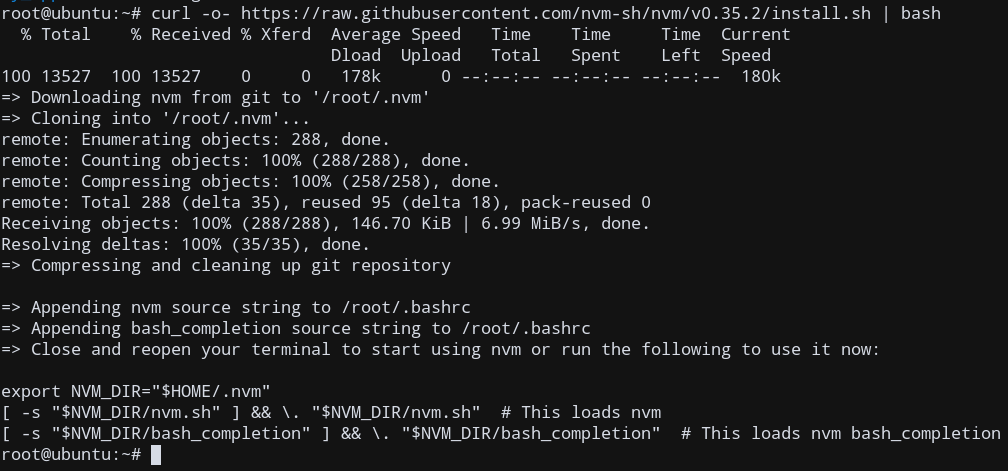
You can get nvm from it’s Github page. It provides an installation script, which we can directly fetch using curl.
curl -o- https://raw.githubusercontent.com/nvm-sh/nvm/v0.35.2/install.sh | bash
We simply fetch it from GitHub, and run the install script, called install.sh, using bash.
To use the nvm functionality, we need to source the ~/.profile file, so that our current session gets updated about the changes. Otherwise, simply logout and login again, to use nvm.
source ~/.profile
Now, to check if the nvm package was installed correctly, we’ll check it’s version. Since we downloaded the 0.35.2 version from the script, it must match with our system’s nvm version also.
nvm --version

Configure and install a custom Node JS version on Ubuntu
With npm, we can easily configure and choose any version of NodeJS that we want, and install/remove it accordingly.
To look at the available versions of NodeJS that we can download, type:
nvm ls-remote
You’ll get a long list of versions available for download. Choose any suitable version that you wish from the list.
To install the required version, just type:
nvm install NODE_JS_VERSION
For, example, to get version 13.9.0, type:
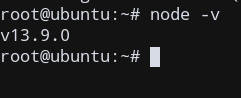
nvm install 13.9.0

This is the most recent version, at the time of writing, and we have just installed it!
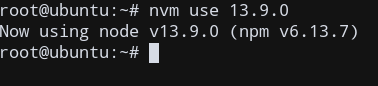
Switch between Node.JS versions
Again, as we mentioned earlier, nvm has the flexibility to easily change between the currently used version of Node.JS.
Simply type:
nvm use VERSION_NO
nvm will switch to that version number.
nvm use 13.9.0
Now, there is a key difference between the Node.JS installed using nvm and using apt.
The executable, in this case, is called node, since it doesn’t use any system repository. This is the recommended method for installing Node.JS since you can easily switch between versions.
To list all installed versions of node, type:
nvm ls
And if you want to use a specific version as a default version, just type:
nvm alias default VERSION_NO
Now, you’re good to go and start running your Node.JS application!
Conclusion
In this article, we learned how to install Node.JS on Ubuntu 18.04 system, using both the apt repository, as well as through nvm, which is the recommended way to install Node.JS.