
LibreOffice Suite (along with OnlyOffice) is one of the most popular Office suite applications on Linux desktops. However, its interface is totally new for users who want to shift from Microsoft Office because all the Menu items are arranged in a different manner unlike OnlyOffice which at least tries to look more like Microsoft Office and make itself less difficult to use candidate for people exiting Microsoft’s environment.
The file formats used by LibreOffice (ODT for text, ODP for presentations, etc.) are not compatible with Microsoft Office, making it difficult to share important documents with people who use Windows or MS Office. But this issue is caused by Microsoft not supporting the standard OpenDocument Format, not by the LibreOffice developers.
In this tutorial, we will take a look at some of the tweaks you can apply to make the documents saved by this open source office suite more compatible with Microsoft Office.
Also Read: How to Apply Dark Theme in LibreOffice
Enable Tabbed Ribbon Interface in LibreOffice
Launch any of the application from LibreOffice suite, for demonstration purposes, I’m going with ‘Calc’, and then click on ‘View’ from the top menu and then select ‘User Interface’ option.

Now, simply select ‘Tabbed’ and then click on ‘Apply to All’ option and then close the dialog box.
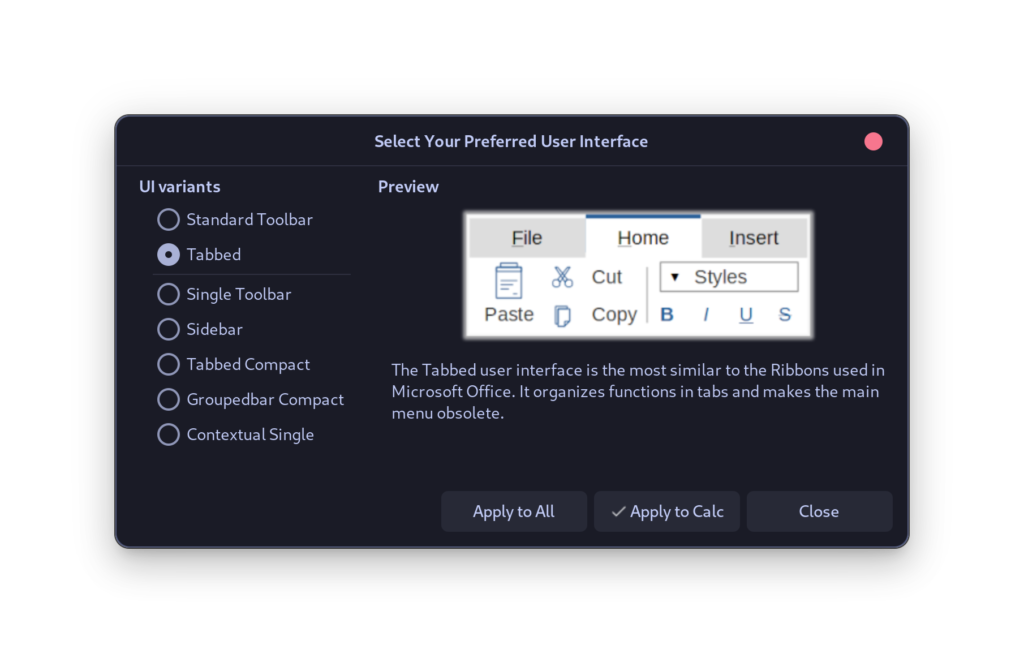
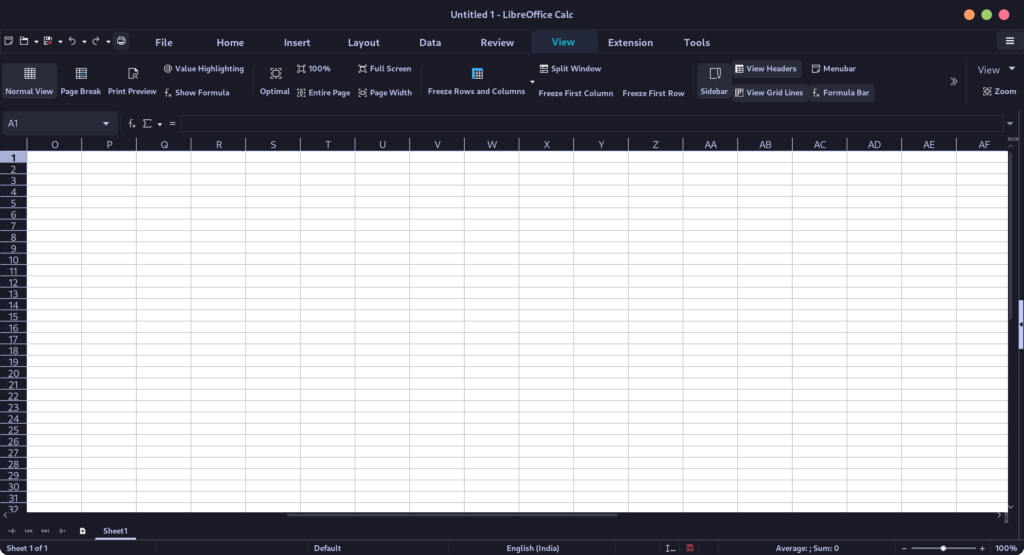
Now, you will see that the Interface of all the applications look more familiar to MS Office suite.
Changing Icons in LibreOffice
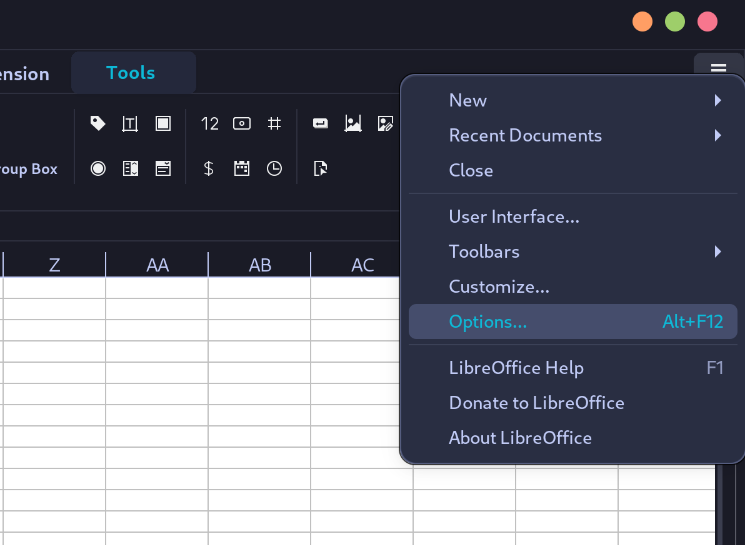
It is possible that if you are using a Dark Mode, then all the icons might look simple Black and White or Dark icons with a Dark background, which sometimes could work, but if you are trying to make the suite more like MS Office, you might want to change the Icons as well. To do that, click on the ‘Main Menu’ from the top right hamburger icon and then select ‘Options’. You can also press Alt+F12 on your keyboard to open this dialog box.
Go to the view section and then from the Theme dropdown menu, select ‘Colibre’ or ‘Colibre Dark’ themes depending upon whether you use Dark or Light mode and hit apply. The ‘Sukapura’ theme is also very similar to Microsoft’s theme.
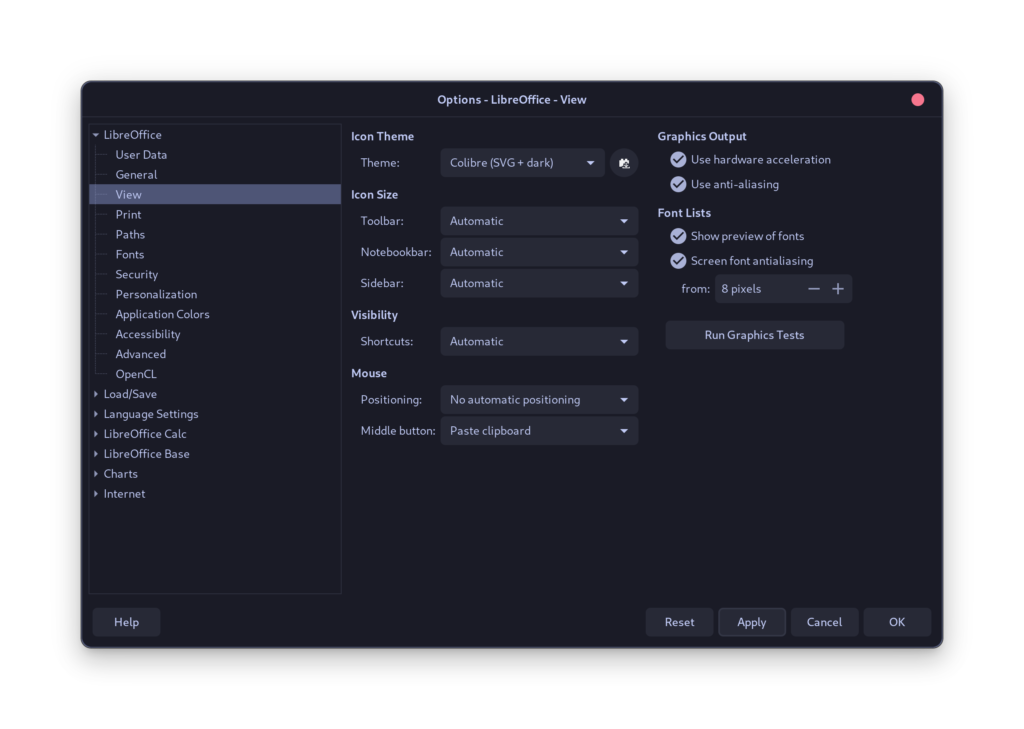
This theme will be applied on all the LibreOffice Applications. Note that you should select the SVG variants of the theme if your desktop uses fractional scaling so that it does not look blurry on your Monitor.
Reorder the Icons to better match Microsoft Office
If you do not like the current layout and want to reorder them, you can also do that in LibreOffice. From the Main Menu, select ‘customize’ and then click on the ‘Notebookbar’ tab.
Note that this process can be cumbersome if you really want to change everything. However, you can always reset everything if you feel like you have messed things up.
Installing Microsoft’s Fonts in LibreOffice
You can also install the Microsoft’s fonts on your system if you want to have more compatibility with MS Office suite. You can install the fonts by typing the following commands:
# On Ubuntu and Ubuntu based distributions:
sudo apt update && sudo apt install ttf-mscorefonts-installer

# On Arch Linux based distributions:
yay -S ttf-ms-win10-auto

# On Fedora Workstation:
sudo dnf install curl cabextract xorg-x11-font-utils fontconfig -y
sudo rpm -i https://downloads.sourceforge.net/project/mscorefonts2/rpms/msttcore-fonts-installer-2.6-1.noarch.rpm
Once the fonts are installed, it will be automatically detected by all the LibreOffice Applications.
Change the Default Save formats
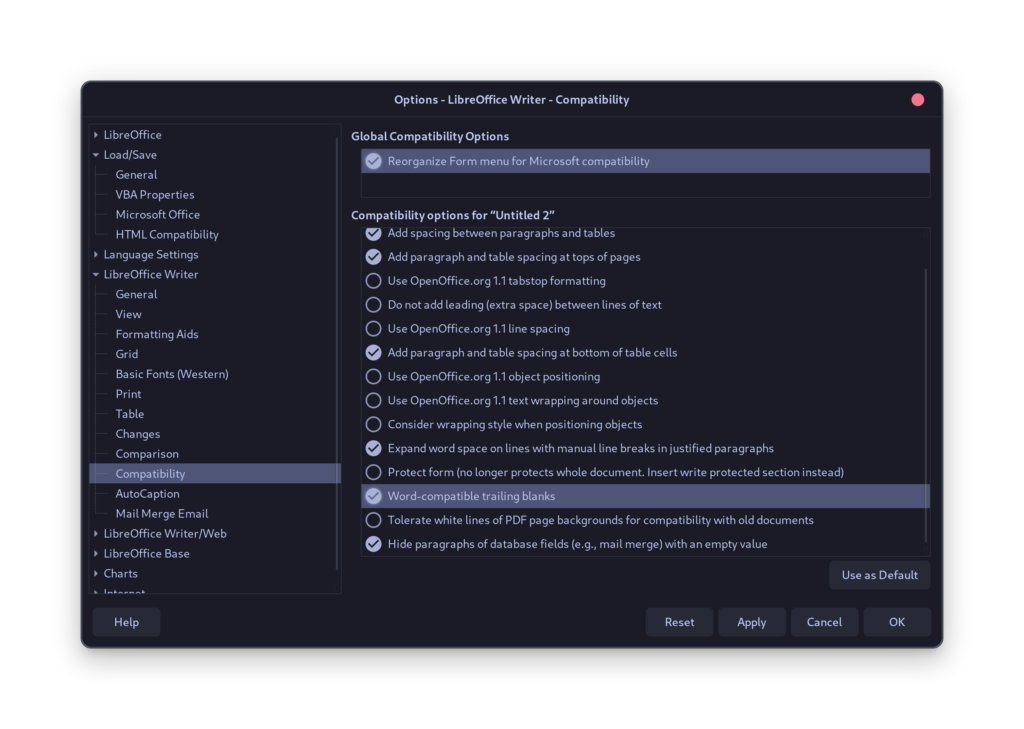
Finally, you can also change the default format in which LibreOffice saves your documents. Go to Main Menu, and then click on Options. Go to the ‘Load/Save’ menu and then select ‘Microsoft Office’.
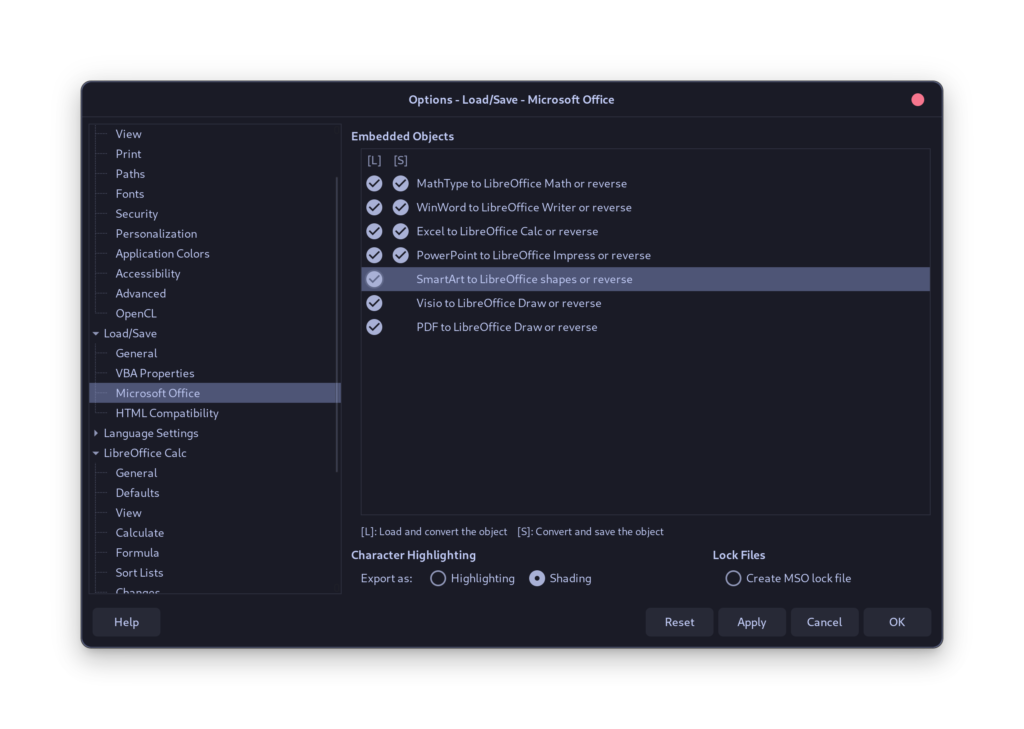
Now, select all the checkboxes and hit apply. Open the same Menu from LibreOffice Writer, by clicking ‘Main Menu’ and then ‘Options’ and from the Writer compatibility tab, enable two options named ‘Reorganize form menu for Microsoft Compatibility’ and ‘Word-compatible trailing blanks’ and hit apply.
Now, go to the general Tab in this Dialog Box and then one by one, select ‘Document Type’ and change the ‘Always Save as’ option to 2007-365 DOCX or XLXX depending upon the Document type.
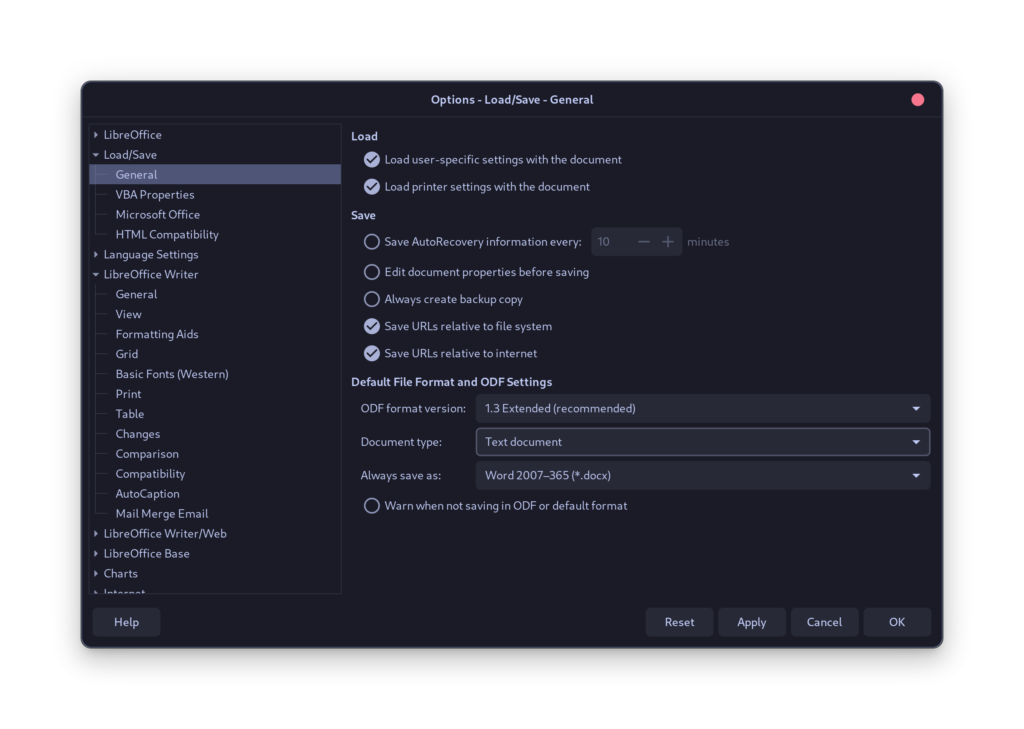
You can also disable the warning while you save in these formats by clicking on the checkbox saying ‘Warn me not saving in ODF or default format’.
Summary
LibreOffice, being open source, offers a lot of customizations and features which you will not find in many of the office suites. The ones which we have discussed above are just a few of the many changes it allows you to do. It also supports extensions, which you can add by visiting their website to further enhance your experience. Do let us know in the comments if you find the above-mentioned changes useful in your daily life.