

Android Studio is the official Google IDE used for android development. It is packed with features such as emulation support, Firebase integration, live changes, drag-and-drop app layout editors, and much more. This has led it to be a staple in the app development field.
Features of Android Studio
- Intuitive UI Design: Android Studio has a user-friendly interface that makes it easy for Linux users to develop Android apps.
- Code Editor: It has a powerful code editor with code completion, error highlighting, and refactoring support.
- Debugging and Profiling Tools: Android Studio provides advanced debugging and profiling tools to help Linux users identify and resolve issues in their apps.
- Gradle-based Build System: It uses the Gradle build system, which makes it easier to manage dependencies and automate tasks.
- Emulator: Android Studio includes an emulator that allows Linux users to test their apps on various Android devices and configurations.
- Source Control Integration: It supports integration with popular source control systems like Git, which helps Linux users collaborate with their team.
- Support for Kotlin and Java: Android Studio supports both Kotlin and Java programming languages, giving Linux users the flexibility to choose the language that suits their needs.
In this article, we will learn how to install and setup Android Studio on Linux, so you can get started with your app development journey.
Installation on Linux:
There are multiple ways of installing Android Studio on Linux. In the tutorial, we will go through all of them.
Download Android Studio Tarball
Regardless of the Linux distribution you are using, you can follow these steps:
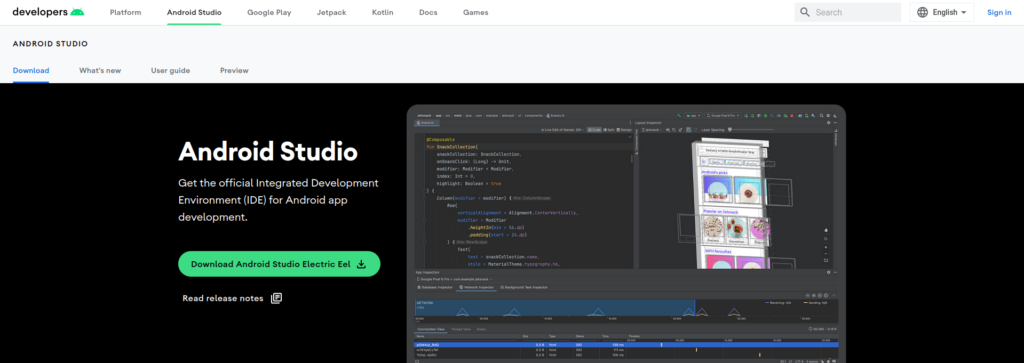
Step 1 : Go to the Downloads page and download the latest version of Android Studio tar.gz file.
Step 2 : Extract the tarball using the tar command. For example, if the name of the archive tarball is android-studio-2022.1.1.19-linux.tar.gz the command should be :
tar -xvzf /path/to/tarball/android-studio-2022.1.1.19-linux.tar.gz

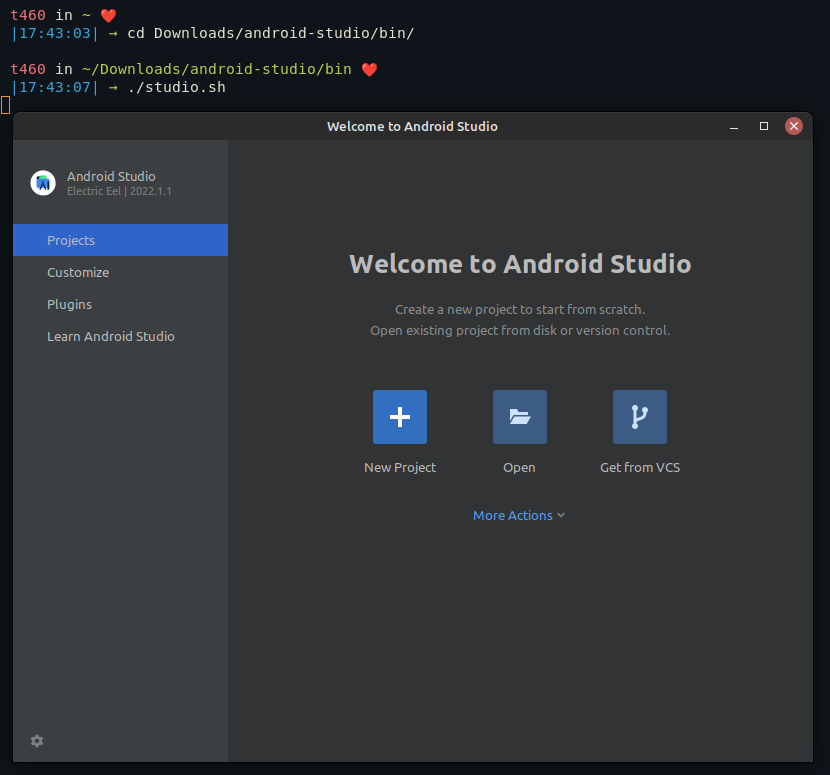
Step 3: To start Android Studio, navigate to the extracted directory (it should be named android-studio), go to the bin, and execute ./studio.sh like, shown below. It will also install the recommended android SDK along with the application.
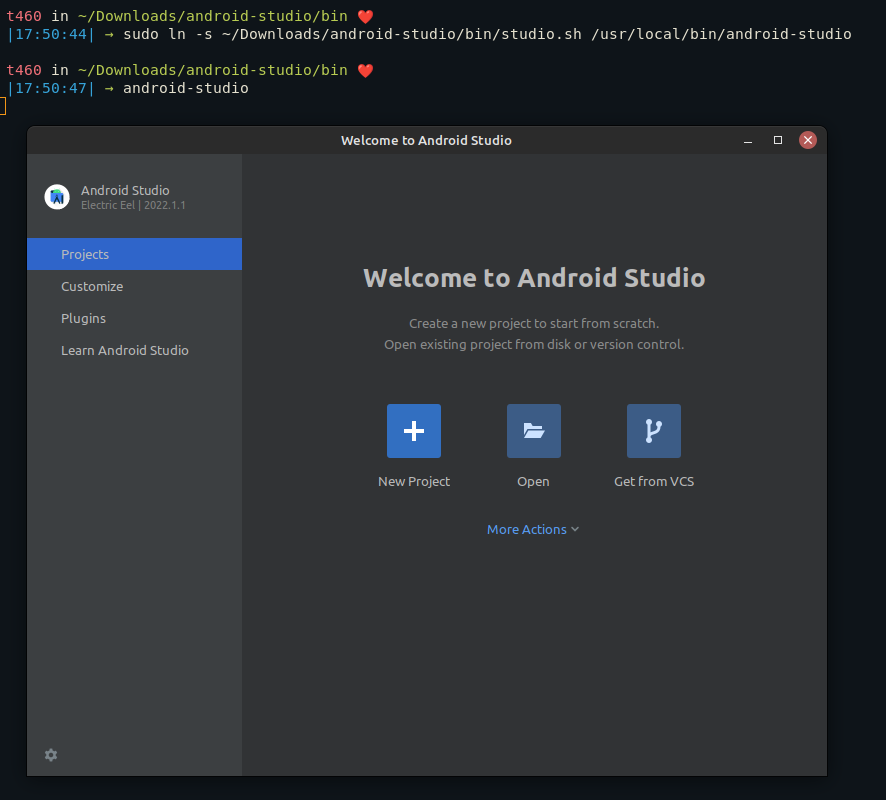
Step 4 (Optional but recommended): Navigating to the directory every time you want to work with Android Studio might be a hassle. Instead, you can link the Android Studio binary (the ./studio.sh file) in the local binary directory (/usr/local/bin). To do that, execute the following command.
sudo ln -s /path/to/extracted/directory/bin/studio.sh /usr/local/bin/android-studio
Explanation : All the binaries that are in /usr/local/bin directory can be executed from anywhere in the system. For that reason, we are making a binary named android-studio in /usr/local/bin and adding a soft link to the original studio.sh file. Now you can just type android-studio in the terminal, and it will start Android Studio.
Just for housekeeping, it is also a better idea to keep the installation directory in a proper directory like /opt/ (which is reserved for the installation of add-on application software packages) rather than randomly keeping it in Downloads.
Installing Android Studio on Ubuntu via Snaps
Snaps are a great way to install the same package on multiple distributions without all the hassle of extracting and setting up the application. To download Android Studio using Snap, first make sure that snaps are installed on your distribution.
If you are having any difficulties with installing, setting up, or understanding Snap, please refer to Snaps in Linux: A Basic Introduction
Now that you are all ready, execute the following command to install and run Android Studio.
sudo snap install android-studio --classic
snap run android-studio
The above command will pull all the necessary dependencies such as OpenJDK along with the required package.
Upgrading Android Studio
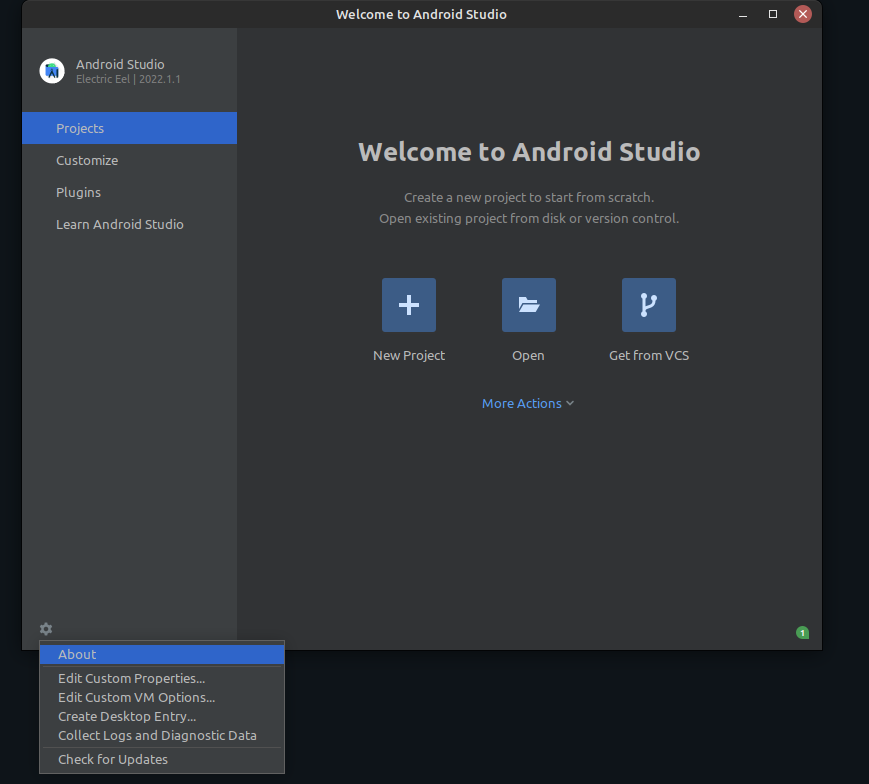
You can upgrade Android Studio using the software’s internal functionality. Go to Help > Check for Updates, and it will show you all the updates from the different channels (Beta, Stable, etc.)
Conclusion
In this article, we discussed the two popular ways to install and then upgrade Android Studio. Android Studio is the most popular development IDE developed by Android itself and is a staple in the app development community. Happy developing!