
Timeline is a software designed to visually represent sequences of events in chronological order. In this article, we’ll walk you through how to install and use it on Linux.
Timeline is a unique software designed for visualizing events in chronological order. It offers a range of features such as scroll and zoom capabilities, different representations based on zoom level, and support for multiple languages. Installing Timeline on Linux is straightforward and can be done via the package manager or from the source. The software requires Python 3 and several other dependencies, which are easily installable.
What is Timeline?
Timeline is a simple yet powerful software created to help you map out events on a chronological scale. It was developed out of frustration with traditional calendars and offers a unique way to visualize time
The idea was to present the event on a timeline where the user could zoom in and out, and move around to show different views. Now this problem, gave way to a solution, a simple one for sure but it formed the basis for a totally new software, which is pretty impressive.
Timeline is available on multiple platforms and you can use it to display and navigate events on a timeline, simple and straightforward. The below quote from the website explains this software perfectly.
If you have data that you would like to display on a timeline, Timeline should be able to show it. Timeline has multiple backends to display data from different sources.
This software is still being actively developed and every third month there is a new release. Also, it is open source so if you are a developer, I will recommend going ahead and trying to contribute to this project, It seems simple but there is some potential or maybe a lot of potential, who knows, The thing about starting with a simple idea is that it can lead to so many wonderful things.
There are a lot of features in Timeline that will make your life easier, but let me list the ones I used:
- You can zoom in and zoom out and it is pretty helpful when you are looking at a big timeline(especially the decades one)
- If you go on the Navigate option in the Menu bar, the range of options you will get is pretty impressive, so you can go to today’s date or specify the exact date you want to go, it’s your choice.
- Fit a Millenium or Fit a Century in your display, it’s up to you, it gives you the freedom to make your timeline as big and extensive.
Now that we know about it, let’s see in the below sections to see how to install it.
Step-by-Step Guide to Installing Timeline on Linux
We will see how to install it using the package manager and also how to build from the source, so stick with me till the end. Also normally I would recommend you install it from the software center as that is the easiest method of installation. For now, let’s get started.
Installing via Package Manager
For the most part, I am following the official documents(the link would be in reference) on how to install it. So according to the official docs, this software is available on Fedora(lucky guys) repositories though it might not be the latest version.
So Fedora users, run the below command to install it in your systems.
# For fedora based systems
sudo dnf install timeline
For other Linux distros users, I would recommend installing it using Snap. For those who don’t have a Snap package manager, they can check this tutorial on Snap.
Once you have Snap installed in your system, run the below command to install this software.
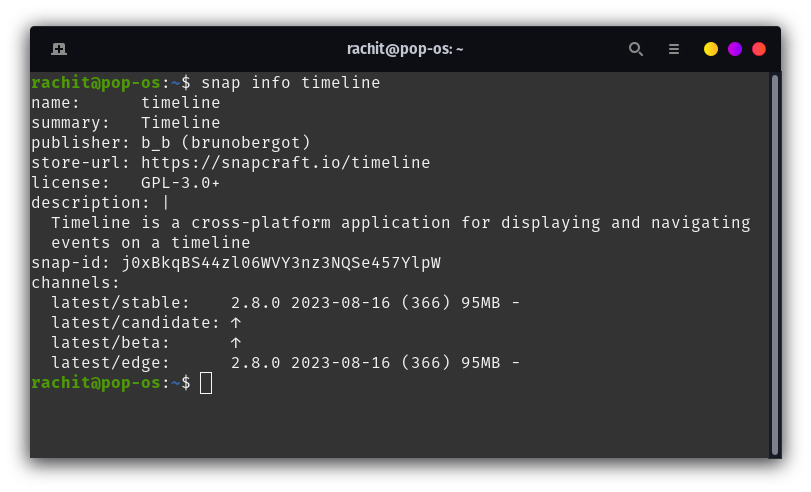
sudo snap install timeline
By the way, if you run use the snap info timeline then it will give a description similar to the image below.
Now this will install Timeline in your Linux systems. For those it does not work or do not prefer this way, don’t worry, I got you. I will discuss in the next section how to install it from the source.
Manual Installation from Source
To install from source you need to download the zip file, which would technically be the latest release from the official website. I will also tell you about the dependencies to install so that the software can work.
Before you do anything it is imperative that you have Python 3 installed in your system, Timeline requires Python 3. To learn how to set up Python on your system check this tutorial on Python.
Once Python is set in your system, you can download the zip, extract it, and then open the terminal to type the below command.
python3 <path-to-timeline-dirctory>/source/timeline.py
I am telling you to do this, is because this will automatically throw you an error, but in that error, you will also find what dependency you are missing. Like I was missing wxPython package.
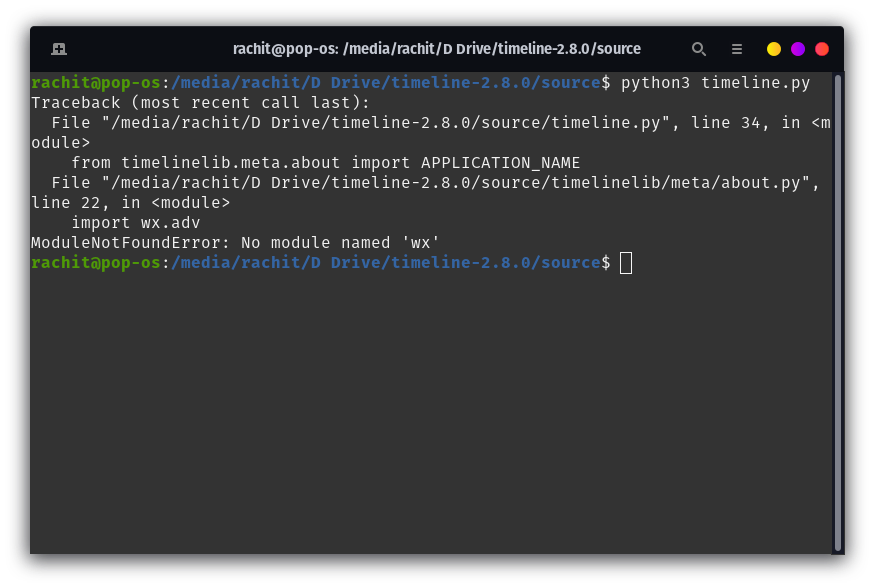
See, how it specifies, that you are missing ‘wx’. Well, then you can run the below command to install it in your system.
pip install wxpython
Furthermore, you may also need to install humblewx a Python package, which you can install using the below command.
pip install --user git+https://github.com/thetimelineproj/humblewx.git
You also need to install icalendar and markdown packages, which you can install using the below command.
pip install icalendar markdown
How to Use Timeline on Linux
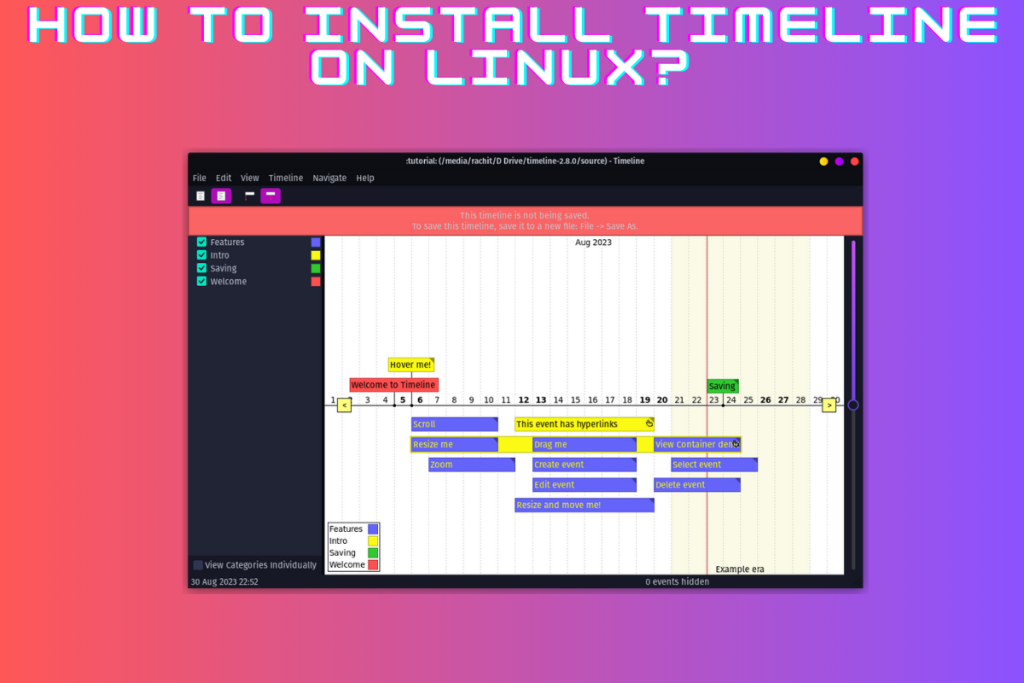
With this, you should be ready to start! Now, run the timeline.py file and have fun with this software. For your reference, there is an image below of what you can expect it might look like. In the image I am experimenting with this software, so don’t take it too seriously.
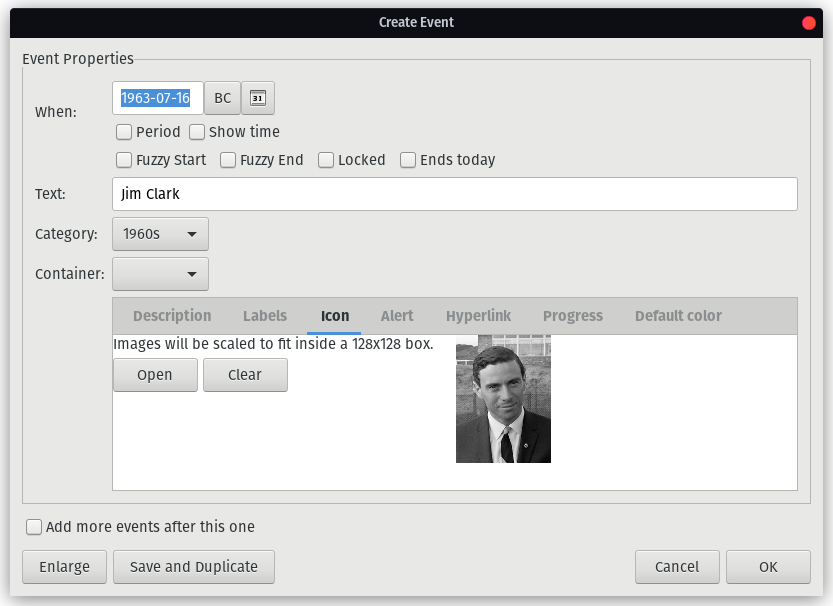
If you click on a particular year or date, it will open a dialog box like the image above. The “When” field would be automatically filled with the date, but you can change it. You can click on Period if you want to specify a period of time, it will enable you to put the Start Date to the End Date.
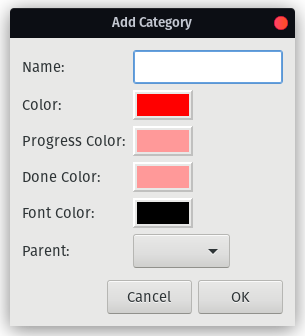
In the text, you can write what you want to be displayed. You can add the categories, create a new one, and use it to categorize your events, in this case, I have categorized this even in the 1960s as Jim Clark won the world championship in 1963.
You can add a description and it will open, When you hover on the event in the timeline, I skipped it but I added an icon. The icon would be scaled to fit inside a 128×128 box which is more than enough.
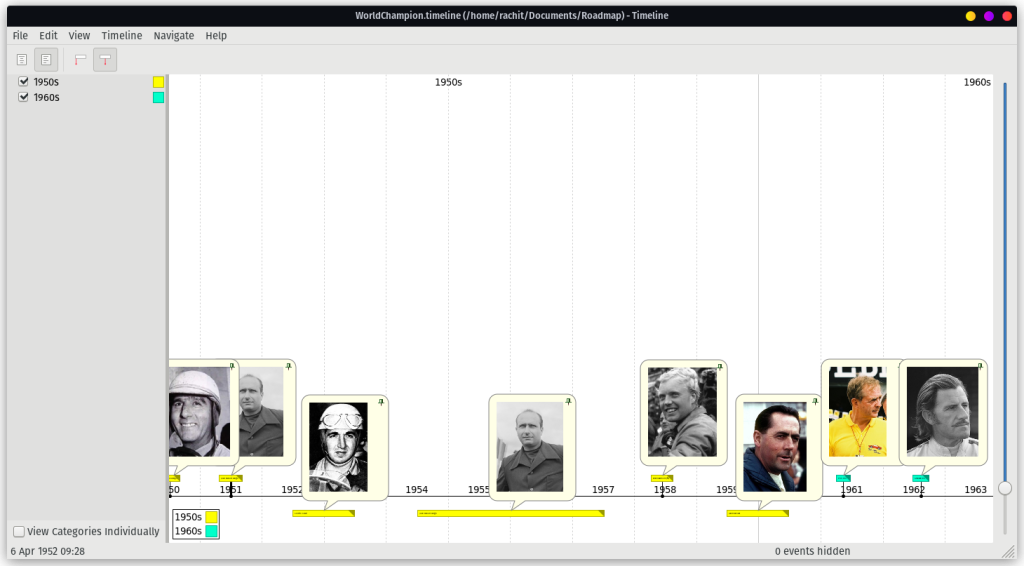
Below is a bigger list, where I created events and categorized them in the 1950s and 1960s which are separated by the event color. By the way by default, the event balloons will only be seen when you hover on them but you can also pin them by clicking on the Pin icon.
Summary
Today, we’ve explored Timeline, a versatile tool for visualizing events. Whether you’re a developer looking to contribute or someone who wants to better organize your life, Timeline offers a unique solution. What will you map out on your Timeline?