
In this tutorial article, we’ll take a look at Inkscape, a free and open-source Vector graphics Editor. The graphical format you guys are most familiar with is probably the raster format, where we work with tiny blocks of single-colored boxes, known as pixels. This describes pictures, videos, and all such graphics.
Introduction to Inkscape and Vector Graphics
Vector graphics are very different from this. These are a series of mathematical equations that dictate the properties of the vector image across an X-Y plane. The benefit of this is that they are easier to manipulate and that you can enlarge them infinitely without a loss in quality.
This makes vector graphics ideal for things like logos, app icons, etc, where you have to use the same graphic for a variety of canvas sizes. From browser favicons to large billboards vector images are used everywhere. Now, let’s look into the installation procedure for Inkscape.
Also read: Getting Started with Krita: Installation and Basics
Installing Inkscape on Ubuntu/Debian
In this article, we’ll assume that you are using Ubuntu/Debian-based OS. For other OSs, you can follow the official page here. First, open up your terminal and run an update and upgrade command:
sudo apt update && apt-get upgrade
After it is done updating and upgrading your Debian repositories, run the following command to install Inkscape:
sudo apt install inkscape
At the time of writing this article, it takes about 82.5MB of storage, and the latest version is 1.1.2. Now, let’s move on to the next section!
Configuring Inkscape for a Dark Theme
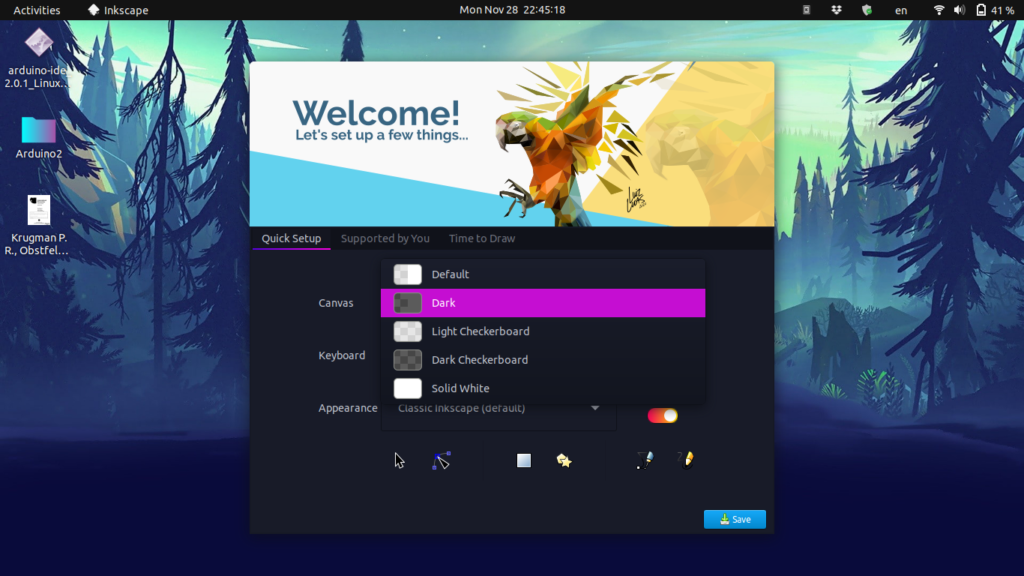
First, we’ll recommend that you set up the dark theme so that your eyes don’t hurt after working hours on the app. To do that, just go ahead and launch Inkscape, you’ll get an option to set your theme in the Quick Setup tab. Choose Dark Checkerboard for your theme.
You can even go ahead and configure any other settings if you want. we’ll leave them to the default settings. Once finished, you can go ahead and change over to the Time to Draw tab. You can choose to work on any existing files or create a new one here.
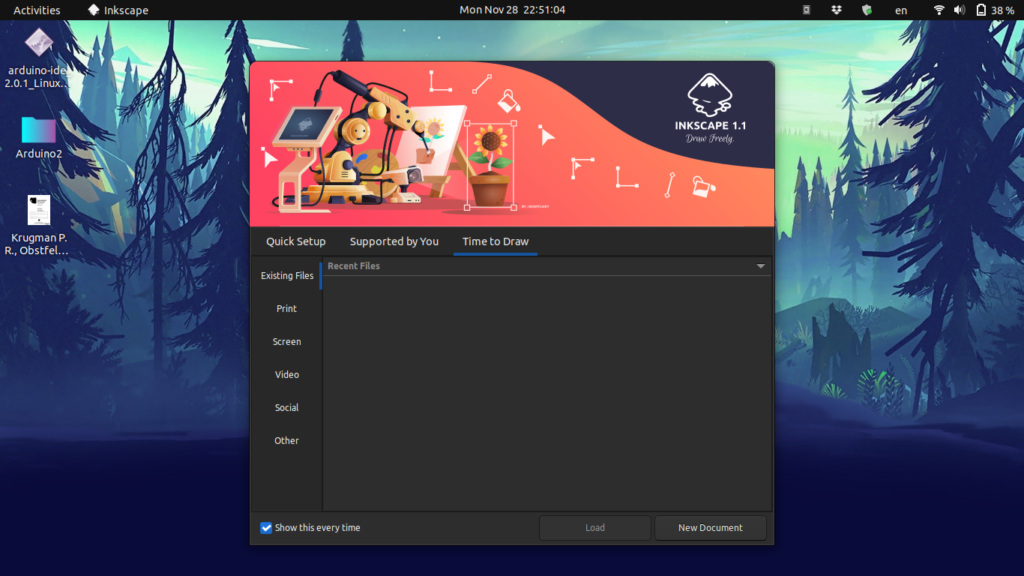
You can even choose your print graphic size on the print menu. Several pre-configured generic sizes are available such as A4, US Letter, A0, A1 so on and so forth. If it’s digital art, you can choose your screen size for the target audience over at the Screen menu. One of the coolest options that you get is the preconfigured Social tab where you get the canvas size pre-configured and optimized for Facebook posts, Instagram Stories, posts, and even LinkedIn and Twitter canvas. So go ahead and choose your preferred canvas size and let’s get started.
Exploring the Tools Menu and Docks
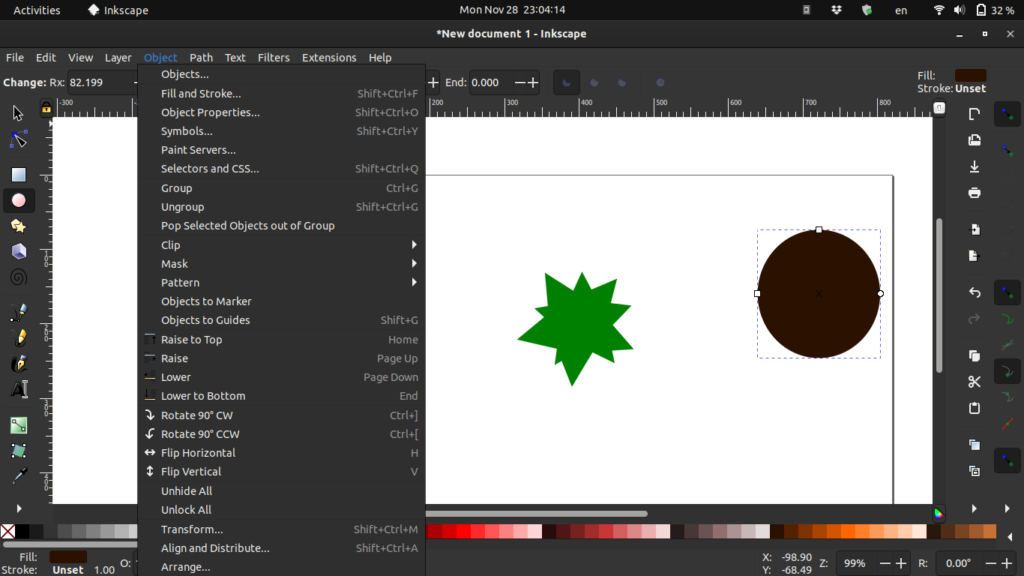
The tools menu on the left side of the screen allows users to create their vector objects such as squares, circles, stars, and polygons. You can even use the tools like the Bezier Curve tool or the Freehand pen to draw your own shapes. Once created, you can then edit the vector with the help of its nodes. You can even change the type of the node for different effects.
You can then give the vector a fitting color using the color panel at the bottom of the screen, or you can choose to use RGB or HEX color codes for this. For the latter, go over to the Fill and Stroke menu under the Objects menu.
Exporting Text as LaTeX
One of the most unique features of Inkscape is that you can add text and export it separately as a LaTeX output, then you can use the image you created in your LaTeX files and input the labeling and other stuff with the exported LaTeX output. Let’s see how to set this up.
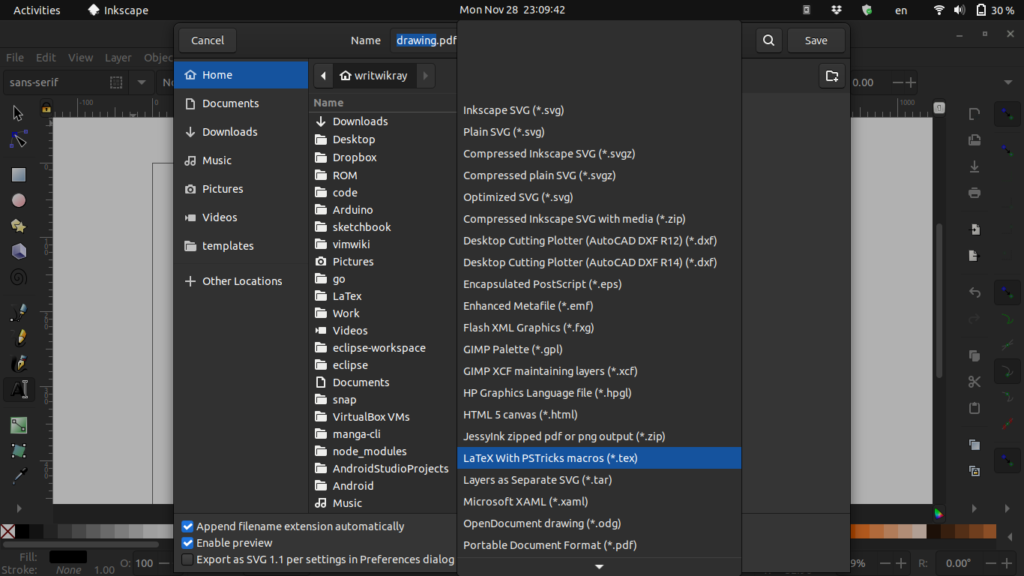
First, you need to know that whenever you are writing mathematical notations, you have to use the LaTeX syntax inside the text boxes. When your figure is properly labeled move over to the next section. Go to File, then Save As. Give your file a name and choose LaTeX with psTricks macros as your export option.
Summary
So there you go folks! You have a new skill now that you can draw vector images easily in Inkscape. I personally use Inkscape to take all my college notes and drawings and then export the labels as LaTeX and then import them into the university notes. This is one of the best ways to stay organized. You get both functionality and clarity. Hope you guys liked this article, for more such awesome content keep a close look at LinuxForDevices!