
If you have got multiple computers and only want to control all of them using a single pair of mouse and keyboard, then you might want to look for a KVM switch. A Keyboard, Video, Mouse switch is a hardware device where connections from all of the machines take place and using the buttons you can select which machine will use the mouse and keyboard. However, all of this comes at a hefty price. Barrier is a software that emulates a hardware KVM and gives you the same functionality completely free! In this article let’s look at how we can install, setup and use Barrier.
Install Barrier on Linux
Head over to the official github repo, and download the appropriate package. If you are using Linux, chances are Barrier is already in your package manager so all you have to do is give the command and istall it from there. And if you are in Windows or Mac, checkout the releases page here.
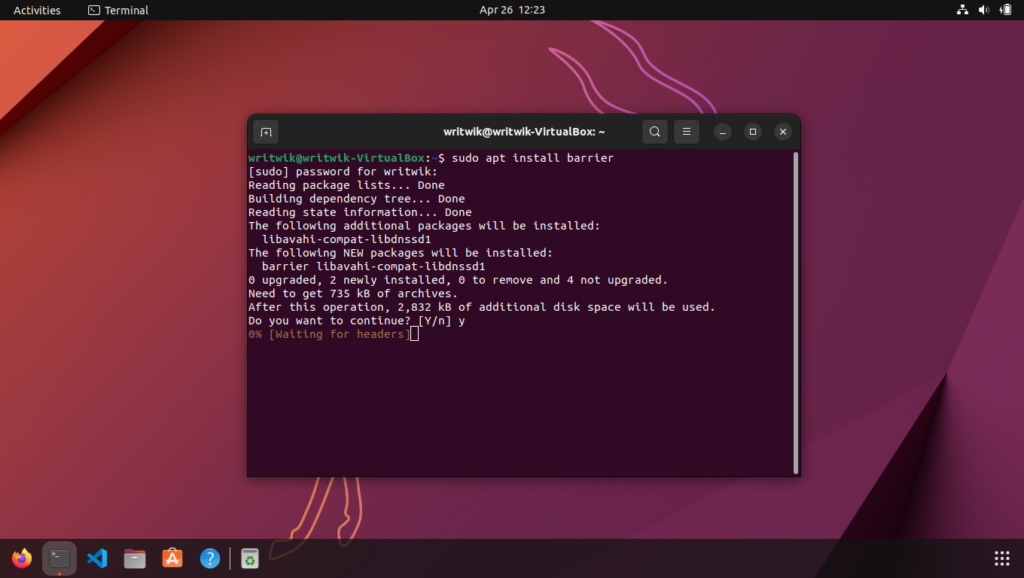
I am in Linux, Ubuntu hence I will give the apt command to install Barrier:
sudo apt install barrier
Setting Up Barrier
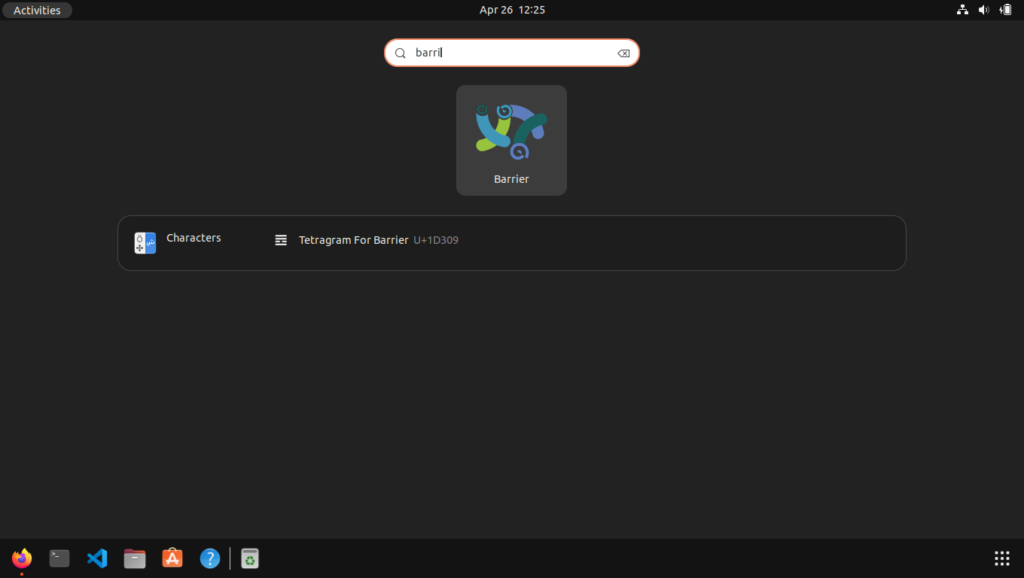
After installation is complete, go ahead and launch barrier from your app menu.
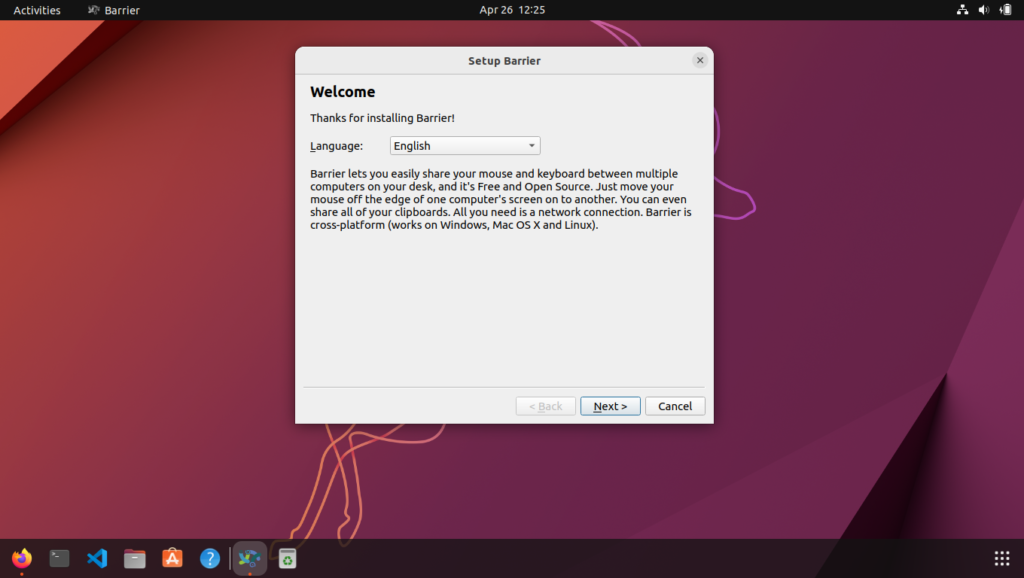
After you have launched barrier for the first time you will be prompted to select the preferred language and a welcome popup will be shown to you.
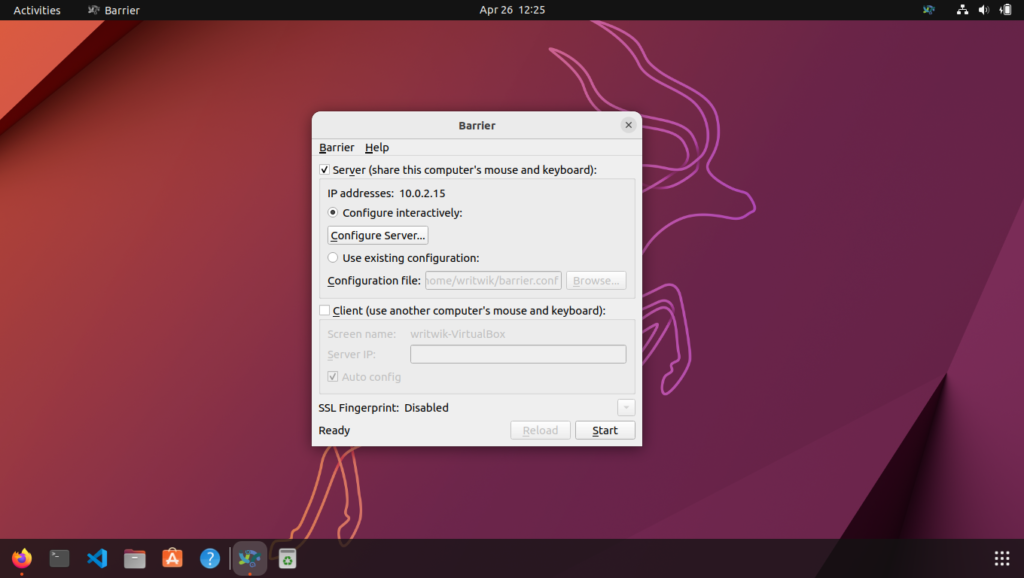
Now click on next to move on to the next settings. On this screen you will be asked to choose one of server or client. This simply asks you, the machine that you are currently running Barrier on, will it be used as a KVM server or a client. For us, this will be a server, as we will use the mouse and keyboard connected to this machine to be used in a different client machine. So, choose server.

Now, keep a note of the IP address as we will be needing it later. Next we will have to configure the server settings properly. To do that click on the Configure Server button.
A new window will pop up. In this screen you will have to position a new desktop icon in the proper layout. If your second pc is to the right of your server pc, then simply drag over a new desktop icon the right of the server pc. Also, give proper device name to the client pc.
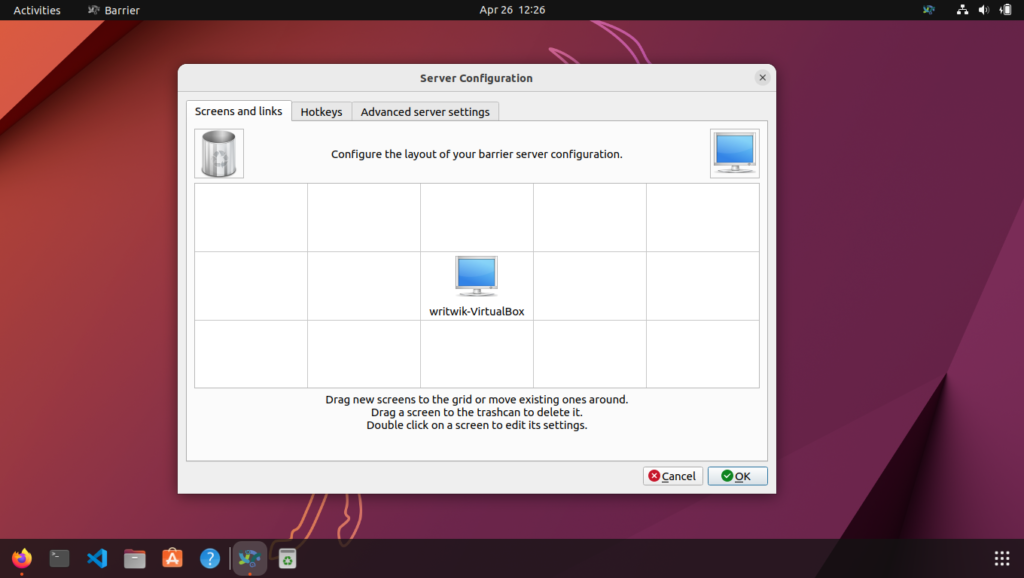
You can also drag a screen to the trashcan if it is not needed anymore. After you are done with the screen positions. You can save the configuration file and quit out of this screen. You can also assign keystrokes for a particular machine to change screens, toggle screens, swith to a particular direction (if you have more than one screen) or even lock the cursor to that screen.
If you are done with the server settings, you can move on to the other pc, install barrier and this time choose the client option when prompted. Next you will have to give the server IP of the primary machine (in my case it is 10.0.2.15). Using this IP barrier will configure the screens. Also, check that the screen name for the client computer is the same as given in the configuration in the server pc. Now you can click on Reload and when it has loaded, it will say “Barrier is running”.
If you’re facing issues, you can try to manually input the server ID and not use the “configure interactively” setting, and check off the “auto config”.
Conclusion
When configured properly, Barrier can be extremely useful. Though paid apps like Synergy offer much more capabilities (like drag and drop files across pcs), Barrier packs a heavy punch. No more messy cable management and a clean desk! If you are looking for a new feature-rich screenshot application, checkout flameshot! Are you ready to revolutionize your multi-computer setup?