
CLion (developed by Jetbrains) is one of the most popular C/C++ IDE among developers. It has an easy to use interface but also comes packed with features like VCS integration, CMake support, Unit testing, Collaborative mode and much more. This makes it perfect for anyone regardless of their familiarity to programming. In this article, we will learn how to download and setup CLion on Linux.
CLion is a paid IDE, however it gives free versions of the software and discounts if you plan to use the IDE to develop open source projects or in Non-profit organizations. For this tutorial, I will be setting up the free trial version of CLion.
2 Ways to Install CLion on Linux
There are two ways to install Clion on Linux. We will go through both of them in this tutorial.
Installing CLion through Snap
This method works on all distributions which have Snap support. To install CLion through Snap, first make sure you have Snap installed on your system and then execute the following.
sudo snap install clion --classic
If you are having any difficulties with installing or setting up Snap, please refer to Snaps in Linux: A Basic Introduction
Installing CLion through tarball
If your distribution doesn’t support Snap store or you don’t want to use Snap, you can use a archive tarball to install CLion. To download the tarball for the free version go to downloads page and click on Download.
After downloading the tarball we need to extract it.
tar -xvzf /path/to/tarball/CLion-2022.3.2.tar,gz

How to launch CLion?
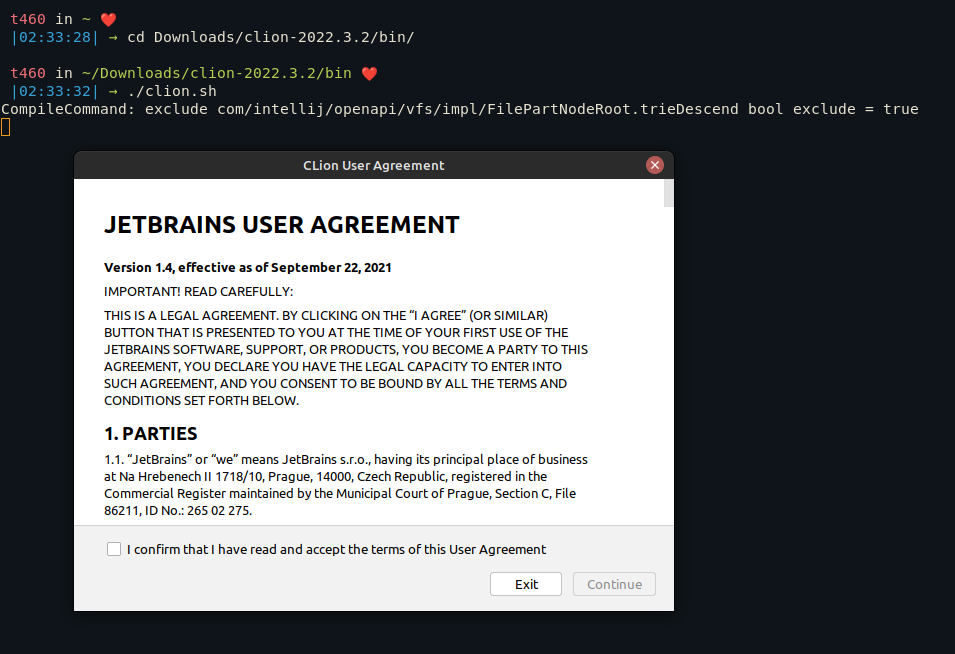
If you downloaded Clion through snap, you can launch it by executing clion in the terminal. However if you installed it through tarball, you have to go to the folder in which all the extracted files are and launch CLion from there like shown below.
./path/to/extracted/directory/bin/clion.sh
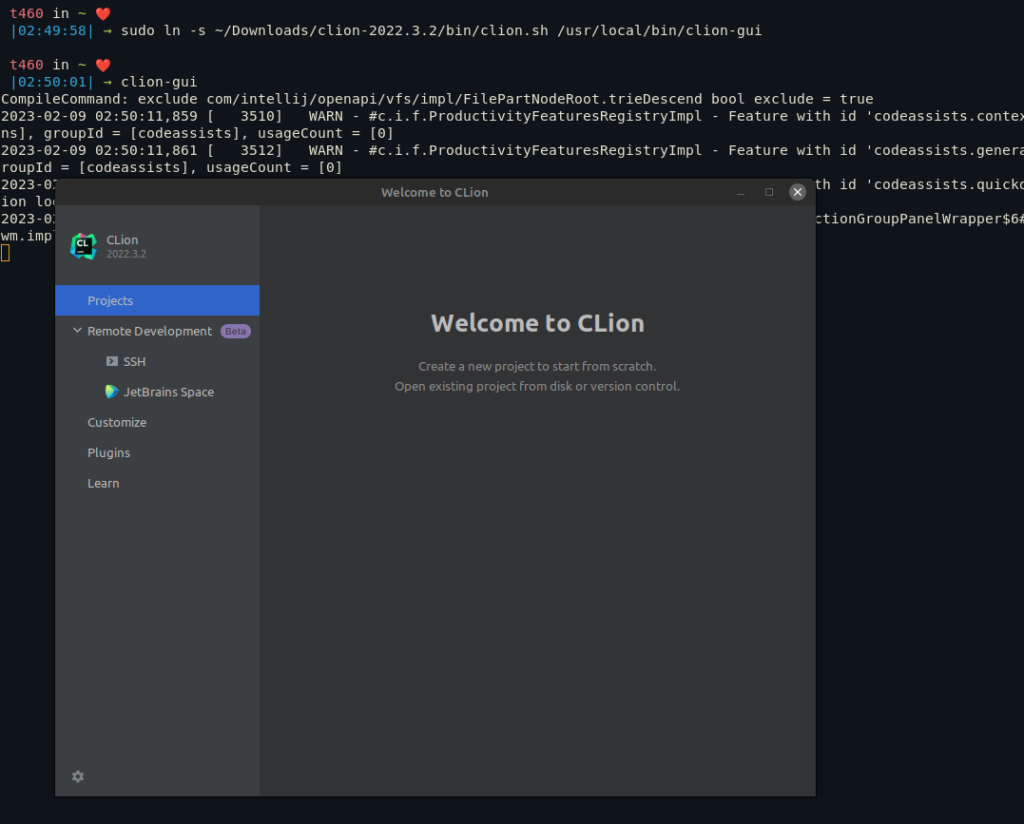
But you don’t have to go to the extracted directory, every time you have to launch the IDE. You can simply add the clion.sh binary in local binaries directory (/usr/local/bin). To do that execute the following :
sudo ln -s /path/to/extracted/directory/bin/clion.sh /usr/local/bin/clion-gui
Using CLion on Linux
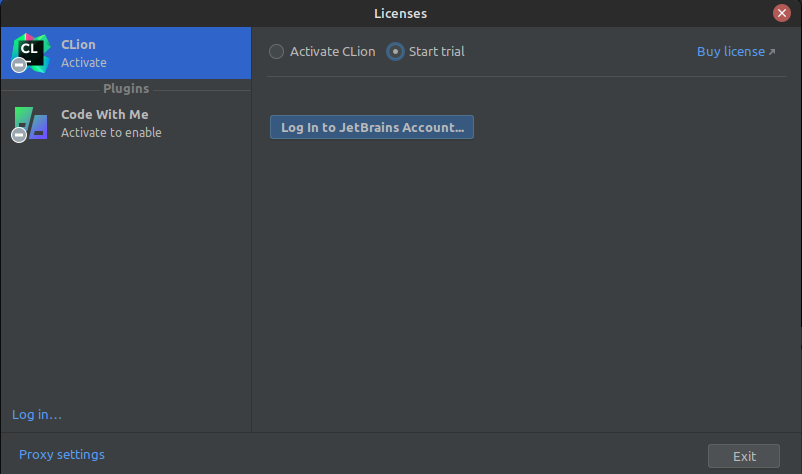
Before you can start using CLion, you have to activate the trial by logging in your Jetbrains account.
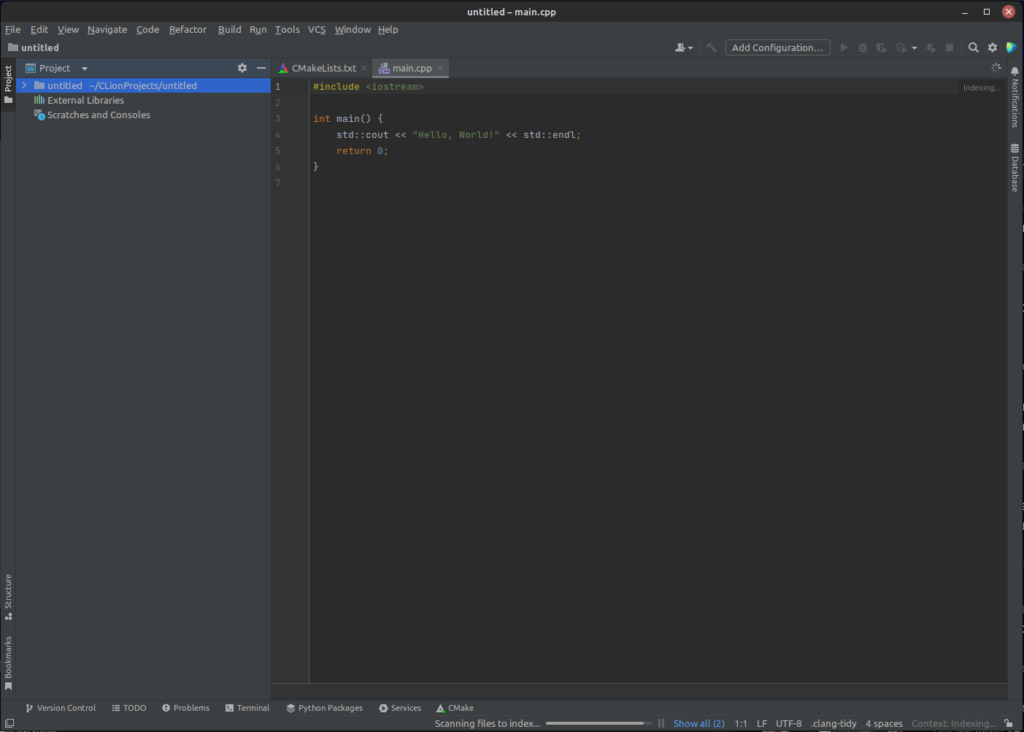
After you have activated the IDE, Click on New Project > C++ executable to start a new C++ project.
How to update CLion?
The CLion IDE tells you when a new update or patch is available. The patches are applied automatically however you have to update the IDE when a new update is available. To update the IDE, you can use another Jetbrains software called Toolbox.
Toolbox is a manager for all Jetbrains software. To download Toolbox, we will go to the Toolbox App web page.
After downloading the .tar.gz file from the web page, we will extract it in the same way we extracted the CLion tarball.
sudo tar -xvzf /path/to/tarball/jetbrains-toolbox-1.17.7391.tar.gz
After executing the command, navigate to the folder which contains the extracted files and execute the jetbrains-toolbox binary using the following command.
./jetbrains-toolbox
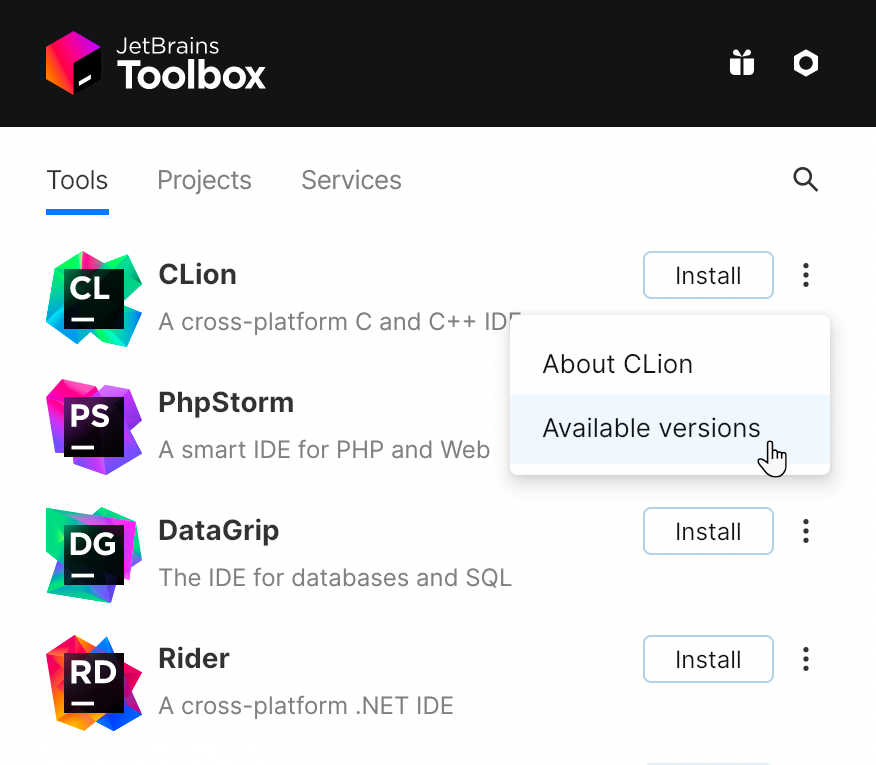
This will launch Toolbox where you can manage the versions and updates regarding any Jetbrains product.
Conclusion
In this article we looked at how to install CLion on Linux. CLion is a really intuitive C/C++ IDE however it also supports other languages. An IDE provides us with the tools like debugger to help us code more efficiently. To update the IDE, we used another Jetbrains product called Toolbox.
We can also download Toolbox first and then install CLion through it. To learn more about how to use CLion and you can check out the official documentation. For help with installing other Jetbrains IDEs like IntelliJ, you can refer to this article.