
The apt command-line tool is one of the critical components of Debian and Ubuntu-based Linux distros. It facilitates retrieval and installation of packages reliably, thus, allowing users to enjoy the hassle-free installation of software and its dependencies. It is certainly one of the distinguishing features of Linux.
Sometimes, you may encounter the annoying Failed to fetch error while trying to use the apt tool which may look something like the following:
W: Failed to fetch http://in.archive.ubuntu.com/ubuntu/dists/precise/Release.gpg
  Temporary failure resolving 'in.archive.ubuntu.com'
In this tutorial, we will take a look at possible reasons one may encounter this error and its solutions.
Are there any pre-requisites?
There are no major pre-requisites for being able to fix this issue but keep in mind that you need to have the superuser privilege for your device. If you are not the admin or do not have access to the password of the device, you might not be able to fix this issue.
With the pre-requisites out of the way, now let us look at the possible reasons this error may occur.
Reason 1: Issues with your internet connection
As the apt command fetches packages from the web servers, there is no doubt that you must to have a proper internet connection.
If you are unsure why the terminal is unable to connect to the internet, go through the following steps to perform a diagnosis.
Diagnosis: Run the ping tool
The best way to determine whether the terminal is connected to the internet is by trying to ping a host. Enter the following command:
ping www.google.com
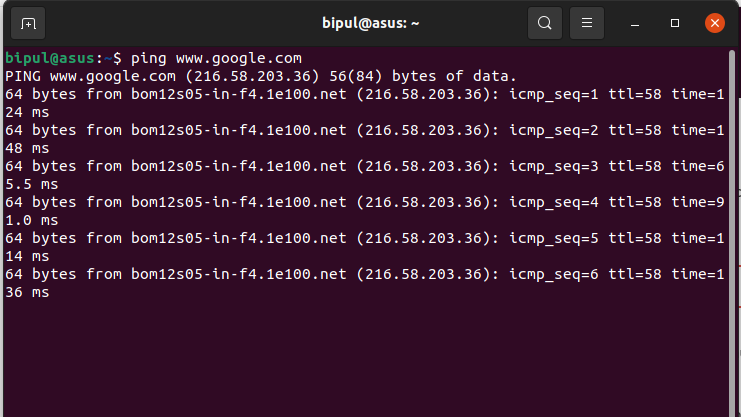
If you are getting a continuous sequence of replies from the host as shown in the above image, it means that your internet is working fine. Press Ctrl+C to stop the ping tool.
Solution: Fixing the internet connection
One of the following things might get you back online:
- Look for disconnected ethernet cables.
- The WiFi/Network adapter might be switched off, try turning it on.
- Look for malfunctions in your network devices.
- Try contacting the ISP.
Reason 2: You might be connected to a proxy network
If your device is connected to a network belonging to an organization (like your office, university, library, etc.), chances are, you might be connected to the internet through a proxy server.
You will need to configure the proxy settings for APT to work. Follow the steps below:
Solution 1: Configuring the proxy settings for APT
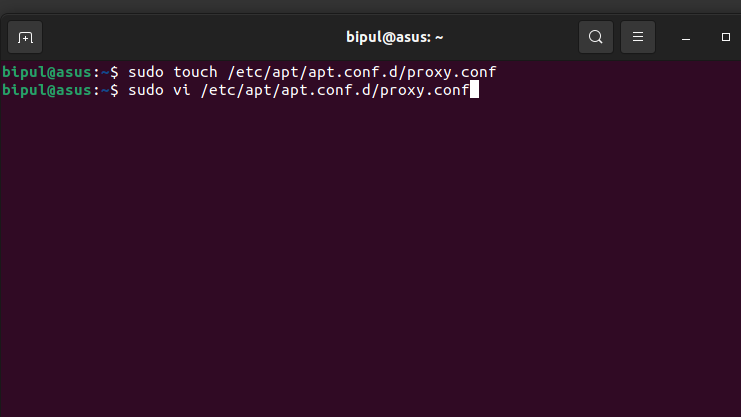
We have to manually create a separate configuration file called proxy.conf in the apt configuration folder.
- Enter the following code in the terminal:
sudo touch /etc/apt/apt.conf.d/proxy.conf
When prompted, enter the password. This code will create the desired proxy.conf file in the location /etc/apt/apt.conf.d/proxy.conf.
2. Using the Vi editor, now we will edit the text file. Enter the following code:
sudo vi /etc/apt/apt.conf.d/proxy.conf
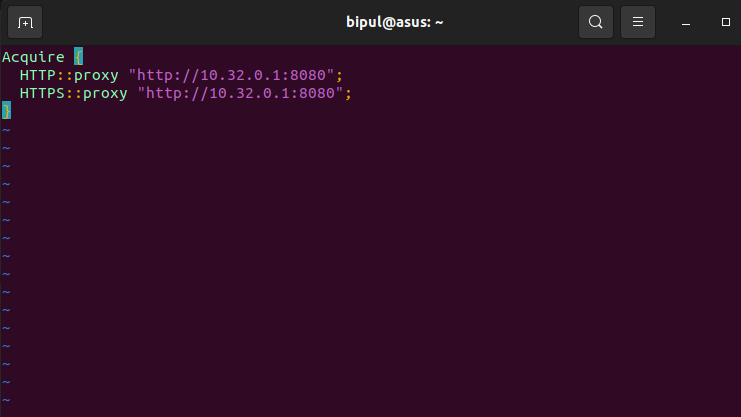
3. You will enter the edit mode, now add the following piece of code:
Acquire {
  HTTP::proxy "http://<proxy-hostname>:<proxy-port>";
  HTTPS::proxy "http://<proxy-hostname>:<proxy-port>";
}
Make sure that you replace the <proxy-hostname> with your proxy server hostname and <proxy-port> with the port. For example, if your proxy hostname is 10.32.0.1 and port is 8080, the code will look like this:
Acquire {
  HTTP::proxy "http://10.32.0.1:8080";
  HTTPS::proxy "http://10.32.0.1:8080";
}
4. Exit the vi editor saving the changes by entering :wq!
5. Restart your device and check if your problem is resolved.
Reason 3: You are using a release that has reached its EoL (End of Life)
If you are using an old or interim release (like the Ubuntu 21.04), it might have reached its end of life and isn’t supported anymore. You will need to upgrade to a newer version for the proper function of APT.
Solution 1: Upgrading your system to the latest version
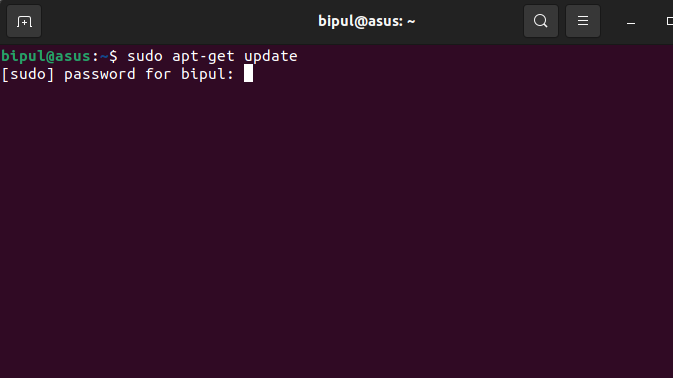
1. First, you need to retrieve the updated package list:
sudo apt-get update
2. Now, run the below codes to download and install the required packages:
sudo apt-get upgrade
sudo apt-get dist-upgrade
3. You will need to install the update manager:
sudo apt-get install update-manager-core
4. Reboot your device, then enter the following code to start downloading and upgrading your distribution:
sudo do-release-upgrade
Now the system will start downloading the latest version. It might take hours depending on the download size and your device specification.
References
Ubuntu Help & Ask Ubuntu: EOLUpgrades – Community Help Wiki (ubuntu.com) | Setting proxy for apt from the terminal – Ask Ubuntu
Conclusion
Unless one fully understands the details behind the exceptions thrown by the terminal in Linux, solving issues like this can become somewhat tricky. Nevertheless, I hope that the above-mentioned guide was able to solve the problems.