

In this module, we are going to discuss how we change kernels on Arch Linux. You can check our previous post which talks about the different types of kernels available for Linux distros.
Steps to change kernels on Arch Linux
Let’s get started with the steps to change kernels on Arch Linux system. The steps outlined are pretty easy and straightforward here.
1. List All Available Kernels
First we can list all available kernels with :
$ find /boot/vmli*
Or with :
$ pacman -Q | grep -E "\blinux*"
Incase you don’t have the desired Kernel, follow along to know how to install it.
2. Install The Desired Kernel
In case you don’t have the Kernel of your choice already listed, you need to install it first. Below are the commands you would require to install the respective kernels:
- Linux Default Kernel
$ sudo pacman -S linux linux-headers
- Linux LTS Kernel
$ sudo pacman -S linux-lts linux-lts-headers
- Linux Zen Kernel
$ sudo pacman -S linux-zen linux-zen-headers
- Linux Hardened Kernel
$ sudo ppacman -S linux-hardened linux-hardened-headers
3. Choose Kernel From GRUB During Boot
Before proceeding further, check the current Kernel your OS is using with the uname command:
$  uname -r
5.11.6-arch1-1
Now, reboot your machine and wait till the GRUB Menu pops up.
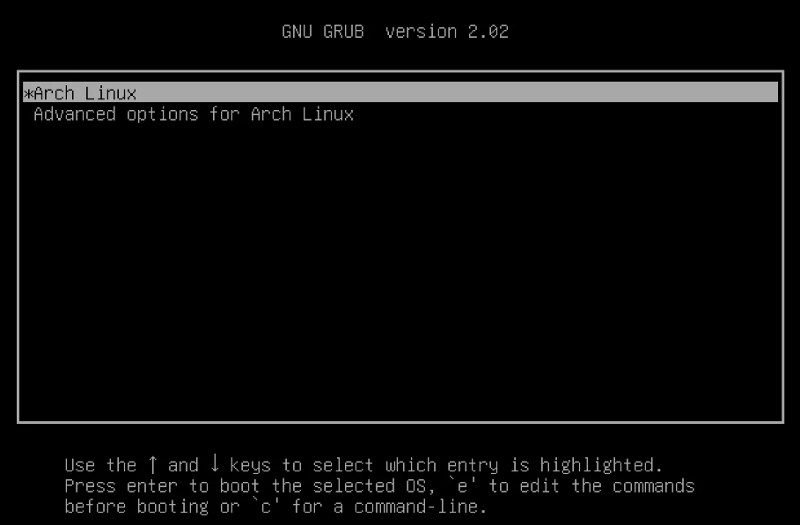
Next, select the option “Advanced option for Arch Linux” and from the given menu, select your desired kernel.

Once your computer has completely booted up again, you can check the kernel in use with:
$  uname -r
5.10.23-1-lts
4. Editing GRUB Config File
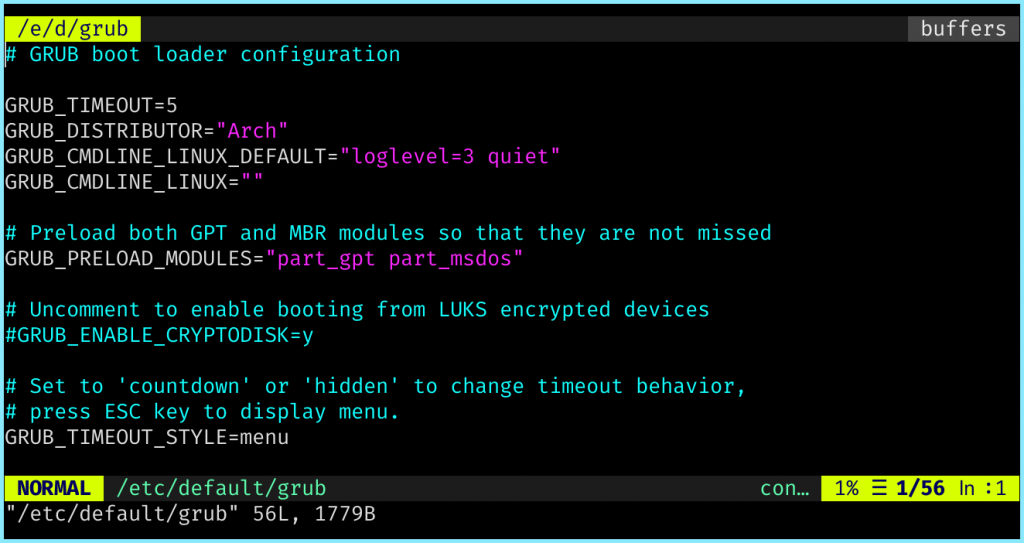
Next up we need to make some tweaks to our GRUB config file to make the system boot from the last selected Kernel. The configuration file is located at /etc/default/grub so open it up with sudo and your favorite text editor.
You should have something like this:
Next up, add the following 3 lines to the beginning of the file, after the initial comment :
GRUB_DISABLE_SUBMENU=y
GRUB_DEFAULT=saved
GRUB_SAVEDEFAULT=true
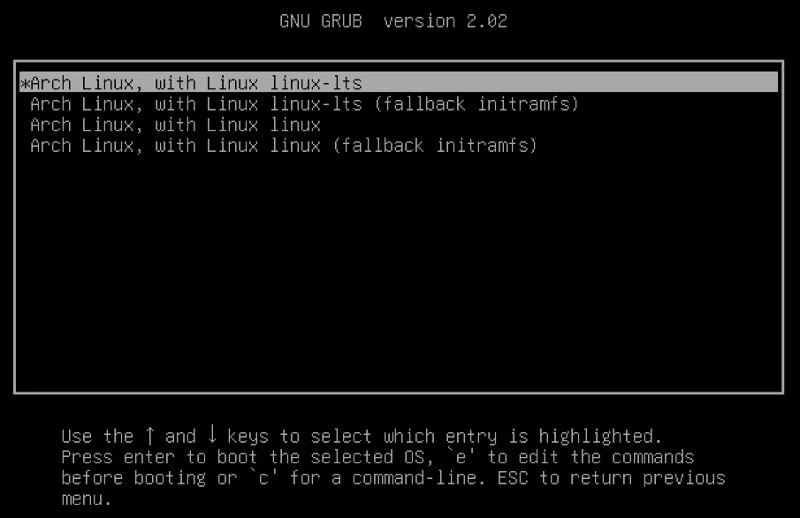
The first line disables the GRUB submenu, i.e., it enables all the available kernels to be listed on the main GRUB Menu itself instead of the “Advanced option for Arch Linux” option.
The next line saves the last kernel used and the third line makes sure that grub uses the last selected kernel is used as default.
So finally, your GRUB should look something like this:
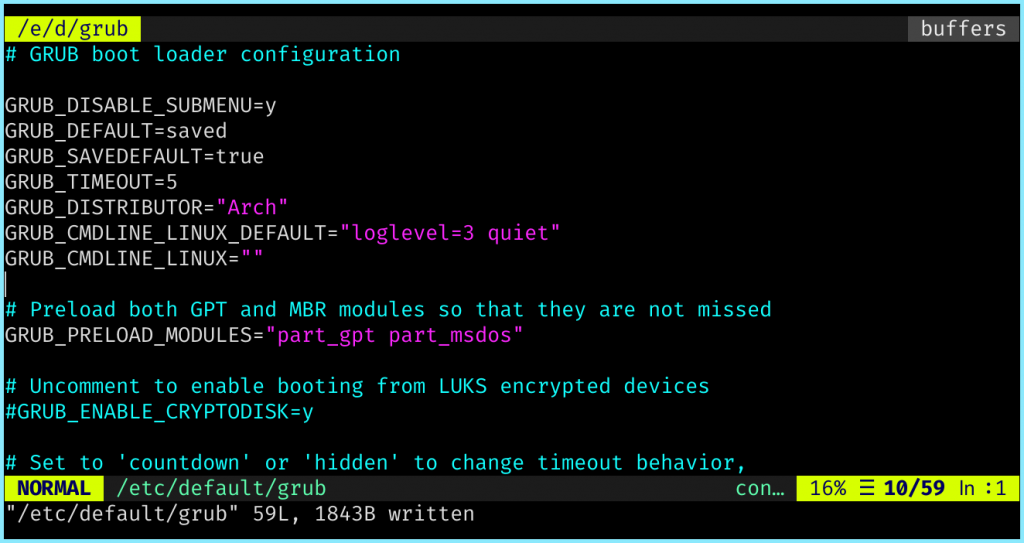
Finally save and exit your file!
6. Re-Generate GRUB Configuration file
Finally for the changes to take effect, we need to regenerate the grub config file with :
$ sudo grub-mkconfig -o /boot/grub/grub.cfg
Finally, reboot your system with the kernel of your choice!
Conclusions
Thus we saw how to change our Kernel. Different setups have different priorities and requirements, thus might need different kernels to carry out their operations more efficiently and now we know how to change it!