
Docker is an essential tool for building and running servers because of its extensive customizability and reproducibility. All it takes to create a backup is to copy just one YAML file which holds all the information related to the applications or containers, and you are done. The running services do not interfere with each other and automatically gets recreated if somehow stopped accidentally.
Raspberry Pi, on the other hand, is a really cool and small computer which can run alone as well as in clusters in a server environment. You can also use it to host your own applications and services such as Navidrome, qBittorrent and other applications. These applications can also run in Docker, however installing Docker on a Raspberry Pi is not as simple as running sudo apt install docker like on any other Debian based OS because the Raspberry Pi OS usually ships with the older ‘stable’ version of the application. There are also some hardware based limitations (for example, whether you have installed 32-bit or 64-bit OS on it).
In this tutorial, we will take a look at how to install Docker on a Raspberry Pi.
Installing Docker on a Raspberry Pi
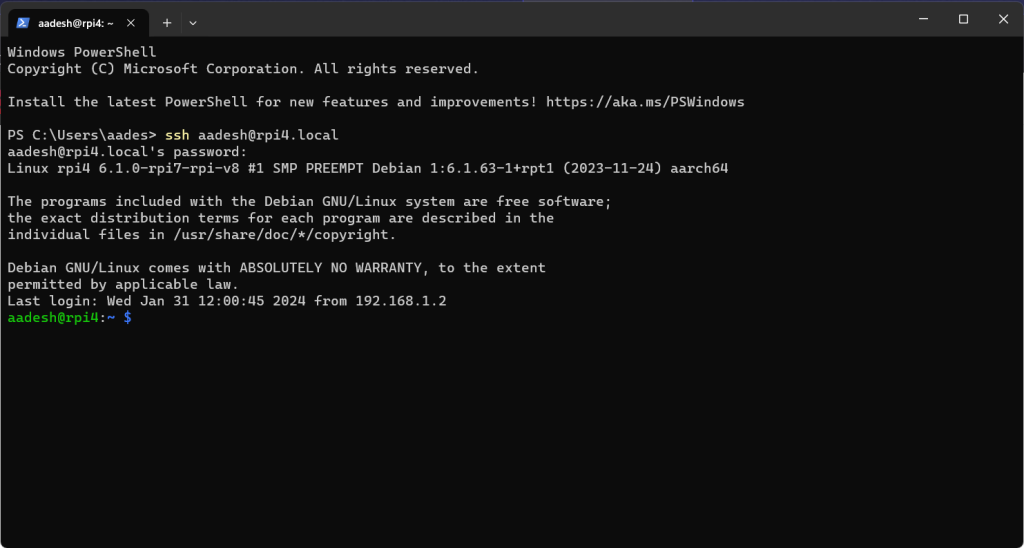
Firstly, SSH to your Raspberry Pi so that we can begin the process. If you are directly using the Pi with a keyboard and monitor, then you can skip this process.
ssh <hostname>@<IP Address>
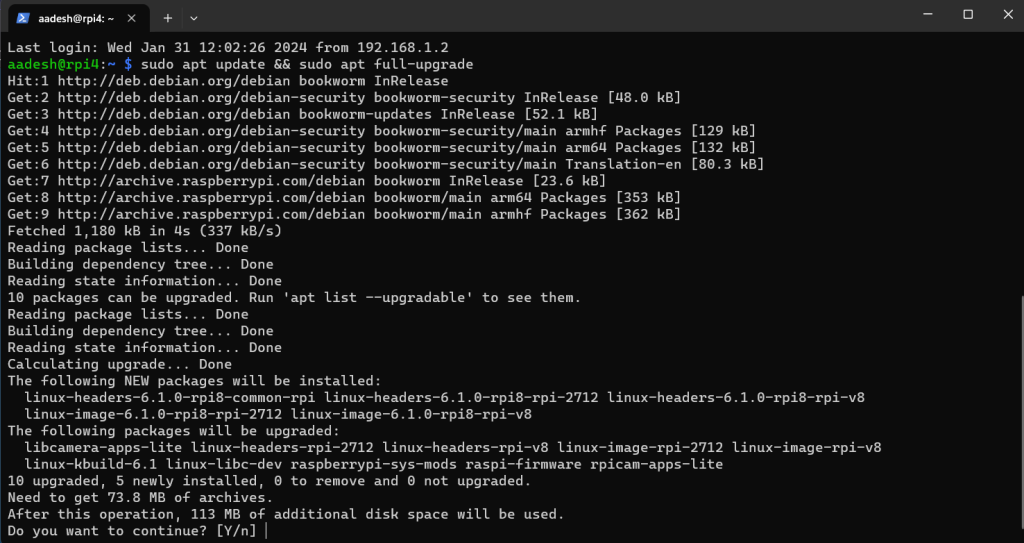
Now, refresh your package lists and update your system by running the following command:
sudo apt update && sudo apt full-upgrade
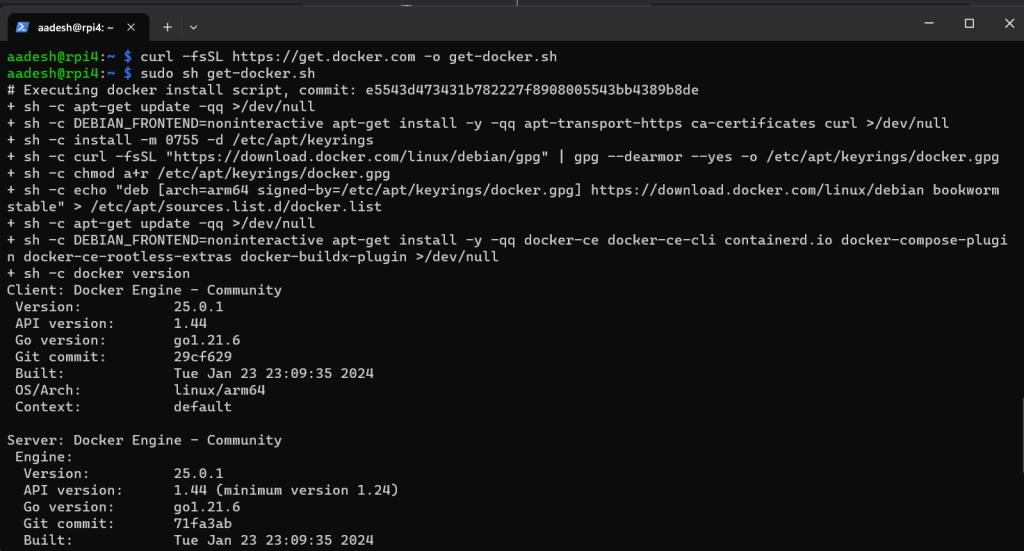
Finally, let’s begin installing Docker. You can do that by downloading and executing the following script by running both commands one by one:
curl -fsSL https://get.docker.com -o get-docker.sh
sudo ./get-docker.sh
Post-installation setup
Now, we have to add non-root users to the Docker group so that they can successfully run Docker as a user. To do that, you have to run the following command in the Terminal:
sudo usermod -aG docker <username>
For example, in my case the username is aadesh, so the command looks like this:
sudo usermod -aG docker aadesh
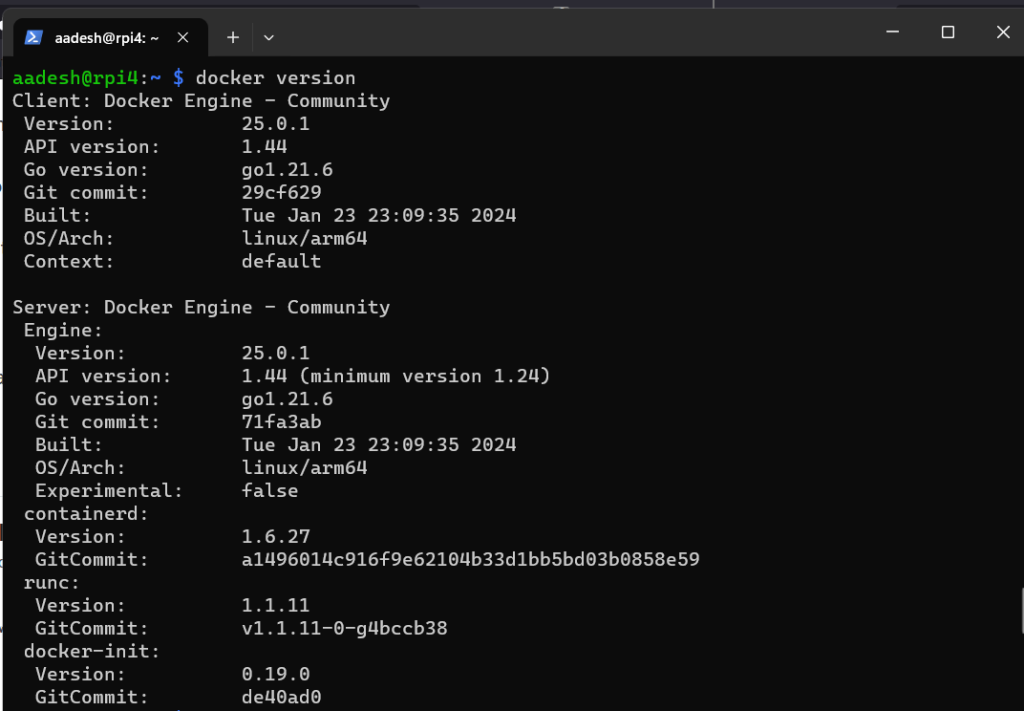
Now, it is necessary that you log out of your system and log in again so that the docker daemon starts correctly. After logging in again, run the following command to verify that everything is working correctly:
docker version
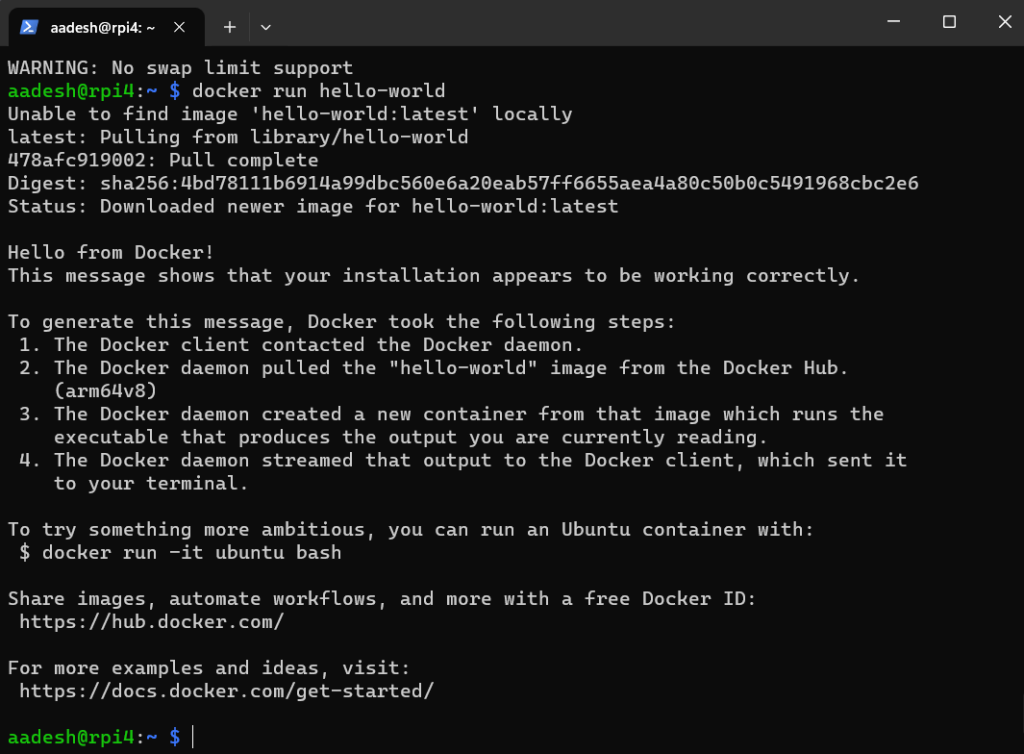
Try running a simple ‘hello world’ container to verify that indeed everything is correctly installed. You can do so by running:
docker run hello-world
Creating a YAML configuration file
As mentioned above, docker containers can be reproduced easily with just one configuration file. And I’m going to show you how to create and configure it using a sample application (qBittorrent) and Docker Hub with the help of a YAML file. Create a docker directory and then inside it, we will store all the config files and related data:
mkdir docker
cd docker
touch docker-compose.yml
Now, open the newly created file with a text editor such as Vim or nano:
nano docker-compose.yml
Now, just paste the following lines in the file:
version: "3.9"

services:
  qbittorrent-nox:
    # for debugging
    #cap_add:
      #- SYS_PTRACE
    container_name: qbittorrent-nox
    environment:
      #- PAGID=10000
      #- PGID=1000
      #- PUID=1000
      - QBT_EULA=accept
      - QBT_VERSION=latest
      - QBT_WEBUI_PORT=8080
      #- TZ=UTC
      #- UMASK=022
    image: qbittorrentofficial/qbittorrent-nox:latest
    ports:
      # for bittorrent traffic
      - 6881:6881/tcp
      - 6881:6881/udp
      # for WebUI
      - 8080:8080/tcp
    read_only: false
    stop_grace_period: 30m
    tmpfs:
      - /tmp
    tty: true
    volumes:
      - /home/aadesh/docker/qbit/config:/config
      - /home/aadesh/samba/Downloads:/downloads
Make sure that you change the directories listed in the last two lines according to your preference. You have to write the full path of the directory in which all the configuration files and Downloads are stored on your system. Apart from that, you can alter the WEB UI port and PGID/PUID if you wish.
Once you are done, just run the following command:
docker compose up

As you can see, the Terminal is displaying a default ID and Password which we can use to log in to the Web UI. Just open a Web Browser and enter the IP address of the Raspberry Pi along with the port number like this:
<ip address>:<port>
In my case, it looks something like this:
192.168.1.2:8080
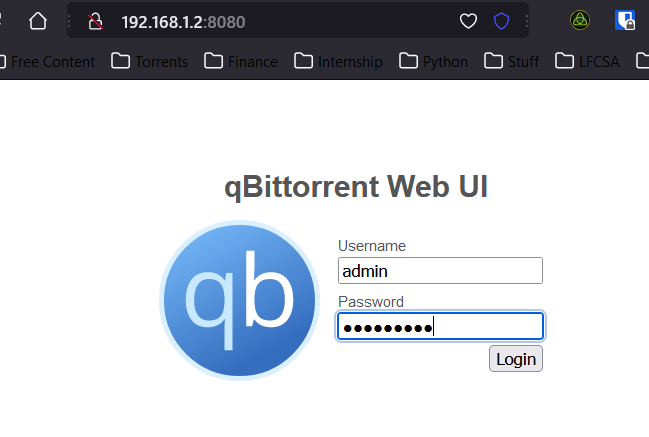
Once logged in, make sure to change the ID and password of this service to something which suits your convenience.
Congratulations! You now have your own locally running qBittorrent Web server. Unless you have exposed the Raspberry Pi to the open web (through IP address forwarding on your router), you don’t have to worry about any kind of attacks (unless you deliberately install a virus on your PC).
Summary
That’s about it! You can now run any application on the Raspberry Pi using docker and get started on creating your own Web Server! Just make sure to read the full documentation of the application when you are trying to add it via the YAML file to fully understand their potential.
Raspberry Pi is an excellent piece of hardware and with the Power of Linux, it can do a lot of things which any normal PC can do… and a bit more.